Flija Pan Cake Recipe
Flija Pan Cake Recipe
- Serves: 12 People
- Prepare Time: 45 minutes
- Cooking Time: 90 minutes
- Calories: -
- Difficulty: Easy
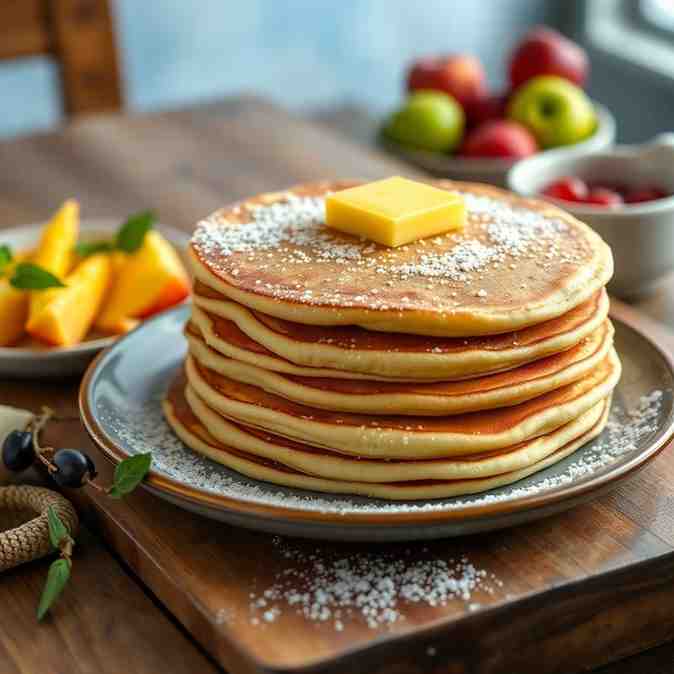
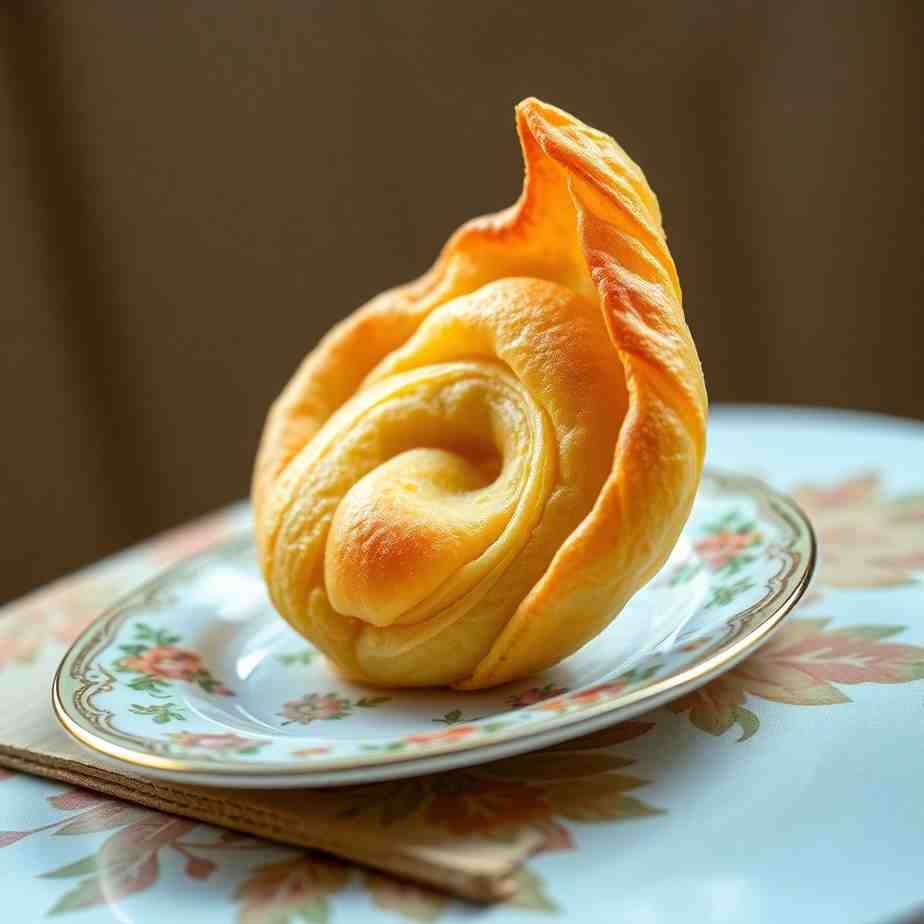
Get ready to embark on a culinary adventure with this incredible Flija pan cake recipe! Imagine a show-stopping, layered pancake cake that's both a feast for the eyes and a delight for the taste buds. This isn't just any food to make; it's a traditional Albanian and Kosovar specialty, renowned for its intricate sun-ray pattern and irresistible texture. While traditionally cooked outdoors under a special dome called a sac with hot coals, our version brings this ancient technique right into your home kitchen, adapted for your oven broiler.
This recipe focuses on the authentic, mountain-style flija you often see in stunning photos – a beautiful, round cake with crisp, golden edges and a soft, layered interior. We're diving deep into a traditional-style recipe, not a quick one-skillet shortcut. Here, you'll find one canonical recipe featuring a single, perfect batter and a luscious creamy filling, guiding you to create a flija that’s perfect for weekends, holidays, or any family gathering. If you're looking for unique dishes to make and want to learn how to make Flija pancake, you've come to the right place!
This recipe is designed to help you create an authentic Flija, adapted for your home broiler. It requires patience and a bit of artistry, but the results are truly rewarding.
Ingredients
Directions
- Mix the Batter: In a large bowl, whisk together the all-purpose flour and salt. If using the optional egg, lightly whisk it in a separate small bowl. Gradually add the water (and the whisked egg, if using) to the flour mixture, whisking continuously until you have a smooth, thick but pourable batter. It should be similar in consistency to a thin pancake batter or a thick crepe batter. Avoid lumps!
- Rest the Batter: Cover the bowl and let the batter rest at room temperature for at least 30-60 minutes. This resting period is crucial as it allows the flour to fully hydrate, reducing lumps and making the batter smoother and easier to spread. It also helps any air bubbles to settle, leading to more even layers.
- Make the Creamy Filling: While the batter rests, prepare your creamy filling. In a medium bowl, combine the full-fat plain yogurt, optional sour cream or kefir, melted butter, and neutral oil. Stir everything together until the mixture is completely smooth and has a runny, custard-like consistency. Set aside.
- Preheat the Broiler & Pan: Position an oven rack in the top third of your oven, about 6-8 inches from the broiler element. Preheat your broiler to a medium-high setting. Lightly oil your 10-12 inch heavy round baking pan (a springform pan works wonderfully for easy release). Place the empty, oiled pan under the broiler for 2-3 minutes to get it hot. This helps the first layer cook quickly and evenly.
- First Full Layer: Carefully remove the hot pan from the broiler. Pour about 1/4 cup of batter into the center of the pan. Quickly tilt and rotate the pan to spread the batter into a very thin, even layer that coats the entire bottom. Place the pan back under the broiler. Broil for 1-2 minutes until the batter sets, turns golden in spots, and shows slight bubbling, but doesn't burn. Watch it closely!
- Start the Sun-Ray Pattern: Remove the pan from the broiler. Using a heat-safe brush or the back of a spoon, gently spread a very thin layer of the creamy filling over the entire surface of the cooked batter. Now, using a squeeze bottle (highly recommended for precision) or a small ladle, draw radial lines of batter from the center of the pan outwards to the edge, creating a "sun-ray" or "starburst" pattern. Leave triangular gaps between these lines. Return the pan to the broiler and cook for another 1-2 minutes until the batter lines are set and lightly golden.
- Fill the Gaps & Build Layers: Remove the pan. Brush another thin layer of creamy filling over the cooked batter lines and exposed triangles. Now, draw new batter lines through the gaps left by your previous star pattern, effectively filling in the triangular spaces. Broil again for 1-2 minutes to set these new lines. Continue this process of brushing with filling, drawing new batter lines in the empty spaces (alternating the direction slightly with each layer to ensure full coverage and the signature pattern), and broiling. Aim for about 15-20 layers in total, with each cycle taking roughly 2-3 minutes.
- Final Browning: Once you've used all the batter and filling, and your flija has reached its desired height, give it a final broil. Cook for an additional 2-3 minutes, or until the entire top surface is deeply golden brown and crisp, without any visible wet batter. The edges should look slightly crisp.
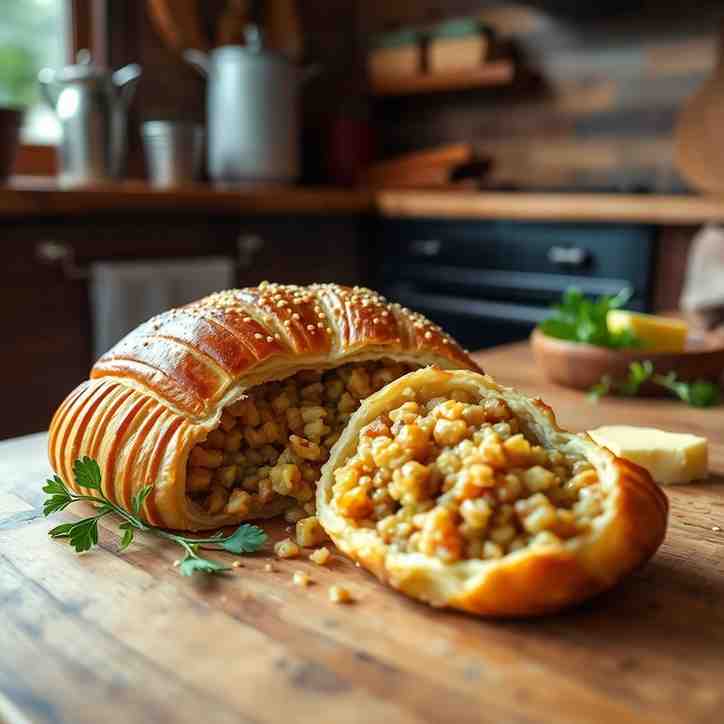
- Rest & Slice: Carefully remove the flija from the oven. Let it stand in the pan for 10-15 minutes. This resting time allows the layers to set and makes it easier to slice. Run a knife around the edge of the pan to loosen it, then carefully transfer it to a cutting board (if using a regular baking pan) or simply unlatch the springform. Cut the flija into wedges, just like a cake.
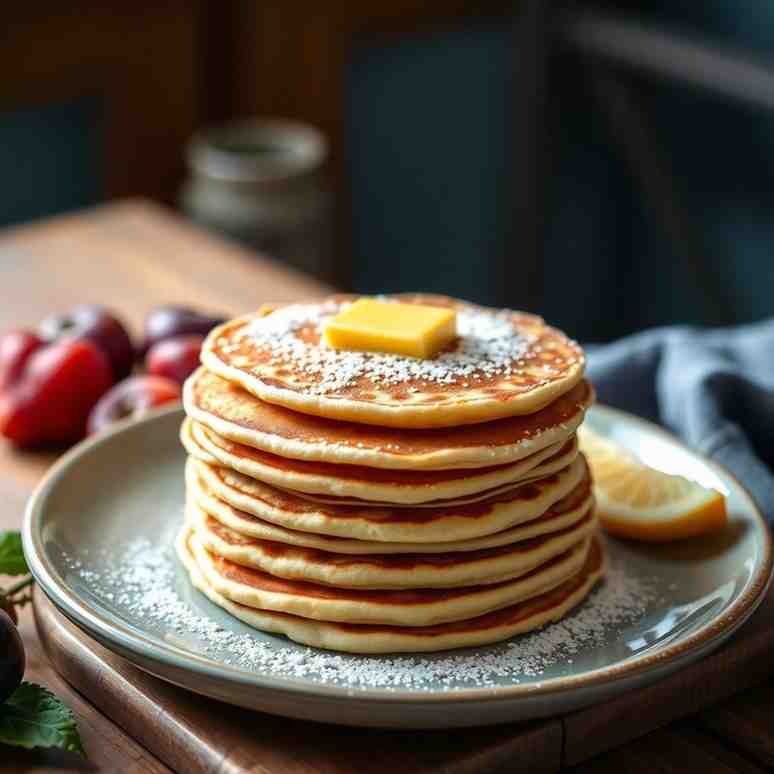
- Serve: Serve your beautiful Flija warm. Drizzle with honey or jam for a sweet treat, or offer a dollop of extra plain yogurt. For a traditional savory experience, serve it alongside crumbled feta cheese and fresh diced tomatoes – a truly authentic way to enjoy this layered delight.
Flija Pan Cake Recipe
- Serves: 12 People
- Prepare Time: 45 minutes
- Cooking Time: 90 minutes
- Calories: -
- Difficulty: Easy
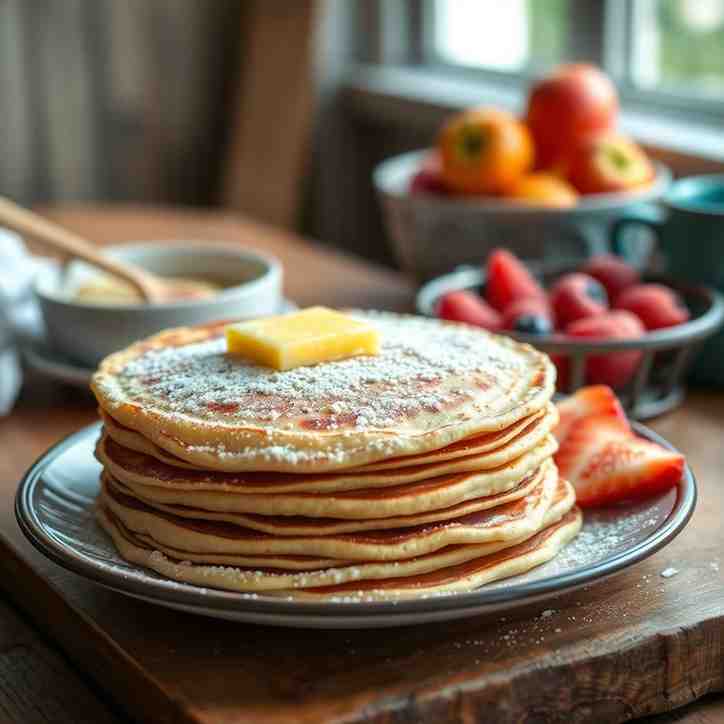
Get ready to embark on a culinary adventure with this incredible Flija pan cake recipe! Imagine a show-stopping, layered pancake cake that's both a feast for the eyes and a delight for the taste buds. This isn't just any food to make; it's a traditional Albanian and Kosovar specialty, renowned for its intricate sun-ray pattern and irresistible texture. While traditionally cooked outdoors under a special dome called a sac with hot coals, our version brings this ancient technique right into your home kitchen, adapted for your oven broiler.
This recipe focuses on the authentic, mountain-style flija you often see in stunning photos – a beautiful, round cake with crisp, golden edges and a soft, layered interior. We're diving deep into a traditional-style recipe, not a quick one-skillet shortcut. Here, you'll find one canonical recipe featuring a single, perfect batter and a luscious creamy filling, guiding you to create a flija that’s perfect for weekends, holidays, or any family gathering. If you're looking for unique dishes to make and want to learn how to make Flija pancake, you've come to the right place!
This recipe is designed to help you create an authentic Flija, adapted for your home broiler. It requires patience and a bit of artistry, but the results are truly rewarding.
Ingredients
Directions
- Mix the Batter: In a large bowl, whisk together the all-purpose flour and salt. If using the optional egg, lightly whisk it in a separate small bowl. Gradually add the water (and the whisked egg, if using) to the flour mixture, whisking continuously until you have a smooth, thick but pourable batter. It should be similar in consistency to a thin pancake batter or a thick crepe batter. Avoid lumps!
- Rest the Batter: Cover the bowl and let the batter rest at room temperature for at least 30-60 minutes. This resting period is crucial as it allows the flour to fully hydrate, reducing lumps and making the batter smoother and easier to spread. It also helps any air bubbles to settle, leading to more even layers.
- Make the Creamy Filling: While the batter rests, prepare your creamy filling. In a medium bowl, combine the full-fat plain yogurt, optional sour cream or kefir, melted butter, and neutral oil. Stir everything together until the mixture is completely smooth and has a runny, custard-like consistency. Set aside.
- Preheat the Broiler & Pan: Position an oven rack in the top third of your oven, about 6-8 inches from the broiler element. Preheat your broiler to a medium-high setting. Lightly oil your 10-12 inch heavy round baking pan (a springform pan works wonderfully for easy release). Place the empty, oiled pan under the broiler for 2-3 minutes to get it hot. This helps the first layer cook quickly and evenly.
- First Full Layer: Carefully remove the hot pan from the broiler. Pour about 1/4 cup of batter into the center of the pan. Quickly tilt and rotate the pan to spread the batter into a very thin, even layer that coats the entire bottom. Place the pan back under the broiler. Broil for 1-2 minutes until the batter sets, turns golden in spots, and shows slight bubbling, but doesn't burn. Watch it closely!
- Start the Sun-Ray Pattern: Remove the pan from the broiler. Using a heat-safe brush or the back of a spoon, gently spread a very thin layer of the creamy filling over the entire surface of the cooked batter. Now, using a squeeze bottle (highly recommended for precision) or a small ladle, draw radial lines of batter from the center of the pan outwards to the edge, creating a "sun-ray" or "starburst" pattern. Leave triangular gaps between these lines. Return the pan to the broiler and cook for another 1-2 minutes until the batter lines are set and lightly golden.
- Fill the Gaps & Build Layers: Remove the pan. Brush another thin layer of creamy filling over the cooked batter lines and exposed triangles. Now, draw new batter lines through the gaps left by your previous star pattern, effectively filling in the triangular spaces. Broil again for 1-2 minutes to set these new lines. Continue this process of brushing with filling, drawing new batter lines in the empty spaces (alternating the direction slightly with each layer to ensure full coverage and the signature pattern), and broiling. Aim for about 15-20 layers in total, with each cycle taking roughly 2-3 minutes.
- Final Browning: Once you've used all the batter and filling, and your flija has reached its desired height, give it a final broil. Cook for an additional 2-3 minutes, or until the entire top surface is deeply golden brown and crisp, without any visible wet batter. The edges should look slightly crisp.
- Rest & Slice: Carefully remove the flija from the oven. Let it stand in the pan for 10-15 minutes. This resting time allows the layers to set and makes it easier to slice. Run a knife around the edge of the pan to loosen it, then carefully transfer it to a cutting board (if using a regular baking pan) or simply unlatch the springform. Cut the flija into wedges, just like a cake.
- Serve: Serve your beautiful Flija warm. Drizzle with honey or jam for a sweet treat, or offer a dollop of extra plain yogurt. For a traditional savory experience, serve it alongside crumbled feta cheese and fresh diced tomatoes – a truly authentic way to enjoy this layered delight.
The following nutritional values are per serving (one piece of cake) Estimated Calories ~350-450 kcal per wedge Estimated Carbohydrates ~40-50g per wedge Estimated Protein ~8-12g per wedge Estimated Fat ~15-25g per wedgeRecipe Nutritional Values
Additional Information
Recipe Success Tips
Ingredient Substitutions & Variations
Cultural Variations
Make-Ahead & Storage Instructions
Frequently Asked Questions
Recommended Kitchen Tools
Time-Saving Tools & Ingredients Making Flija is a labor of love, but a few clever tools can certainly make the process smoother and a little less time-consuming. Here are our top picks:
Squeeze Bottle for Batter
Problem: Pouring thin batter for delicate layers can be messy and lead to uneven coverage, making your sun-ray pattern tricky to achieve.
Agitate: Without precise control, you might end up with thick spots that don't cook through, or thin areas that burn, ruining the signature texture.
Solution: A simple squeeze bottle (like those used for condiments) gives you incredible control over the batter flow. This means perfectly thin, even lines and a much easier time creating those beautiful radial patterns, saving you frustration and ensuring consistent layers.
Heavy Round Baking Pan (Springform or Solid)
Problem: Using a flimsy or oddly shaped pan can lead to uneven heat distribution and difficulty in removing your layered flija without damage.
Agitate: A pan that sticks or heats poorly can result in a burnt bottom, uncooked middle, or a crumbled masterpiece when you try to serve it.
Solution: A sturdy, heavy 10-12 inch round baking pan or springform pan ensures even heat distribution and allows for easy release. If you use a springform, make sure the bottom is sealed well to prevent any batter leaks. This investment guarantees a beautifully shaped flija that's easy to serve.
Heat-Safe Silicone Brush
Problem: Spreading the creamy filling evenly and thinly between hot layers can be challenging with a standard spoon or a brush that can't handle the heat.
Agitate: An uneven layer of filling can lead to pockets of raw batter or an overly rich, dense flija. A melting plastic brush is a kitchen nightmare!
Solution: A good quality, heat-safe silicone brush allows you to quickly and smoothly spread the creamy yogurt mixture across each hot batter layer. Its flexibility and heat resistance make the layering process efficient and safe, ensuring every part of your flija gets that delicious, tangy creaminess.
Calories per Ingredient
Click any ingredient for detailed nutritional information:
Resources & References
You may also like


Hey there! I’m just someone who seriously loves good food and believes that cooking doesn’t have to be complicated to be amazing. Whether it’s a quick weeknight dinner or a cozy weekend meal, I’m all about sharing easy, tasty recipes that actually work.