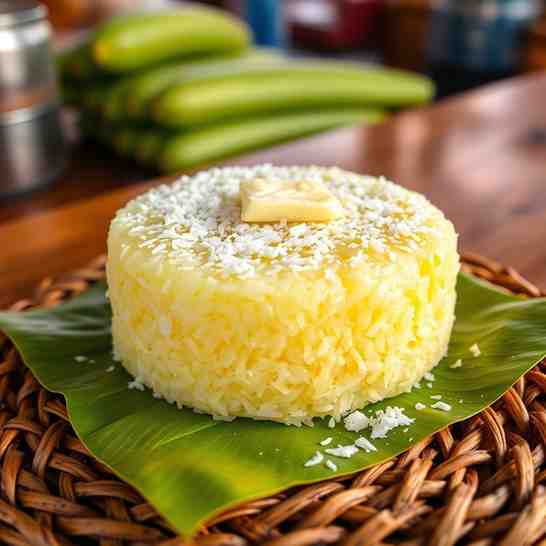
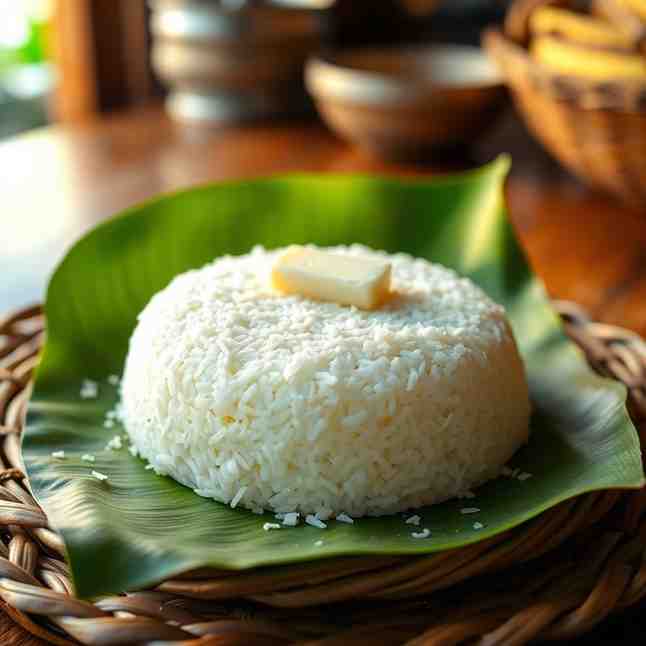
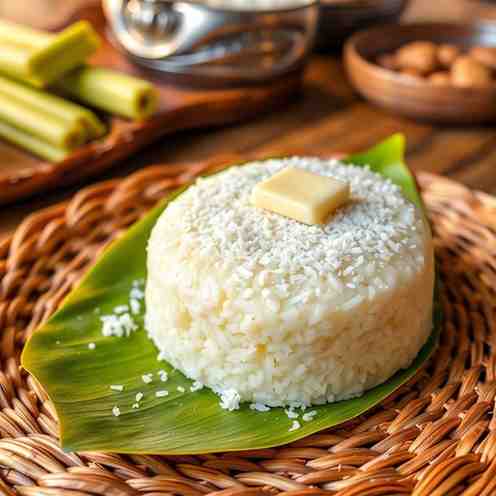
Filipino Bibingka - Coconut Rice Cake
Filipino Bibingka - Coconut Rice Cake
- Serves: 10 People
- Prepare Time: 20 minutes
- Cooking Time: 55 minutes
- Calories: -
- Difficulty: Medium
Get ready to whip up a slice of sunshine with Bibingka, a truly beloved Filipino coconut rice cake! This isn't just any dessert; it's a staple in traditional Filipino dishes, often enjoyed during holidays, especially Christmas, but honestly, it's perfect any time of year. Imagine a wonderfully soft, slightly chewy, and incredibly moist cake bursting with rich coconut flavor. What's even better? This classic treat is naturally gluten-free, made primarily from rice flour, making it a fantastic option for those seeking delicious gluten free recipes with rice. Whether you're looking for a delightful snack, a unique breakfast item, or a comforting dessert, Bibingka is a sweet, coconut-infused dream come true. Let's dive into making this authentic Filipino food dish that’s sure to become a new favorite!
Ingredients
Directions
- Prep Your Pan and Oven Preheat your oven to 375°F (190°C). Lightly grease a 9x13 inch baking dish with cooking spray or butter. If you want a more traditional presentation, you can line the bottom with banana leaves before greasing, which imparts a subtle aroma and helps prevent sticking.
- Whisk the Dry Ingredients In a large bowl, combine the sweet rice flour, regular rice flour, granulated sugar, baking powder, salt, and shredded coconut. Whisk them together thoroughly until well combined. This ensures an even distribution of leavening and flavor throughout your best rice cake.
- Cream the Wet Ingredients In a separate medium bowl, or using a stand mixer, cream the softened butter and sugar together until light and fluffy. Beat in the eggs one at a time, ensuring each is fully incorporated before adding the next. Gradually add the coconut milk and buttermilk, mixing until just combined. Don't overmix at this stage!
- Combine Wet and Dry Gradually add the dry ingredient mixture to the wet ingredients, mixing on low speed or by hand with a spatula until just combined. Be careful not to overmix; a few lumps are perfectly fine and will lead to a tenderer cake. The batter should be thick but pourable. Pour the batter evenly into your prepared baking dish for cake.
- Bake and Garnish Bake for 50-60 minutes, or until the top is golden brown and a wooden skewer or toothpick inserted into the center comes out clean. If the top browns too quickly, you can loosely tent it with foil. Once baked, remove from the oven and let it cool slightly. Garnish with additional shredded coconut if desired before slicing and serving.
You may also like


Hey there! I’m just someone who seriously loves good food and believes that cooking doesn’t have to be complicated to be amazing. Whether it’s a quick weeknight dinner or a cozy weekend meal, I’m all about sharing easy, tasty recipes that actually work.