
Best Homemade Butter - Easy Recipe
Best Homemade Butter - Easy Recipe

- Serves: 16 People
- Prepare Time: 10 minutes
- Cooking Time: 15 minutes
- Calories: -
- Difficulty: Easy
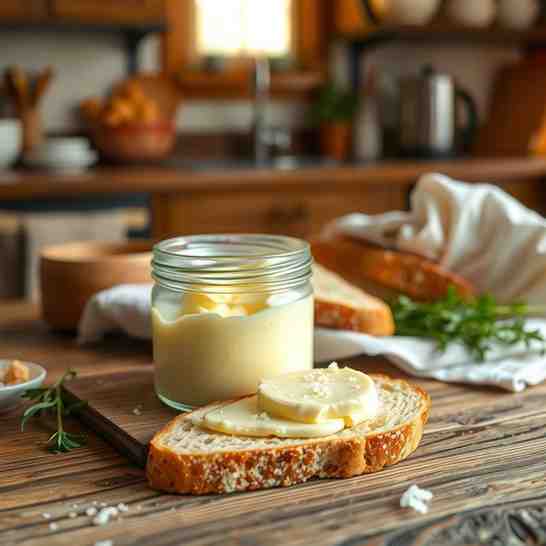
Ever wondered what it's like to enjoy truly fresh, rich, and utterly delicious butter? Forget the store-bought stuff for a moment, because making your own `homemade butter` is not just incredibly satisfying, it's surprisingly simple! This isn't just any `churning butter recipe`; it's the `best homemade butter recipe` you'll ever need, designed to turn humble `heavy cream into butter` with foolproof results every single time.
Why bother `making butter at home`? Well, for starters, the flavor is out of this world – a vibrant, creamy taste that elevates everything from toast to your favorite baked goods. Plus, you control the ingredients, meaning no weird additives, just pure, wholesome goodness. Our guide makes `homemade butter easy` by breaking down the `butter making process` into clear, actionable steps. We'll cover everything from the `best cream for making butter` to smart troubleshooting tips and how to store your golden creation. So, if you're ready to dive into the wonderful world of `making butter from heavy cream`, let's get started on your journey to golden indulgence!
Ingredients
Directions
- Stage 1: Cream → Whipped Cream
- Chill Your Tools: Before you begin `churning butter at home`, make sure your mixing bowl and whisk attachment (if using a stand mixer) are well chilled. Pop them in the freezer for 10-15 minutes. This helps the cream stay cold and speeds up the process.Pour the Cream: Pour the cold heavy cream into your chilled mixing bowl.
- Start Whipping: Using your chosen equipment (stand mixer, food processor, or hand mixer), begin mixing on medium-high speed.
- Expected Timing: About 2-3 minutes.
- Visual/Text Cues: The cream will first become frothy, then thicken into soft peaks, and finally, firm whipped cream. It should look like perfectly whipped cream, holding its shape.
- Stage 2: Whipped Cream → Butter Granules
- Keep Going: Continue mixing the whipped cream on medium-high speed. This is where the magic happens!
- Expected Timing: About 5-10 minutes (can vary by equipment and cream temperature).
- Visual/Text Cues: The whipped cream will first turn grainy and yellow. Then, it will start to look curdled, almost like cottage cheese. You'll notice the solids (butterfat) separating from a milky liquid (buttermilk). Keep mixing until the butterfat clumps together into distinct yellow granules and a significant amount of liquid has separated. It might splash a bit towards the end, so consider covering your mixer with a kitchen towel.
- Stage 3: Strain and Rinse Butter
- Separate the Buttermilk: Once the butter granules have clearly separated, stop mixing. Carefully pour the contents of the bowl through a fine-mesh sieve lined with cheesecloth, capturing the liquid (buttermilk) in a bowl below. Don't discard this!
- Rinse the Butter: Transfer the butter solids from the sieve into a clean bowl. Pour about ½ cup of ice water over the butter. Use a spatula or your hands (wearing gloves helps!) to press and knead the butter, squeezing out any remaining buttermilk. The water will turn cloudy.
- Repeat Rinsing: Drain the cloudy water. Repeat the rinsing process with the remaining ½ cup of ice water (or more, if needed), kneading and pressing until the water runs mostly clear. This step is crucial for good shelf life and flavor, as any leftover buttermilk can cause the butter to spoil faster.
- Stage 4: Salt & Shape
- Add Salt (Optional): Once the butter is thoroughly rinsed and excess water is squeezed out, transfer it to a clean bowl. If making `salted butter`, sprinkle in ½ teaspoon of salt (or to your preference) and knead it into the butter until evenly distributed.
- Shape & Store: Form the butter into a log, block, or any shape you prefer using a spatula, parchment paper, or butter molds.
- Expected Timing: 2-3 minutes.
- Visual/Text Cues: The butter will feel firm and smooth.
Best Homemade Butter - Easy Recipe
- Serves: 16 People
- Prepare Time: 10 minutes
- Cooking Time: 15 minutes
- Calories: -
- Difficulty: Easy
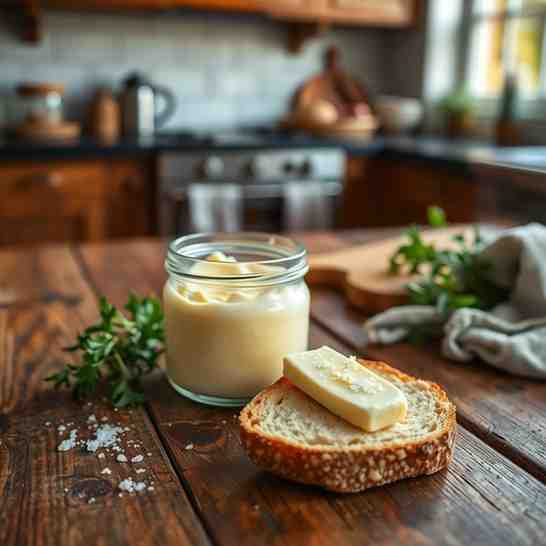
Ever wondered what it's like to enjoy truly fresh, rich, and utterly delicious butter? Forget the store-bought stuff for a moment, because making your own `homemade butter` is not just incredibly satisfying, it's surprisingly simple! This isn't just any `churning butter recipe`; it's the `best homemade butter recipe` you'll ever need, designed to turn humble `heavy cream into butter` with foolproof results every single time.
Why bother `making butter at home`? Well, for starters, the flavor is out of this world – a vibrant, creamy taste that elevates everything from toast to your favorite baked goods. Plus, you control the ingredients, meaning no weird additives, just pure, wholesome goodness. Our guide makes `homemade butter easy` by breaking down the `butter making process` into clear, actionable steps. We'll cover everything from the `best cream for making butter` to smart troubleshooting tips and how to store your golden creation. So, if you're ready to dive into the wonderful world of `making butter from heavy cream`, let's get started on your journey to golden indulgence!
Ingredients
Directions
- Stage 1: Cream → Whipped Cream
- Chill Your Tools: Before you begin `churning butter at home`, make sure your mixing bowl and whisk attachment (if using a stand mixer) are well chilled. Pop them in the freezer for 10-15 minutes. This helps the cream stay cold and speeds up the process.Pour the Cream: Pour the cold heavy cream into your chilled mixing bowl.
- Start Whipping: Using your chosen equipment (stand mixer, food processor, or hand mixer), begin mixing on medium-high speed.
- Expected Timing: About 2-3 minutes.
- Visual/Text Cues: The cream will first become frothy, then thicken into soft peaks, and finally, firm whipped cream. It should look like perfectly whipped cream, holding its shape.
- Stage 2: Whipped Cream → Butter Granules
- Keep Going: Continue mixing the whipped cream on medium-high speed. This is where the magic happens!
- Expected Timing: About 5-10 minutes (can vary by equipment and cream temperature).
- Visual/Text Cues: The whipped cream will first turn grainy and yellow. Then, it will start to look curdled, almost like cottage cheese. You'll notice the solids (butterfat) separating from a milky liquid (buttermilk). Keep mixing until the butterfat clumps together into distinct yellow granules and a significant amount of liquid has separated. It might splash a bit towards the end, so consider covering your mixer with a kitchen towel.
- Stage 3: Strain and Rinse Butter
- Separate the Buttermilk: Once the butter granules have clearly separated, stop mixing. Carefully pour the contents of the bowl through a fine-mesh sieve lined with cheesecloth, capturing the liquid (buttermilk) in a bowl below. Don't discard this!
- Rinse the Butter: Transfer the butter solids from the sieve into a clean bowl. Pour about ½ cup of ice water over the butter. Use a spatula or your hands (wearing gloves helps!) to press and knead the butter, squeezing out any remaining buttermilk. The water will turn cloudy.
- Repeat Rinsing: Drain the cloudy water. Repeat the rinsing process with the remaining ½ cup of ice water (or more, if needed), kneading and pressing until the water runs mostly clear. This step is crucial for good shelf life and flavor, as any leftover buttermilk can cause the butter to spoil faster.
- Stage 4: Salt & Shape
- Add Salt (Optional): Once the butter is thoroughly rinsed and excess water is squeezed out, transfer it to a clean bowl. If making `salted butter`, sprinkle in ½ teaspoon of salt (or to your preference) and knead it into the butter until evenly distributed.
- Shape & Store: Form the butter into a log, block, or any shape you prefer using a spatula, parchment paper, or butter molds.
- Expected Timing: 2-3 minutes.
- Visual/Text Cues: The butter will feel firm and smooth.
You may also like


Hey there! I’m just someone who seriously loves good food and believes that cooking doesn’t have to be complicated to be amazing. Whether it’s a quick weeknight dinner or a cozy weekend meal, I’m all about sharing easy, tasty recipes that actually work.


