
Classic Banana Pudding - Creamy, Easy & Delicious
Classic Banana Pudding - Creamy, Easy & Delicious
- Serves: 12 People
- Prepare Time: 20 minutes
- Cooking Time: 15 minutes
- Calories: -
- Difficulty: Easy
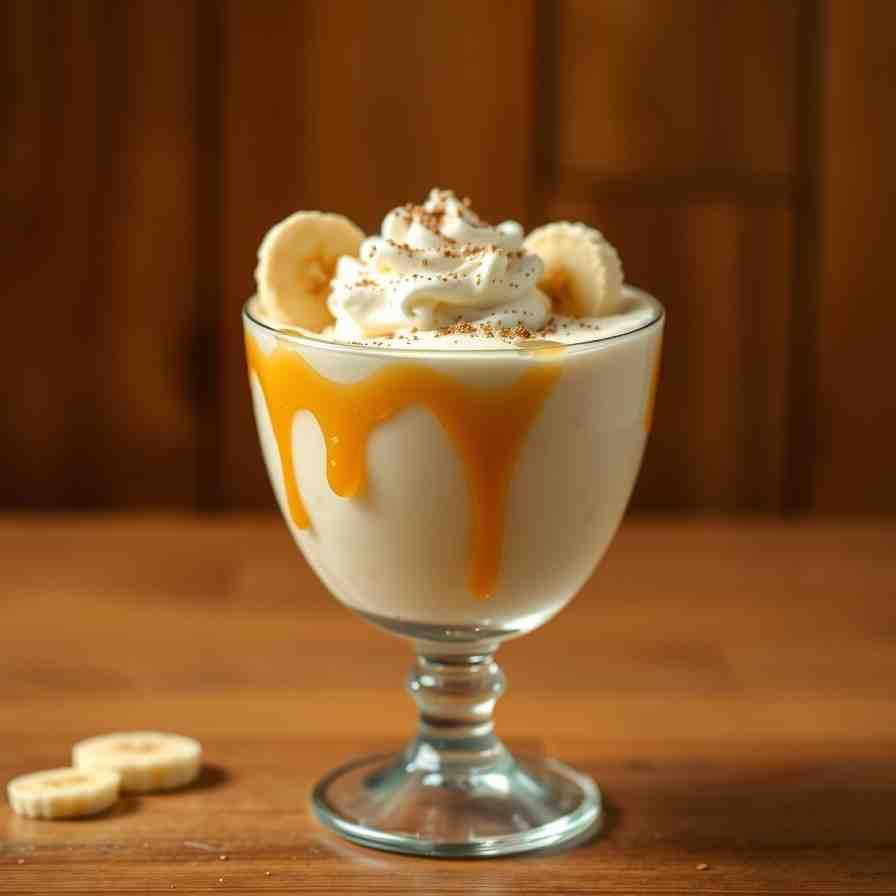
There's something undeniably comforting and utterly irresistible about a classic American banana pudding. It’s more than just a dessert; it’s a spoonful of pure nostalgia, a sweet memory waiting to be made. Forget those flimsy, store-bought versions – we're talking about a truly creamy banana pudding experience, where every bite is a perfect symphony of rich, smooth pudding, sweet, ripe bananas, and tender, vanilla-infused wafers.
This isn't just any recipe; it's your definitive guide to achieving the best dessert that promises luscious layers and a melt-in-your-mouth texture. We've honed this recipe to ensure reliable results every time, with clear texture checkpoints during cooking and a smart chill strategy that guarantees that perfect set. Get ready to impress everyone with your homemade creation!
Ingredients
Directions
- Make the Pudding Base (Stovetop) In a medium saucepan, whisk together the cornstarch, granulated sugar, and salt until well combined. Gradually add the milk, whisking constantly to ensure there are no lumps. Place the saucepan over medium heat and cook, whisking frequently, until the mixture begins to thicken. You'll know it's ready when it's thick enough to hold a "trail" when you run your whisk through it, and it comes to a gentle boil. This usually takes about 8-10 minutes. Remove from heat.
- Temper the Egg Yolks (So They Don't Scramble) In a separate small bowl, lightly whisk the egg yolks. Slowly drizzle about 1/2 cup of the hot pudding mixture into the whisked egg yolks, whisking constantly. This warms the yolks gradually. Now, slowly pour the warmed egg yolk mixture back into the saucepan with the remaining pudding, whisking vigorously. Return the saucepan to medium-low heat and cook for another 1-2 minutes, whisking constantly, until the pudding is very thick. If you see any tiny bits of cooked egg, don't worry! You can strain the pudding through a fine-mesh sieve later if desired, but often they disappear into the creaminess.
- Finish the Pudding Remove the saucepan from the heat. Stir in the butter and vanilla extract until the butter has melted and is fully incorporated. The pudding should look smooth and glossy. Let the pudding cool briefly, about 10-15 minutes, stirring occasionally. This prevents it from melting the vanilla wafers too quickly when layering.
- Slice Bananas + Build the Layers While the pudding cools slightly, slice your bananas into 1/4-inch thick rounds. In your 9x13 inch baking dish, arrange a single layer of vanilla wafers across the bottom. Top the wafers with a layer of sliced bananas. Spoon about half of the warm pudding evenly over the bananas and wafers. Repeat with another layer of wafers, bananas, and the remaining pudding.
- Top + Chill Gently spread your whipped topping (homemade or store-bought) over the final layer of pudding. Cover the dish tightly with plastic wrap, pressing the wrap directly onto the surface of the whipped topping to prevent a skin from forming. Chill the banana pudding in the refrigerator for a minimum of 4 hours, but for the absolute best texture and flavor, chilling overnight (8-12 hours) is highly recommended. This allows the wafers to soften and the flavors to meld beautifully.
- Serve To get clean slices, use a sharp knife that has been run under hot water and wiped dry between cuts. Serve cold. For an optional flourish, crush a few extra vanilla wafers and sprinkle them on top of individual servings just before serving. Enjoy your banana and cream dream!
Classic Banana Pudding - Creamy, Easy & Delicious

- Serves: 12 People
- Prepare Time: 20 minutes
- Cooking Time: 15 minutes
- Calories: -
- Difficulty: Easy
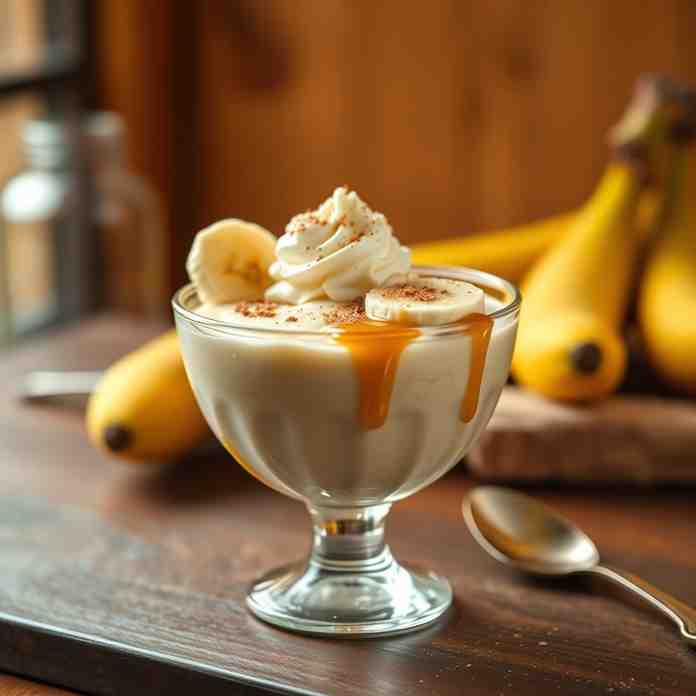
There's something undeniably comforting and utterly irresistible about a classic American banana pudding. It’s more than just a dessert; it’s a spoonful of pure nostalgia, a sweet memory waiting to be made. Forget those flimsy, store-bought versions – we're talking about a truly creamy banana pudding experience, where every bite is a perfect symphony of rich, smooth pudding, sweet, ripe bananas, and tender, vanilla-infused wafers.
This isn't just any recipe; it's your definitive guide to achieving the best dessert that promises luscious layers and a melt-in-your-mouth texture. We've honed this recipe to ensure reliable results every time, with clear texture checkpoints during cooking and a smart chill strategy that guarantees that perfect set. Get ready to impress everyone with your homemade creation!
Ingredients
Directions
- Make the Pudding Base (Stovetop) In a medium saucepan, whisk together the cornstarch, granulated sugar, and salt until well combined. Gradually add the milk, whisking constantly to ensure there are no lumps. Place the saucepan over medium heat and cook, whisking frequently, until the mixture begins to thicken. You'll know it's ready when it's thick enough to hold a "trail" when you run your whisk through it, and it comes to a gentle boil. This usually takes about 8-10 minutes. Remove from heat.
- Temper the Egg Yolks (So They Don't Scramble) In a separate small bowl, lightly whisk the egg yolks. Slowly drizzle about 1/2 cup of the hot pudding mixture into the whisked egg yolks, whisking constantly. This warms the yolks gradually. Now, slowly pour the warmed egg yolk mixture back into the saucepan with the remaining pudding, whisking vigorously. Return the saucepan to medium-low heat and cook for another 1-2 minutes, whisking constantly, until the pudding is very thick. If you see any tiny bits of cooked egg, don't worry! You can strain the pudding through a fine-mesh sieve later if desired, but often they disappear into the creaminess.
- Finish the Pudding Remove the saucepan from the heat. Stir in the butter and vanilla extract until the butter has melted and is fully incorporated. The pudding should look smooth and glossy. Let the pudding cool briefly, about 10-15 minutes, stirring occasionally. This prevents it from melting the vanilla wafers too quickly when layering.
- Slice Bananas + Build the Layers While the pudding cools slightly, slice your bananas into 1/4-inch thick rounds. In your 9x13 inch baking dish, arrange a single layer of vanilla wafers across the bottom. Top the wafers with a layer of sliced bananas. Spoon about half of the warm pudding evenly over the bananas and wafers. Repeat with another layer of wafers, bananas, and the remaining pudding.
- Top + Chill Gently spread your whipped topping (homemade or store-bought) over the final layer of pudding. Cover the dish tightly with plastic wrap, pressing the wrap directly onto the surface of the whipped topping to prevent a skin from forming. Chill the banana pudding in the refrigerator for a minimum of 4 hours, but for the absolute best texture and flavor, chilling overnight (8-12 hours) is highly recommended. This allows the wafers to soften and the flavors to meld beautifully.
- Serve To get clean slices, use a sharp knife that has been run under hot water and wiped dry between cuts. Serve cold. For an optional flourish, crush a few extra vanilla wafers and sprinkle them on top of individual servings just before serving. Enjoy your banana and cream dream!
You may also like


Hey there! I’m just someone who seriously loves good food and believes that cooking doesn’t have to be complicated to be amazing. Whether it’s a quick weeknight dinner or a cozy weekend meal, I’m all about sharing easy, tasty recipes that actually work.


