
Bake Perfect Gluten-Free Madeleines - Cheese & Herb
Bake Perfect Gluten-Free Madeleines - Cheese & Herb


- Serves: 18 People
- Prepare Time: 20 minutes
- Cooking Time: 12 minutes
- Calories: -
- Difficulty: Medium
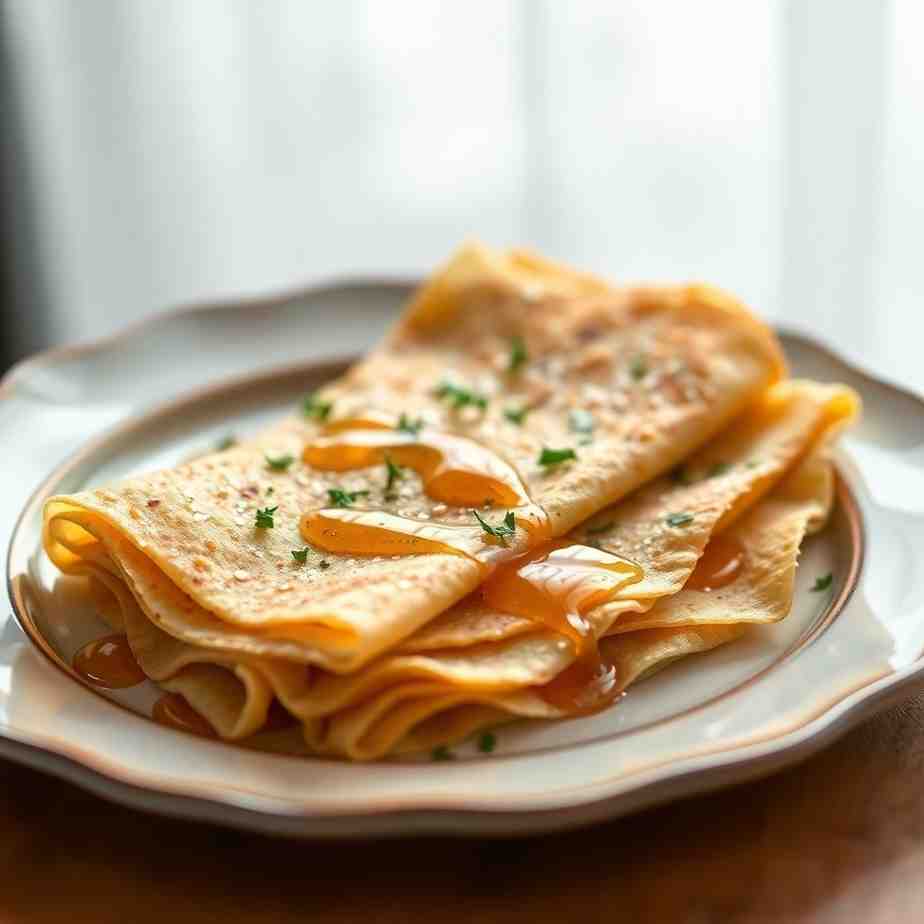
Welcome to the delightful world of French madeleines, reimagined with a savory twist! Forget everything you thought you knew about these classic shell-shaped cakes. While typically sweet, these savory versions — packed with cheese and fragrant herbs — are an absolute game-changer. They’re the ultimate `French apéritif bite``, perfect for elevating your cheese board, adding a touch of elegance to soups and salads, or making your brunch spread truly unforgettable.
Whether you're a seasoned `baking recipe`` enthusiast or just starting your journey into `pastry and baking``, this guide is designed for you. We’ll walk you through the authentic technique for creating that iconic madeleine hump, delve into the best `madeleine baking pan`` options, break down essential `ingredients to make cakes``, and provide foolproof troubleshooting tips. Plus, we’ll show you how to effortlessly adapt this recipe for `gluten free madeleines``, ensuring everyone can savor these exquisite treats. Get ready to impress with these tender, flavorful, and utterly addictive savory madeleines!
Ingredients
Directions
- Prep and Chill the Pan: Lightly brush your `madeleine baking pan`` cavities with melted butter, ensuring every crevice is coated. Sprinkle a little flour over the buttered cavities, then tap out any excess. Place the prepared pan in the freezer for at least 15-20 minutes. This critical step helps create the signature hump!
- Mix Dry Ingredients: In a small bowl, whisk together the flour (or `gluten-free flour blend``), `baking powder for baking``, salt, and black pepper. Set aside.
- Whip the Eggs: In a large mixing bowl, using a whisk or electric mixer, beat the eggs until they are pale in color and fluffy. This should take about 3-5 minutes, creating a light, airy `cake batter recipe``.
- Add Fat and Fold Dry Ingredients: Gently fold the cooled melted butter into the whipped eggs using a rubber spatula. Then, gradually add the dry ingredient mixture, folding until just combined. Be careful not to overmix; a few streaks of flour are fine. Overmixing can lead to tough madeleines.
- Fold in Cheese and Herbs: Gently fold in the finely grated cheese and chopped fresh herbs until evenly distributed. Ensure the cheese is finely grated to prevent it from weighing down the batter and creating flat, dense cakes.
- Rest the Batter: Cover the bowl with plastic wrap and refrigerate the batter for a minimum of 2 hours, or ideally, overnight. This chilling period is crucial for flavor development and achieving that perfect hump.
- Portion the Batter: Remove the cold pan from the freezer and the chilled batter from the fridge. Using a piping bag (or two small spoons), fill each madeleine cavity about two-thirds full. Do not overfill, as the batter needs space to expand and form the hump.
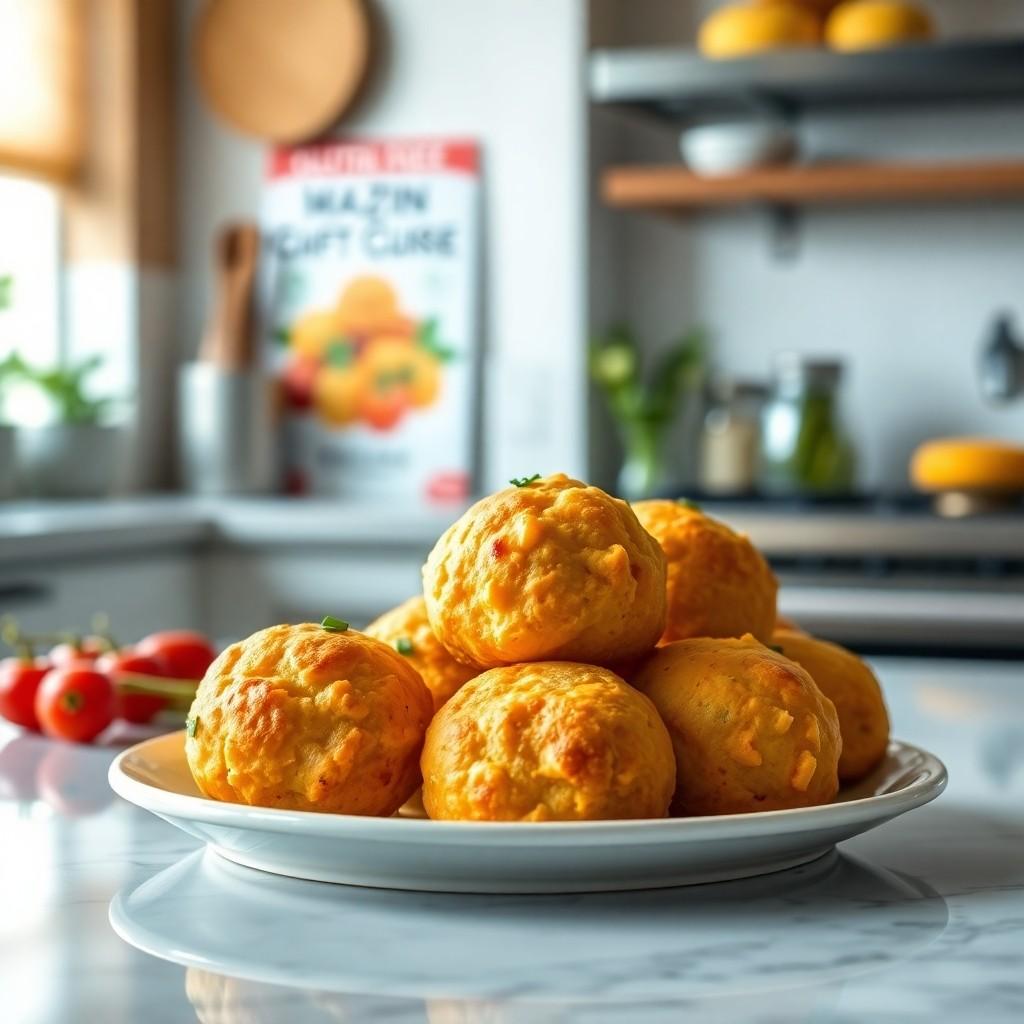
- Bake to Perfection: Preheat your oven to 400°F (200°C) with a rack in the middle position. Bake for 10-12 minutes, or until the edges are golden brown and the centers are springy to the touch. You should see a distinct "hump" forming on each madeleine.
- Unmold and Cool: Carefully remove the pan from the oven. Let the madeleines cool in the pan for just 1-2 minutes before gently unmolding them onto a wire rack to cool completely. If any stick, a gentle nudge with a thin offset spatula usually helps.
- What You Should See:
- Batter texture before chilling: A light, airy `sponge cake mixture`` with visible cheese and herbs.
- Batter texture after chilling: Thicker and firmer, but still pliable.
- How the cavities should look when filled: Each shell filled approximately 2/3 full.
- What a properly baked madeleine looks like: Golden edges, a springy center, and that beautiful, unmistakable hump.
Bake Perfect Gluten-Free Madeleines - Cheese & Herb

- Serves: 18 People
- Prepare Time: 20 minutes
- Cooking Time: 12 minutes
- Calories: -
- Difficulty: Medium
Welcome to the delightful world of French madeleines, reimagined with a savory twist! Forget everything you thought you knew about these classic shell-shaped cakes. While typically sweet, these savory versions — packed with cheese and fragrant herbs — are an absolute game-changer. They’re the ultimate `French apéritif bite``, perfect for elevating your cheese board, adding a touch of elegance to soups and salads, or making your brunch spread truly unforgettable.
Whether you're a seasoned `baking recipe`` enthusiast or just starting your journey into `pastry and baking``, this guide is designed for you. We’ll walk you through the authentic technique for creating that iconic madeleine hump, delve into the best `madeleine baking pan`` options, break down essential `ingredients to make cakes``, and provide foolproof troubleshooting tips. Plus, we’ll show you how to effortlessly adapt this recipe for `gluten free madeleines``, ensuring everyone can savor these exquisite treats. Get ready to impress with these tender, flavorful, and utterly addictive savory madeleines!
Ingredients
Directions
- Prep and Chill the Pan: Lightly brush your `madeleine baking pan`` cavities with melted butter, ensuring every crevice is coated. Sprinkle a little flour over the buttered cavities, then tap out any excess. Place the prepared pan in the freezer for at least 15-20 minutes. This critical step helps create the signature hump!
- Mix Dry Ingredients: In a small bowl, whisk together the flour (or `gluten-free flour blend``), `baking powder for baking``, salt, and black pepper. Set aside.
- Whip the Eggs: In a large mixing bowl, using a whisk or electric mixer, beat the eggs until they are pale in color and fluffy. This should take about 3-5 minutes, creating a light, airy `cake batter recipe``.
- Add Fat and Fold Dry Ingredients: Gently fold the cooled melted butter into the whipped eggs using a rubber spatula. Then, gradually add the dry ingredient mixture, folding until just combined. Be careful not to overmix; a few streaks of flour are fine. Overmixing can lead to tough madeleines.
- Fold in Cheese and Herbs: Gently fold in the finely grated cheese and chopped fresh herbs until evenly distributed. Ensure the cheese is finely grated to prevent it from weighing down the batter and creating flat, dense cakes.
- Rest the Batter: Cover the bowl with plastic wrap and refrigerate the batter for a minimum of 2 hours, or ideally, overnight. This chilling period is crucial for flavor development and achieving that perfect hump.
- Portion the Batter: Remove the cold pan from the freezer and the chilled batter from the fridge. Using a piping bag (or two small spoons), fill each madeleine cavity about two-thirds full. Do not overfill, as the batter needs space to expand and form the hump.
- Bake to Perfection: Preheat your oven to 400°F (200°C) with a rack in the middle position. Bake for 10-12 minutes, or until the edges are golden brown and the centers are springy to the touch. You should see a distinct "hump" forming on each madeleine.
- Unmold and Cool: Carefully remove the pan from the oven. Let the madeleines cool in the pan for just 1-2 minutes before gently unmolding them onto a wire rack to cool completely. If any stick, a gentle nudge with a thin offset spatula usually helps.
- What You Should See:
- Batter texture before chilling: A light, airy `sponge cake mixture`` with visible cheese and herbs.
- Batter texture after chilling: Thicker and firmer, but still pliable.
- How the cavities should look when filled: Each shell filled approximately 2/3 full.
- What a properly baked madeleine looks like: Golden edges, a springy center, and that beautiful, unmistakable hump.
You may also like


Hey there! I’m just someone who seriously loves good food and believes that cooking doesn’t have to be complicated to be amazing. Whether it’s a quick weeknight dinner or a cozy weekend meal, I’m all about sharing easy, tasty recipes that actually work.


