
Homemade Berry Ice Cream - Easy Recipe & Sweet Summer Treat
Homemade Berry Ice Cream - Easy Recipe & Sweet Summer Treat


- Serves: 6 People
- Prepare Time: 15 minutes
- Cooking Time: 25 minutes
- Calories: -
- Difficulty: Easy
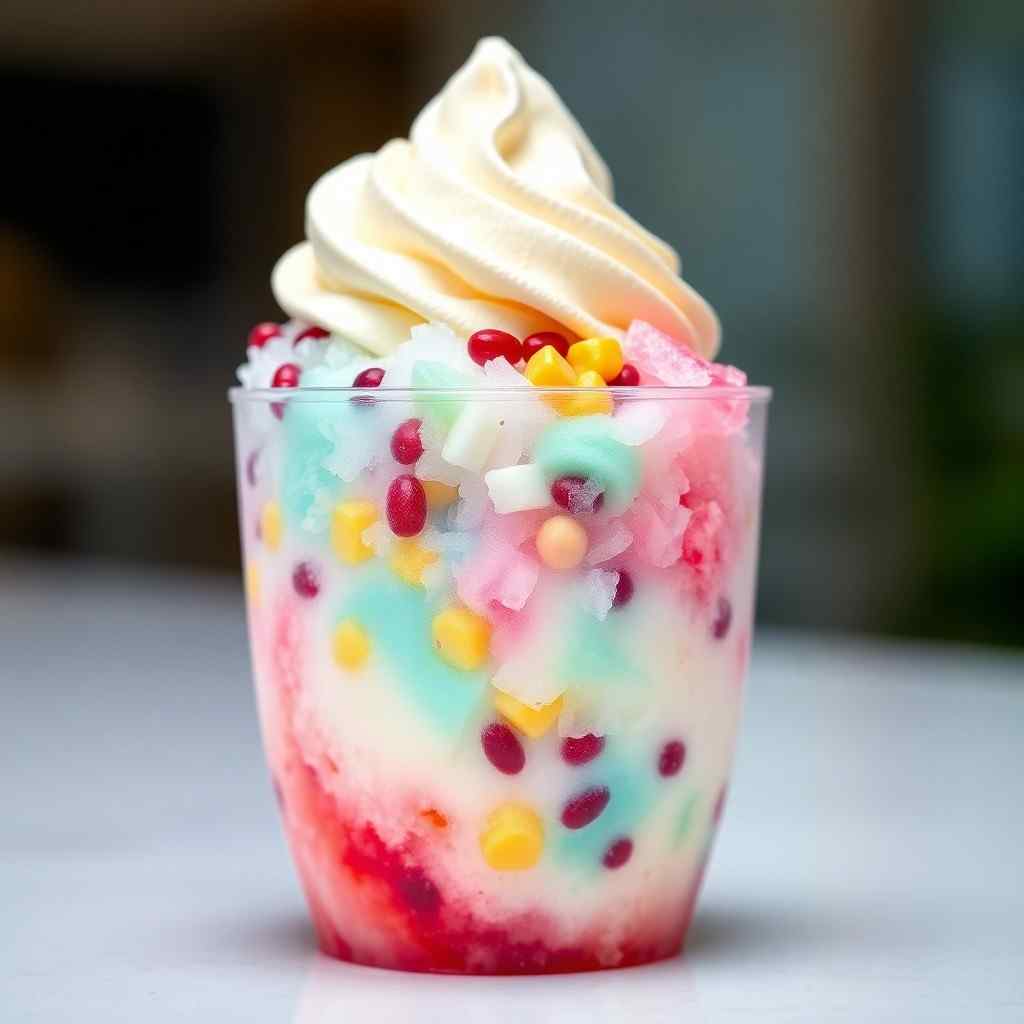
Dreaming of a refreshing, sweet treat that’s super simple to make? Look no further than homemade berry ice cream! Forget those store-bought tubs; whipping up your own creamy, fruity dessert is easier than you think. This recipe is all about celebrating the natural sweetness of berries combined with a rich, velvety base, creating the perfect cool-down for any sunny day. Whether you’re a total beginner in the kitchen or an experienced baker looking for a new summer staple, our easy ice cream guide will show you how to make your own ice cream with minimal fuss and maximum flavor. Get ready to enjoy a simple, delicious, and utterly satisfying frozen ice cream treat that tastes like pure sunshine!
Ingredients
Directions
- Prepare the Berries: Start by washing your fresh berries thoroughly. If you're using frozen berries, let them thaw slightly at room temperature. Once ready, gently mash the berries with a fork or potato masher. You can go for a chunky texture with delightful berry pieces or a smoother puree – it’s totally up to you!
- Mix the Cream Base: In a large bowl, combine the heavy cream, whole milk, granulated sugar, and a tiny pinch of salt. Whisk everything together until the sugar is completely dissolved. This might take a couple of minutes, but getting the sugar fully incorporated is key for a smooth ice cream texture.
- Incorporate the Berries: Now for the star of the show! Gently stir your mashed berries into the cream mixture. Add the vanilla extract and mix until everything is just combined. Don't overmix; we want to keep those berry flavors vibrant.
- Churn: Pour your beautiful berry mixture into your ice cream maker. Follow your manufacturer's instructions for churning – this usually takes about 20-25 minutes. You'll know it's ready when the mixture has thickened to the consistency of soft-serve ice cream.
- Freeze: Once churned, transfer the soft ice cream into an airtight container. Pop it into your freezer for at least 4 hours. This "curing" time allows the ice cream to firm up to a scoopable consistency. For the best texture, let it freeze overnight.
Homemade Berry Ice Cream - Easy Recipe & Sweet Summer Treat

- Serves: 6 People
- Prepare Time: 15 minutes
- Cooking Time: 25 minutes
- Calories: -
- Difficulty: Easy
Dreaming of a refreshing, sweet treat that’s super simple to make? Look no further than homemade berry ice cream! Forget those store-bought tubs; whipping up your own creamy, fruity dessert is easier than you think. This recipe is all about celebrating the natural sweetness of berries combined with a rich, velvety base, creating the perfect cool-down for any sunny day. Whether you’re a total beginner in the kitchen or an experienced baker looking for a new summer staple, our easy ice cream guide will show you how to make your own ice cream with minimal fuss and maximum flavor. Get ready to enjoy a simple, delicious, and utterly satisfying frozen ice cream treat that tastes like pure sunshine!
Ingredients
Directions
- Prepare the Berries: Start by washing your fresh berries thoroughly. If you're using frozen berries, let them thaw slightly at room temperature. Once ready, gently mash the berries with a fork or potato masher. You can go for a chunky texture with delightful berry pieces or a smoother puree – it’s totally up to you!
- Mix the Cream Base: In a large bowl, combine the heavy cream, whole milk, granulated sugar, and a tiny pinch of salt. Whisk everything together until the sugar is completely dissolved. This might take a couple of minutes, but getting the sugar fully incorporated is key for a smooth ice cream texture.
- Incorporate the Berries: Now for the star of the show! Gently stir your mashed berries into the cream mixture. Add the vanilla extract and mix until everything is just combined. Don't overmix; we want to keep those berry flavors vibrant.
- Churn: Pour your beautiful berry mixture into your ice cream maker. Follow your manufacturer's instructions for churning – this usually takes about 20-25 minutes. You'll know it's ready when the mixture has thickened to the consistency of soft-serve ice cream.
- Freeze: Once churned, transfer the soft ice cream into an airtight container. Pop it into your freezer for at least 4 hours. This "curing" time allows the ice cream to firm up to a scoopable consistency. For the best texture, let it freeze overnight.
You may also like


Hey there! I’m just someone who seriously loves good food and believes that cooking doesn’t have to be complicated to be amazing. Whether it’s a quick weeknight dinner or a cozy weekend meal, I’m all about sharing easy, tasty recipes that actually work.


