
Bake Kibinai in a Pan - The Definitive Karaim Pastry
Bake Kibinai in a Pan - The Definitive Karaim Pastry
- Serves: 12 People
- Prepare Time: 75 minutes
- Cooking Time: 25 minutes
- Calories: -
- Difficulty: Medium
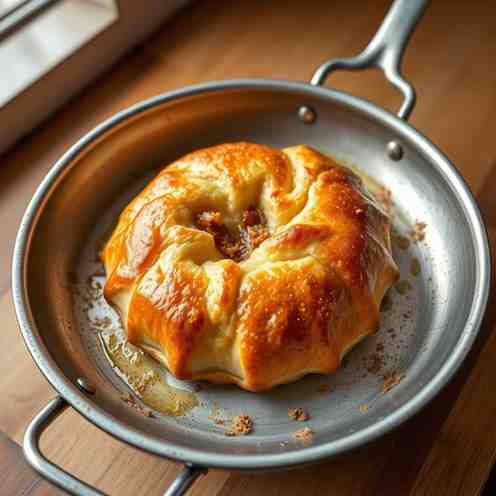
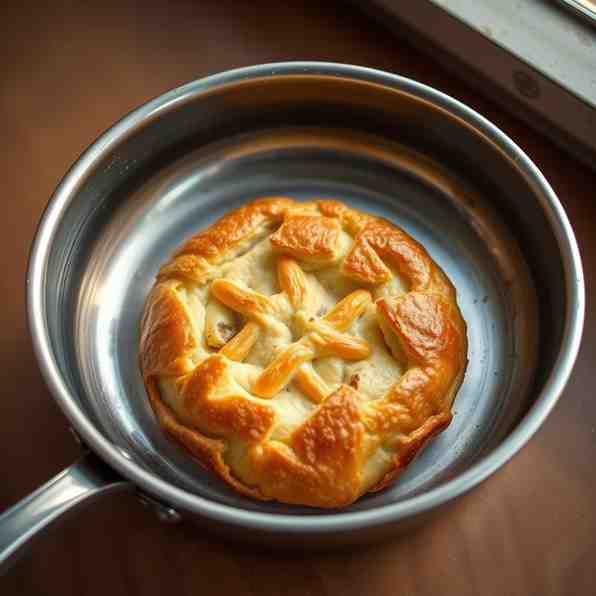
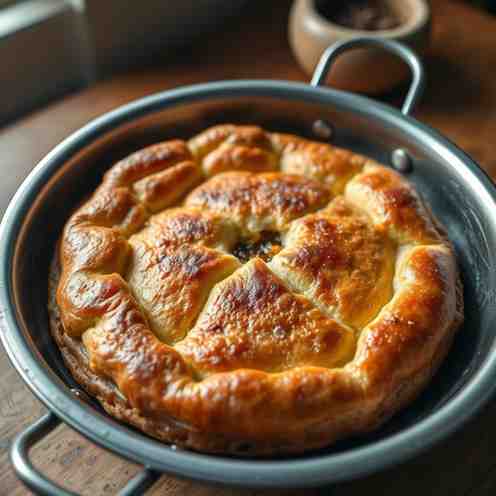
Ever dreamt of biting into a warm, savory pastry, rich with history and flavor? Get ready to discover Kibinai, the iconic Karaim meat pies that transport you straight to the heart of Trakai, Lithuania. These delightful pockets of dough, traditionally filled with seasoned lamb or pork, are more than just food; they're a culinary journey. While often found baked in large ovens, we're going to show you how to bake in a pan right in your home kitchen, making it easier than ever to enjoy this traditional treat.
This definitive guide isn't just about following a recipe; it's about mastering the art of Kibinai. We'll walk you through the canonical method with crystal-clear instructions, sprinkle in expert tips for perfect results, and even explore how to adapt these beauties for gluten-free baking and vegan gluten-free baking needs. Whether you're a seasoned baker or just starting your adventure with quick and easy gluten-free meals, you'll learn everything you need to create the best gluten-free dishes (or traditional ones!) that will impress everyone. Prepare to learn what makes Kibinai so special, why our version offers unparalleled clarity and flexibility, and how to pan to bake these incredible pastries to perfection.
Ingredients
Directions
- Make the Dough
- Combine Dry Ingredients: In a large mixing bowl, whisk together the flour, salt, and baking powder.
- Cut in Butter: Add the softened butter to the dry ingredients. Using your fingertips, a pastry blender, or a stand mixer with a paddle attachment, cut the butter into the flour until the mixture resembles coarse crumbs. There should still be some pea-sized pieces of butter.
- Add Wet Ingredients: In a separate bowl, whisk the 2 eggs and sour cream until well combined. Pour this mixture into the flour and butter mixture.
- Form the Dough: Gently mix until a shaggy dough forms. Turn the dough out onto a lightly floured surface and knead briefly, just until it comes together into a smooth, cohesive ball. Be careful not to over-knead; you want it tender, not tough. The dough should feel soft and pliable, not overly sticky or dry.
- Rest the Dough: Divide the dough into two equal portions, flatten each into a disc, wrap tightly in plastic wrap, and refrigerate for at least 30 minutes. This resting period allows the gluten to relax, making the dough easier to roll and preventing shrinkage.
- Prepare Filling
- Mix Ingredients: In a medium bowl, combine the finely diced meat, diced onion, water or broth, salt, and black pepper. If using, stir in the fresh parsley.
- Season Well: Mix thoroughly with your hands to ensure all ingredients are evenly distributed and the meat is well-seasoned. The key here is to season generously, as the flavor will mellow during baking.
- Roll & Shape
- Roll Out Dough: Take one disc of chilled dough from the refrigerator. On a lightly floured surface, roll it out evenly to about 1/8 inch (3-4 mm) thickness. The dough should be thin enough to be tender but robust enough to hold the filling without tearing.
- Cut Circles: Use a 4-5 inch (10-12 cm) round cookie cutter or a knife to cut out circles of dough. Gather and re-roll scraps as needed.
- Fill and Fold: Place a spoonful (about 1.5-2 tablespoons) of filling in the center of each dough circle. Don't overfill!
- Seal Edges: Fold one side of the dough over the filling to meet the other side, forming a half-moon shape. Pinch the edges firmly together to seal. Then, crimp the edges decoratively (like a dumpling or pie crust) to ensure a tight seal and prevent leakage.
- Bake to Perfection
- Preheat Oven: Preheat your oven to 375°F (190°C).
- Prepare Baking Sheet: Line a baking sheet with parchment paper.
- Egg Wash: Arrange the shaped Kibinai on the prepared baking sheet. In a small bowl, beat the remaining egg with a splash of water to create an egg wash. Brush the tops of the Kibinai generously with the egg wash; this will give them a beautiful golden-brown shine.
- Bake: Bake in a pan on the middle rack for 25-30 minutes, or until the pastries are deeply golden brown and the filling is cooked through. If your oven has hot spots, rotate the baking sheet halfway through baking for an even bake in a pan.
- Cool Slightly: Let the Kibinai cool on the baking sheet for a few minutes before serving.
Bake Kibinai in a Pan - The Definitive Karaim Pastry
- Serves: 12 People
- Prepare Time: 75 minutes
- Cooking Time: 25 minutes
- Calories: -
- Difficulty: Medium
Ever dreamt of biting into a warm, savory pastry, rich with history and flavor? Get ready to discover Kibinai, the iconic Karaim meat pies that transport you straight to the heart of Trakai, Lithuania. These delightful pockets of dough, traditionally filled with seasoned lamb or pork, are more than just food; they're a culinary journey. While often found baked in large ovens, we're going to show you how to bake in a pan right in your home kitchen, making it easier than ever to enjoy this traditional treat.
This definitive guide isn't just about following a recipe; it's about mastering the art of Kibinai. We'll walk you through the canonical method with crystal-clear instructions, sprinkle in expert tips for perfect results, and even explore how to adapt these beauties for gluten-free baking and vegan gluten-free baking needs. Whether you're a seasoned baker or just starting your adventure with quick and easy gluten-free meals, you'll learn everything you need to create the best gluten-free dishes (or traditional ones!) that will impress everyone. Prepare to learn what makes Kibinai so special, why our version offers unparalleled clarity and flexibility, and how to pan to bake these incredible pastries to perfection.
Ingredients
Directions
- Make the Dough
- Combine Dry Ingredients: In a large mixing bowl, whisk together the flour, salt, and baking powder.
- Cut in Butter: Add the softened butter to the dry ingredients. Using your fingertips, a pastry blender, or a stand mixer with a paddle attachment, cut the butter into the flour until the mixture resembles coarse crumbs. There should still be some pea-sized pieces of butter.
- Add Wet Ingredients: In a separate bowl, whisk the 2 eggs and sour cream until well combined. Pour this mixture into the flour and butter mixture.
- Form the Dough: Gently mix until a shaggy dough forms. Turn the dough out onto a lightly floured surface and knead briefly, just until it comes together into a smooth, cohesive ball. Be careful not to over-knead; you want it tender, not tough. The dough should feel soft and pliable, not overly sticky or dry.
- Rest the Dough: Divide the dough into two equal portions, flatten each into a disc, wrap tightly in plastic wrap, and refrigerate for at least 30 minutes. This resting period allows the gluten to relax, making the dough easier to roll and preventing shrinkage.
- Prepare Filling
- Mix Ingredients: In a medium bowl, combine the finely diced meat, diced onion, water or broth, salt, and black pepper. If using, stir in the fresh parsley.
- Season Well: Mix thoroughly with your hands to ensure all ingredients are evenly distributed and the meat is well-seasoned. The key here is to season generously, as the flavor will mellow during baking.
- Roll & Shape
- Roll Out Dough: Take one disc of chilled dough from the refrigerator. On a lightly floured surface, roll it out evenly to about 1/8 inch (3-4 mm) thickness. The dough should be thin enough to be tender but robust enough to hold the filling without tearing.
- Cut Circles: Use a 4-5 inch (10-12 cm) round cookie cutter or a knife to cut out circles of dough. Gather and re-roll scraps as needed.
- Fill and Fold: Place a spoonful (about 1.5-2 tablespoons) of filling in the center of each dough circle. Don't overfill!
- Seal Edges: Fold one side of the dough over the filling to meet the other side, forming a half-moon shape. Pinch the edges firmly together to seal. Then, crimp the edges decoratively (like a dumpling or pie crust) to ensure a tight seal and prevent leakage.
- Bake to Perfection
- Preheat Oven: Preheat your oven to 375°F (190°C).
- Prepare Baking Sheet: Line a baking sheet with parchment paper.
- Egg Wash: Arrange the shaped Kibinai on the prepared baking sheet. In a small bowl, beat the remaining egg with a splash of water to create an egg wash. Brush the tops of the Kibinai generously with the egg wash; this will give them a beautiful golden-brown shine.
- Bake: Bake in a pan on the middle rack for 25-30 minutes, or until the pastries are deeply golden brown and the filling is cooked through. If your oven has hot spots, rotate the baking sheet halfway through baking for an even bake in a pan.
- Cool Slightly: Let the Kibinai cool on the baking sheet for a few minutes before serving.
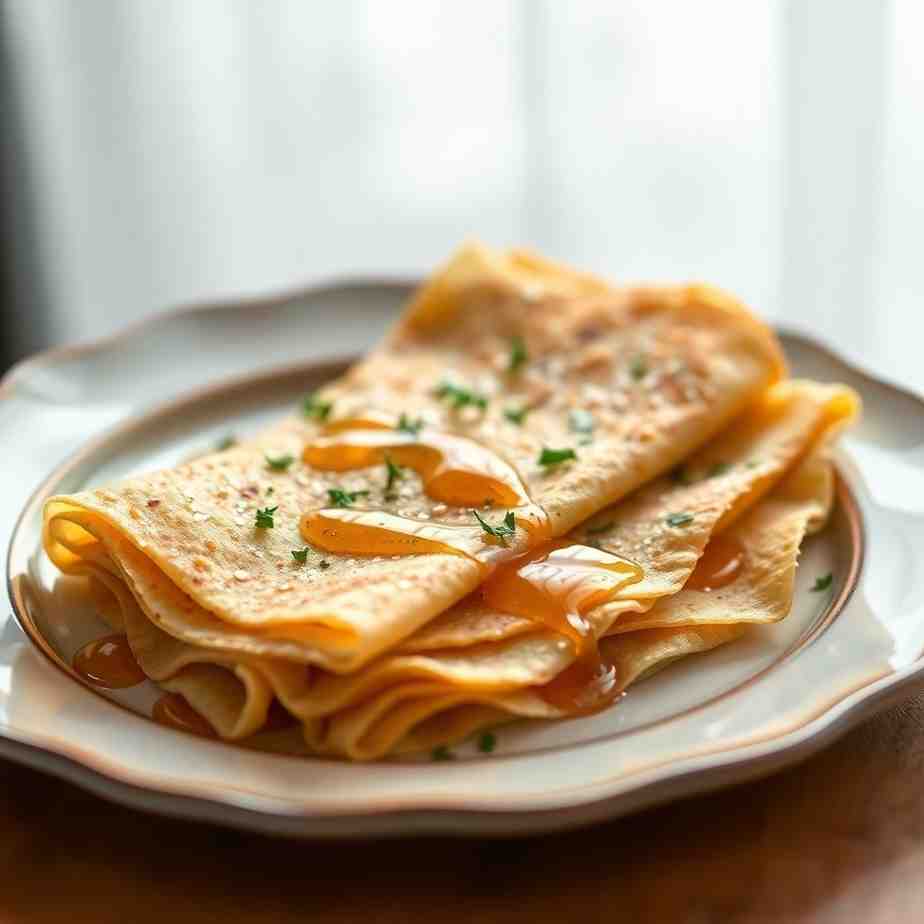
You may also like


Hey there! I’m just someone who seriously loves good food and believes that cooking doesn’t have to be complicated to be amazing. Whether it’s a quick weeknight dinner or a cozy weekend meal, I’m all about sharing easy, tasty recipes that actually work.


