
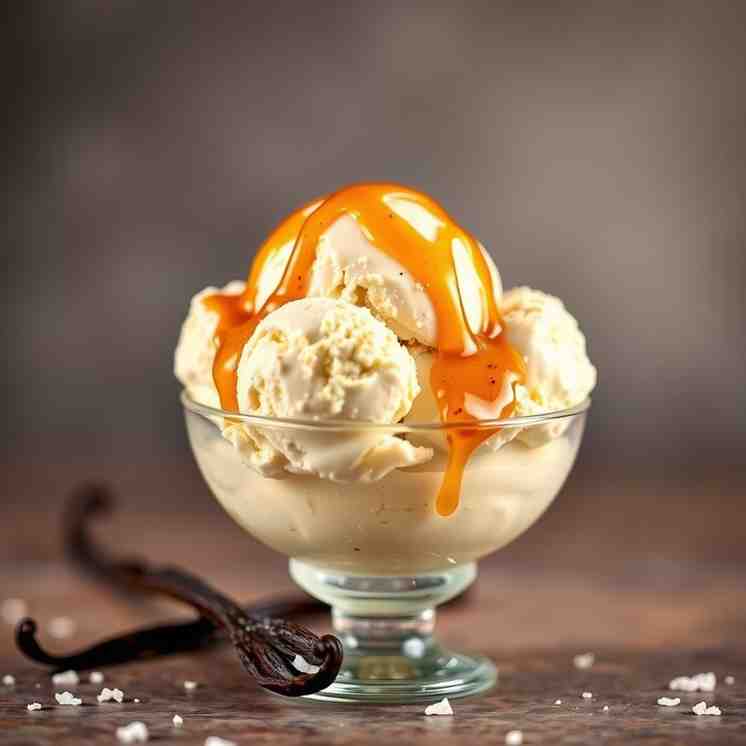
World's Best Ice Cream - Rich Vanilla Bean Custard Recipe
World's Best Ice Cream - Rich Vanilla Bean Custard Recipe
- Serves: 8 People
- Prepare Time: 30 minutes
- Cooking Time: 15 minutes
- Calories: -
- Difficulty: Medium
Ever dreamt of making the `world's best ice cream` right in your own kitchen? Get ready to whip up a batch of the most indulgent, `rich ice cream` you’ve ever tasted! This isn't just any vanilla ice cream; it's a `gourmet treat` that promises an ultra-creamy, deeply flavorful experience with real vanilla and a classic custard base. Forget store-bought; this `speciality ice cream` recipe is so good, it's the one you'll keep forever. We're talking about a truly `creamiest ice cream` that will redefine your perception of homemade desserts. Get ready for a `sweet treat ice cream` that uses `simple ingredients ice cream` to achieve pure bliss.
Here’s a quick peek at what awaits you:
Tools: Ice cream maker (essential!), thermometer (optional but recommended)
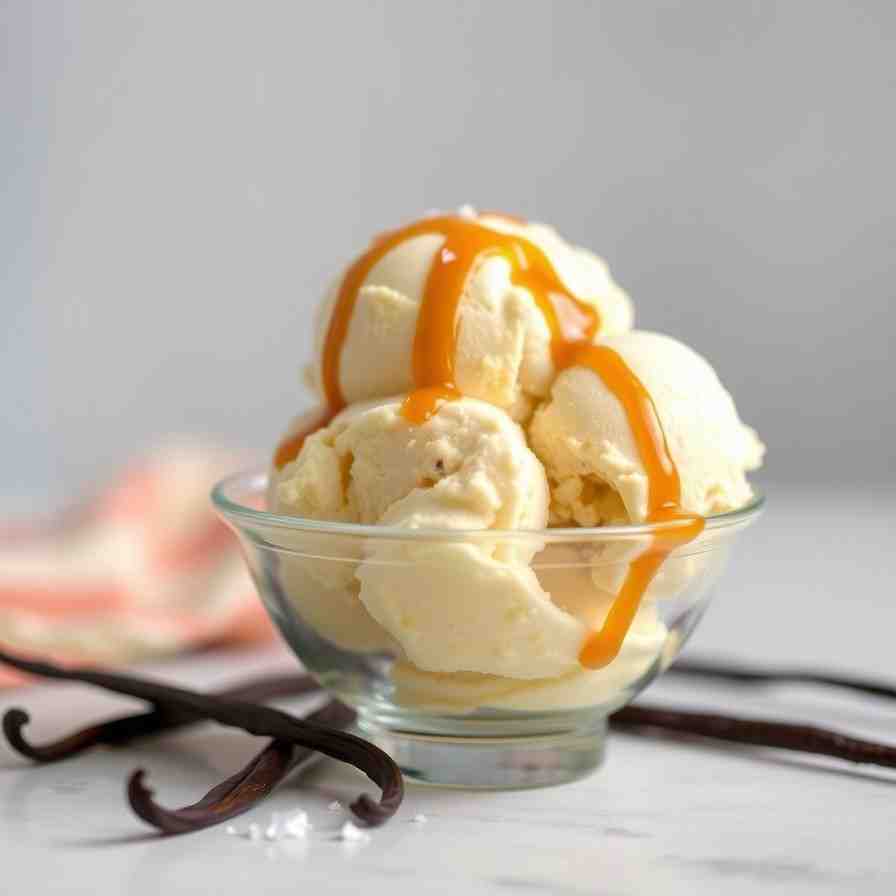
Taste: Decadently rich, bursting with real vanilla, and a perfectly scoopable texture every time.
So, what exactly makes this `fresh ice cream` recipe a truly "gourmet" experience? It comes down to a few key techniques and ingredients:
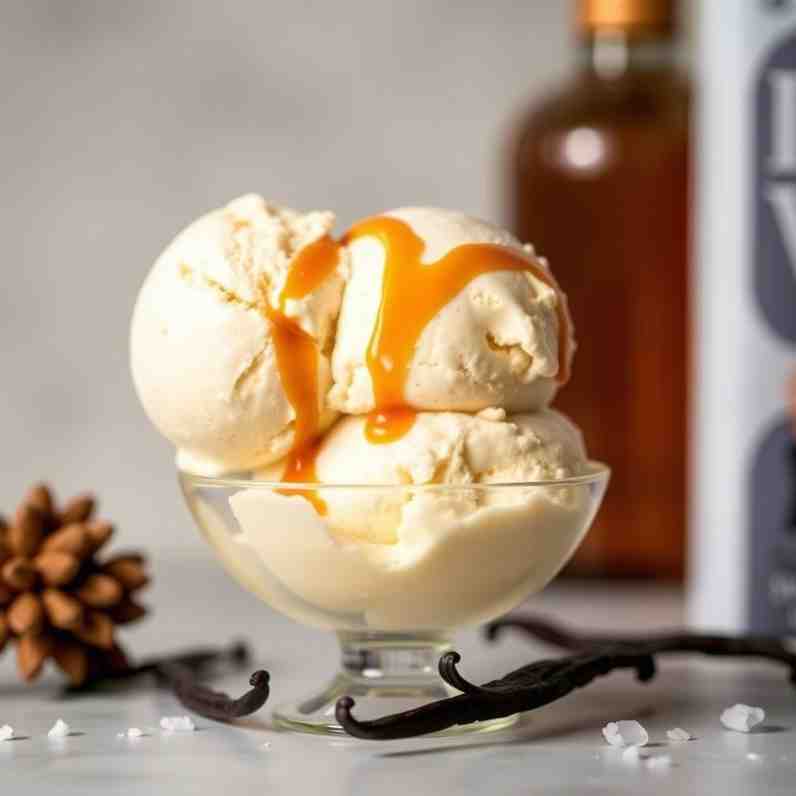
Vanilla Layered Flavor: We don't just use vanilla extract; we layer flavors with both a whole vanilla bean and pure vanilla extract for an unparalleled depth.
Fat + Sugar as Texture Tools: Beyond sweetness, sugar plays a crucial role in preventing ice crystals, while the specific fat percentage from whole milk and heavy cream gives us that luxurious mouthfeel.
Egg Yolks = Emulsification + Silkiness: Egg yolks are the secret to a smooth, velvety custard base, acting as natural emulsifiers that add incredible body and richness.
Aging the Base + Ripening the Churned Ice Cream: These professional techniques ensure maximum flavor development and the perfect, scoopable texture. Don't skip these steps!
Low Ice Crystals: We achieve this by chilling the base thoroughly and churning it at a very cold temperature, resulting in a wonderfully smooth, non-icy `milk ice cream`.
Ingredients
Directions
- Method (Single Unified Workflow)
- Prep + Chill Setup:
- If using a frozen-bowl ice cream maker, ensure its bowl has been frozen solid for at least 12-24 hours.
- Prepare an ice bath: Fill a large bowl with ice and a little water. Set a fine-mesh strainer over a clean, heatproof bowl (this will be your "cold cream" bowl) and place it directly into the ice bath. This setup allows for rapid cooling of the custard.
- Infuse the Vanilla:
- In a medium saucepan, combine the whole milk and heavy cream. Add the split vanilla bean pod and the scraped vanilla seeds.
- Heat the mixture over medium heat until it's just simmering around the edges and small bubbles appear. Do not boil.
- Remove from heat, cover, and let the vanilla steep for at least 30 minutes (or up to 1 hour) to infuse maximum flavor.
- Make the Custard Base:
- While the vanilla steeps, whisk the egg yolks and granulated sugar together in a separate medium bowl until pale yellow and creamy.
- After steeping, remove the vanilla bean pod from the dairy mixture (rinse, dry, and save for vanilla sugar if you like!). Reheat the dairy mixture briefly if it has cooled too much.
- Temper carefully: Slowly pour about half of the warm dairy mixture into the egg yolk mixture, whisking constantly to prevent the eggs from scrambling. This step gradually raises the temperature of the yolks.
- Pour the tempered egg mixture back into the saucepan with the remaining warm dairy.
- Return the saucepan to medium-low heat. Cook, stirring constantly with a heatproof spatula, until the custard thickens enough to coat the back of the spatula (a visual cue). If you run your finger across the coated spatula, it should leave a clear path. For precision, aim for a temperature of 170-175°F (77-79°C). Do not boil, or the custard will curdle.
- Strain + Chill Fast:
- Immediately pour the hot custard through the fine-mesh strainer into the cold cream bowl set in the ice bath. This stops the cooking process and catches any small cooked egg bits.
- Stir in the pure vanilla extract and pinch of salt.
- Continue to stir the custard over the ice bath until it is completely chilled, typically for 20-30 minutes. The colder it is now, the better the churned texture will be.
- Age the Base:
- Cover the chilled custard base tightly with plastic wrap, pressing it directly onto the surface of the custard to prevent a skin from forming.
- Refrigerate the base until very cold, ideally overnight (8-12 hours). This aging process allows the flavors to meld and mature, resulting in a richer, more complex `sweet cream ice cream`.
- Churn:
- Pour the well-chilled custard base into your ice cream maker.
- Churn according to your machine's instructions, typically 20-30 minutes. The ice cream is "done" when it has the consistency of soft-serve ice cream.
- Ripen (Final Freeze):
- Transfer the freshly churned ice cream to your prepared wide, shallow storage container.
- Press a piece of parchment paper or plastic wrap directly onto the surface of the ice cream to prevent freezer burn.
- Cover tightly with a lid and freeze for at least 4-6 hours (or preferably overnight) until it's firm enough to scoop easily. This "ripening" period allows the ice cream to fully set and develop its final, perfect texture.
- Serve:
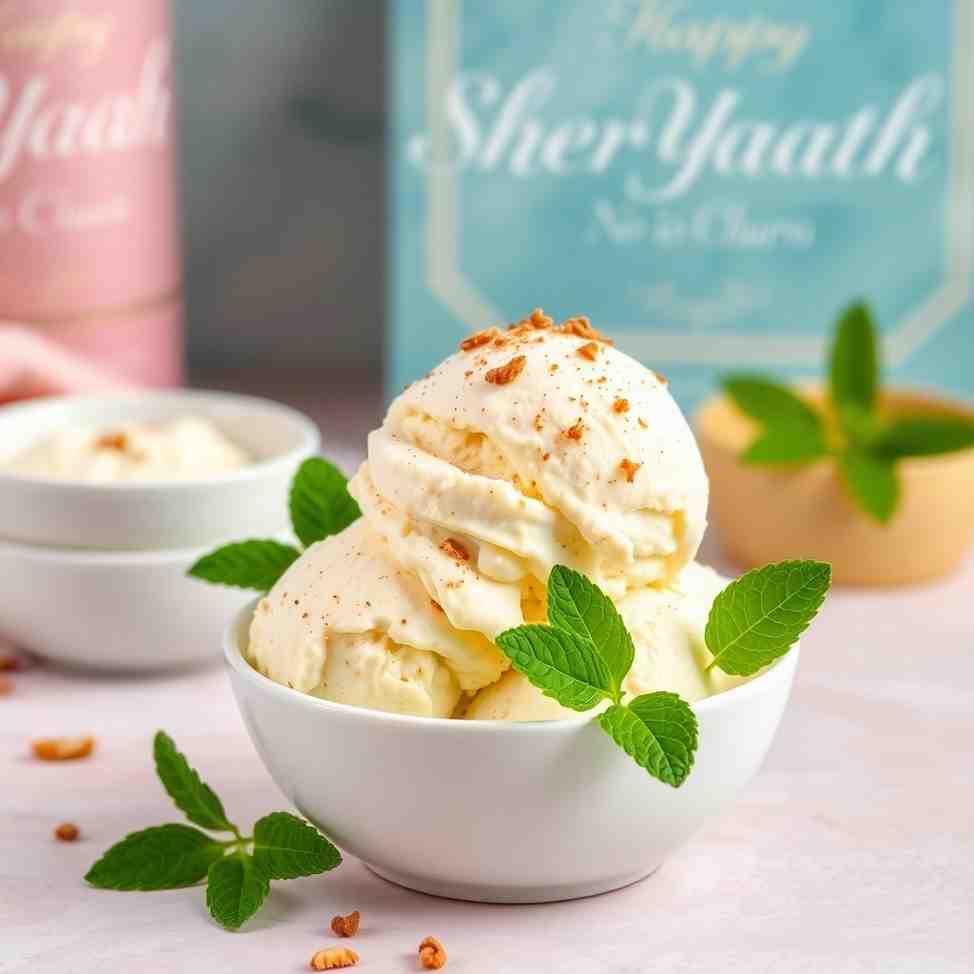
- For the best scoop method, let the ice cream soften at room temperature for 5-10 minutes before serving. This makes it easier to scoop and enhances its creamy texture. Enjoy your `best ice cream treat`!
World's Best Ice Cream - Rich Vanilla Bean Custard Recipe
- Serves: 8 People
- Prepare Time: 30 minutes
- Cooking Time: 15 minutes
- Calories: -
- Difficulty: Medium
Ever dreamt of making the `world's best ice cream` right in your own kitchen? Get ready to whip up a batch of the most indulgent, `rich ice cream` you’ve ever tasted! This isn't just any vanilla ice cream; it's a `gourmet treat` that promises an ultra-creamy, deeply flavorful experience with real vanilla and a classic custard base. Forget store-bought; this `speciality ice cream` recipe is so good, it's the one you'll keep forever. We're talking about a truly `creamiest ice cream` that will redefine your perception of homemade desserts. Get ready for a `sweet treat ice cream` that uses `simple ingredients ice cream` to achieve pure bliss.
Here’s a quick peek at what awaits you:
Tools: Ice cream maker (essential!), thermometer (optional but recommended)
Taste: Decadently rich, bursting with real vanilla, and a perfectly scoopable texture every time.
So, what exactly makes this `fresh ice cream` recipe a truly "gourmet" experience? It comes down to a few key techniques and ingredients:
Vanilla Layered Flavor: We don't just use vanilla extract; we layer flavors with both a whole vanilla bean and pure vanilla extract for an unparalleled depth.
Fat + Sugar as Texture Tools: Beyond sweetness, sugar plays a crucial role in preventing ice crystals, while the specific fat percentage from whole milk and heavy cream gives us that luxurious mouthfeel.
Egg Yolks = Emulsification + Silkiness: Egg yolks are the secret to a smooth, velvety custard base, acting as natural emulsifiers that add incredible body and richness.
Aging the Base + Ripening the Churned Ice Cream: These professional techniques ensure maximum flavor development and the perfect, scoopable texture. Don't skip these steps!
Low Ice Crystals: We achieve this by chilling the base thoroughly and churning it at a very cold temperature, resulting in a wonderfully smooth, non-icy `milk ice cream`.
Ingredients
Directions
- Method (Single Unified Workflow)
- Prep + Chill Setup:
- If using a frozen-bowl ice cream maker, ensure its bowl has been frozen solid for at least 12-24 hours.
- Prepare an ice bath: Fill a large bowl with ice and a little water. Set a fine-mesh strainer over a clean, heatproof bowl (this will be your "cold cream" bowl) and place it directly into the ice bath. This setup allows for rapid cooling of the custard.
- Infuse the Vanilla:
- In a medium saucepan, combine the whole milk and heavy cream. Add the split vanilla bean pod and the scraped vanilla seeds.
- Heat the mixture over medium heat until it's just simmering around the edges and small bubbles appear. Do not boil.
- Remove from heat, cover, and let the vanilla steep for at least 30 minutes (or up to 1 hour) to infuse maximum flavor.
- Make the Custard Base:
- While the vanilla steeps, whisk the egg yolks and granulated sugar together in a separate medium bowl until pale yellow and creamy.
- After steeping, remove the vanilla bean pod from the dairy mixture (rinse, dry, and save for vanilla sugar if you like!). Reheat the dairy mixture briefly if it has cooled too much.
- Temper carefully: Slowly pour about half of the warm dairy mixture into the egg yolk mixture, whisking constantly to prevent the eggs from scrambling. This step gradually raises the temperature of the yolks.
- Pour the tempered egg mixture back into the saucepan with the remaining warm dairy.
- Return the saucepan to medium-low heat. Cook, stirring constantly with a heatproof spatula, until the custard thickens enough to coat the back of the spatula (a visual cue). If you run your finger across the coated spatula, it should leave a clear path. For precision, aim for a temperature of 170-175°F (77-79°C). Do not boil, or the custard will curdle.
- Strain + Chill Fast:
- Immediately pour the hot custard through the fine-mesh strainer into the cold cream bowl set in the ice bath. This stops the cooking process and catches any small cooked egg bits.
- Stir in the pure vanilla extract and pinch of salt.
- Continue to stir the custard over the ice bath until it is completely chilled, typically for 20-30 minutes. The colder it is now, the better the churned texture will be.
- Age the Base:
- Cover the chilled custard base tightly with plastic wrap, pressing it directly onto the surface of the custard to prevent a skin from forming.
- Refrigerate the base until very cold, ideally overnight (8-12 hours). This aging process allows the flavors to meld and mature, resulting in a richer, more complex `sweet cream ice cream`.
- Churn:
- Pour the well-chilled custard base into your ice cream maker.
- Churn according to your machine's instructions, typically 20-30 minutes. The ice cream is "done" when it has the consistency of soft-serve ice cream.
- Ripen (Final Freeze):
- Transfer the freshly churned ice cream to your prepared wide, shallow storage container.
- Press a piece of parchment paper or plastic wrap directly onto the surface of the ice cream to prevent freezer burn.
- Cover tightly with a lid and freeze for at least 4-6 hours (or preferably overnight) until it's firm enough to scoop easily. This "ripening" period allows the ice cream to fully set and develop its final, perfect texture.
- Serve:
- For the best scoop method, let the ice cream soften at room temperature for 5-10 minutes before serving. This makes it easier to scoop and enhances its creamy texture. Enjoy your `best ice cream treat`!
You may also like

Hey there! I’m just someone who seriously loves good food and believes that cooking doesn’t have to be complicated to be amazing. Whether it’s a quick weeknight dinner or a cozy weekend meal, I’m all about sharing easy, tasty recipes that actually work.


