Salvadoran Pupusas - Masa Harina
Salvadoran Pupusas - Masa Harina
- Serves: 6 People
- Prepare Time: 45 minutes
- Cooking Time: 30 minutes
- Calories: -
- Difficulty: Medium
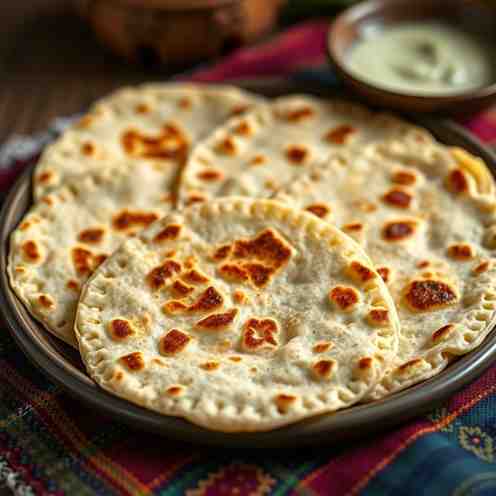
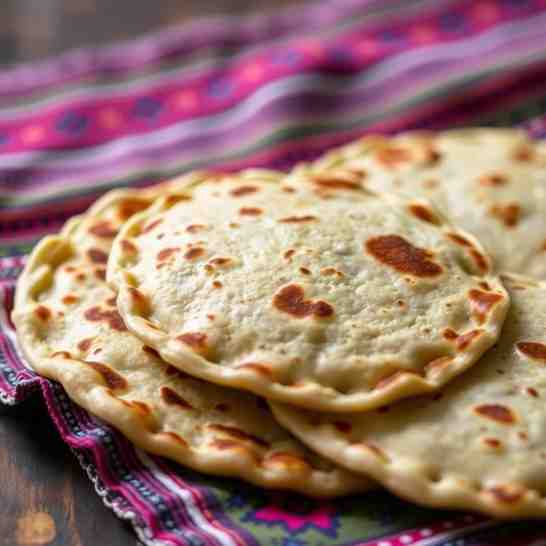
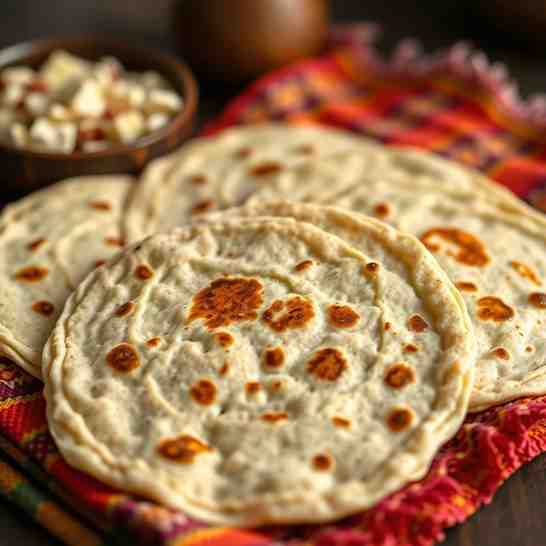
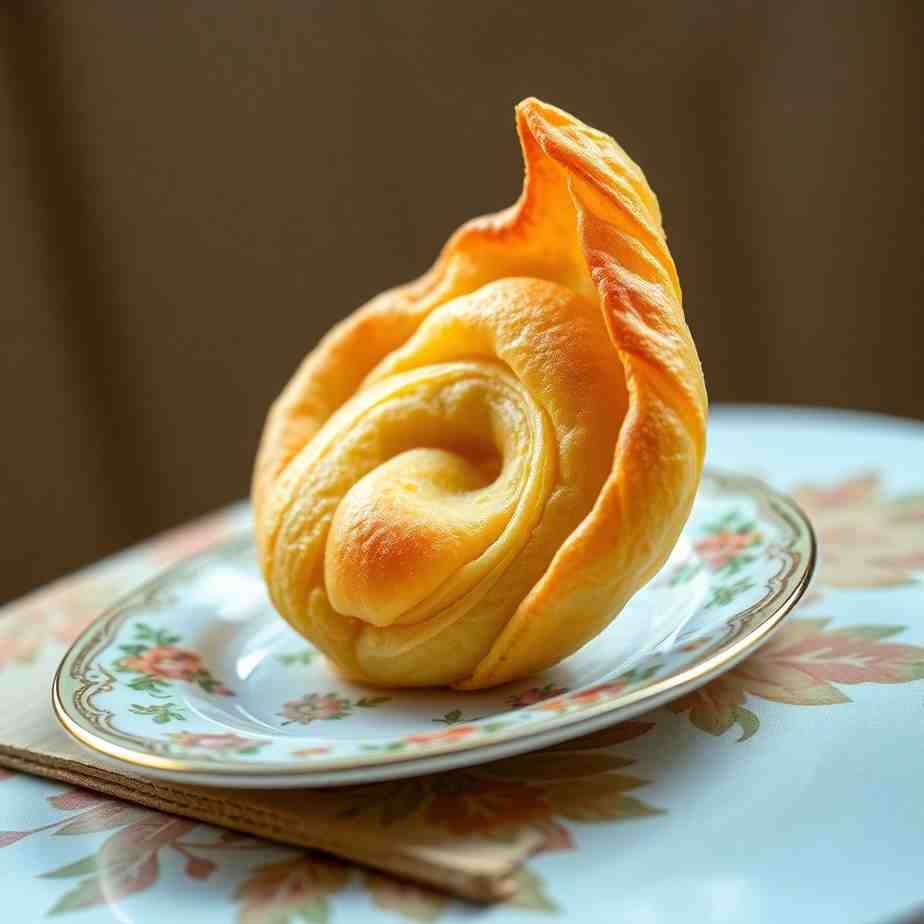
Welcome to the wonderful world of Pupusas con Curtido! If you've ever dreamt of sinking your teeth into a warm, cheesy, perfectly golden Salvadoran Pupusas Recipe: Classic Corn Tortillas with Curtido, you've come to the right place. These stuffed corn cakes are a taste of pure comfort, traditionally served with a tangy, crunchy cabbage salad called curtido and a simple, savory tomato salsa. The combination is simply irresistible! We're diving deep into mastering the masa harina flour dough, ensuring your pupusas are tender, flavorful, and don't crack. This isn't just a recipe; it's your beginner-proof guide. We’ll show you exactly what the "perfect dough" should feel like, how to seal those cheesy fillings without a fuss, and even how to tell your pan heat is just right. Get ready to impress yourself (and everyone else!) with these authentic delights.
Ingredients
Directions
- Prep the Veggies: In a large bowl, combine the shredded cabbage, grated carrot, and thinly sliced red onion.
- Make the Brine: In a separate small bowl, whisk together the vinegar, warm water, oregano, salt, and optional red pepper flakes until the salt dissolves.
- Combine & Rest: Pour the brine over the vegetables. Using clean hands, toss and massage the mixture for 2-3 minutes to help soften the cabbage and distribute the flavors.
- Marinate: Cover the bowl and let the curtido sit at room temperature for at least 30 minutes. For the best flavor and crunch, refrigerate it for a few hours, or ideally, overnight.
- Drain & Store: Before serving, drain any excess liquid from the curtido. It should remain crunchy. Store any leftovers in an airtight container in the refrigerator for up to 5-7 days.
- Make the Simple Tomato Salsa Ingredients
- 1 (14.5 ounce) can diced tomatoes, undrained
- ½ small white onion, roughly chopped
- 1-2 cloves garlic, peeled
- ¼ cup fresh cilantro (optional)
- ½ jalapeño, deseeded (optional, for a kick)
- ½ teaspoon salt (or to taste)
- ¼ teaspoon black pepper (or to taste)
- Make the Simple Tomato Salsa Step-by-Step Instructions
- Blend: Combine the canned diced tomatoes (with their liquid), chopped onion, garlic, optional cilantro, optional jalapeño, salt, and pepper in a blender or food processor.
- Smooth or Chunky: Blend until your desired consistency – smooth for a classic sauce, or slightly chunky for more texture.
- Simmer (Optional but Recommended): For a deeper flavor, transfer the blended salsa to a small saucepan. Bring to a gentle simmer over medium-low heat and cook for 10-15 minutes, stirring occasionally, until it thickens slightly and the flavors meld. If you're really short on time, you can serve it un-simmered, but simmering really brings out the best in it.
- Season: Taste and adjust seasoning as needed. The salsa should be bright and savory.
- Make the Pupusa Dough (Masa Harina) Ingredients
- 2 cups masa harina flour (specifically for tortillas/pupusas, not cornmeal)
- 1 ½ cups warm water (plus more if needed)
- 1 teaspoon salt
- Make the Pupusa Dough (Masa Harina) Step-by-Step Instructions
- Combine: In a large mixing bowl, combine the masa harina flour and salt. Gradually add the warm water, mixing with your hands until a soft, pliable dough forms.
- Knead: Continue to knead the dough for 2-3 minutes until it's smooth and uniform.
- Rest: Cover the bowl with a damp towel and let the dough rest for at least 10-15 minutes. This allows the masa harina flour to fully hydrate, making the dough easier to work with and less prone to cracking.
- Dough Feel Test: After resting, pinch off a small piece of dough and roll it into a ball, then gently press the edges. If it cracks excessively, add a tablespoon of warm water at a time and knead until it's smooth and doesn't crack. The perfect dough should feel like soft play-dough – moist but not sticky.
- Mix the Filling (Keep It Simple + Cheesy) Ingredients
- 2 cups shredded cheese (Monterey Jack, mozzarella, or a blend)
- 2 tablespoons refried beans (optional, but helpful for binding)
- Mix the Filling (Keep It Simple + Cheesy) Step-by-Step Instructions
- Combine: In a medium bowl, gently mix the shredded cheese. If using, add the refried beans and mix just enough to combine. The beans act as a binder, making the filling less likely to leak out during cooking.
- Portioning: Keep the filling mixture light and fluffy. Don't overpack it, as this can cause the pupusas to burst.Shape the Pupusas (Step-by-Step) Instructions
- Prep Your Hands: Set up a small bowl with about ½ cup of water mixed with a teaspoon of oil. Dip your hands into this mixture before shaping each pupusa; it prevents the dough from sticking.
- Form a Ball: Take a golf-ball sized piece of dough (about 2-3 ounces) and roll it into a smooth ball in your oiled hands.
- Create a Well: Press your thumb into the center of the ball to create a deep well or cup, leaving the edges thick.
- Add Filling: Spoon about 1-2 tablespoons of the cheese filling into the well. Don't overfill!
- Pinch to Seal: Gently bring the edges of the dough up and over the filling, pinching them together at the top to completely seal the filling inside. It might look like a little pyramid or a dumpling at this point.
- Flatten Gently: Carefully flatten the sealed ball into a disc, about ½ inch thick and 4-5 inches in diameter, rotating it between your oiled palms. Be gentle to prevent the filling from bursting through. If a crack appears, use a small piece of extra dough to patch it.
- Prevent Drying: As you shape your pupusas, place them on a plate and cover them with a damp towel to prevent them from drying out.
- Cook the Pupusas Instructions
- Heat the Skillet: Heat a cast iron skillet, comal, or nonstick pan over medium to medium-high heat. The pan is ready when a drop of water sizzles and evaporates quickly. You don't need oil for cooking pupusas; they are traditionally dry-cooked.
- Cook First Side: Place a pupusa (or as many as fit without crowding) onto the hot, dry skillet. Cook for 3-5 minutes, or until the bottom is golden brown and slightly crispy.
- Flip: Carefully flip the pupusa with a spatula. Cook for another 3-5 minutes on the second side until golden brown.
- Press (Sparingly): If the pupusa puffs up too much, you can gently press it down with the back of your spatula to ensure even cooking. However, avoid pressing too hard or too often, as this can squeeze out the filling.
- Cook Through: The pupusa is done when both sides are beautifully browned and the center is cooked through (no raw masa harina flour taste). You can tell it's cooked when the edges are set and it feels firm to the touch.
- Serve Hot: Transfer cooked pupusas to a plate and serve immediately with curtido and salsa. Keep cooked pupusas warm in a clean kitchen towel while you finish the rest.
Salvadoran Pupusas - Masa Harina
- Serves: 6 People
- Prepare Time: 45 minutes
- Cooking Time: 30 minutes
- Calories: -
- Difficulty: Medium
Welcome to the wonderful world of Pupusas con Curtido! If you've ever dreamt of sinking your teeth into a warm, cheesy, perfectly golden Salvadoran Pupusas Recipe: Classic Corn Tortillas with Curtido, you've come to the right place. These stuffed corn cakes are a taste of pure comfort, traditionally served with a tangy, crunchy cabbage salad called curtido and a simple, savory tomato salsa. The combination is simply irresistible! We're diving deep into mastering the masa harina flour dough, ensuring your pupusas are tender, flavorful, and don't crack. This isn't just a recipe; it's your beginner-proof guide. We’ll show you exactly what the "perfect dough" should feel like, how to seal those cheesy fillings without a fuss, and even how to tell your pan heat is just right. Get ready to impress yourself (and everyone else!) with these authentic delights.
Ingredients
Directions
- Prep the Veggies: In a large bowl, combine the shredded cabbage, grated carrot, and thinly sliced red onion.
- Make the Brine: In a separate small bowl, whisk together the vinegar, warm water, oregano, salt, and optional red pepper flakes until the salt dissolves.
- Combine & Rest: Pour the brine over the vegetables. Using clean hands, toss and massage the mixture for 2-3 minutes to help soften the cabbage and distribute the flavors.
- Marinate: Cover the bowl and let the curtido sit at room temperature for at least 30 minutes. For the best flavor and crunch, refrigerate it for a few hours, or ideally, overnight.
- Drain & Store: Before serving, drain any excess liquid from the curtido. It should remain crunchy. Store any leftovers in an airtight container in the refrigerator for up to 5-7 days.
- Make the Simple Tomato Salsa Ingredients
- 1 (14.5 ounce) can diced tomatoes, undrained
- ½ small white onion, roughly chopped
- 1-2 cloves garlic, peeled
- ¼ cup fresh cilantro (optional)
- ½ jalapeño, deseeded (optional, for a kick)
- ½ teaspoon salt (or to taste)
- ¼ teaspoon black pepper (or to taste)
- Make the Simple Tomato Salsa Step-by-Step Instructions
- Blend: Combine the canned diced tomatoes (with their liquid), chopped onion, garlic, optional cilantro, optional jalapeño, salt, and pepper in a blender or food processor.
- Smooth or Chunky: Blend until your desired consistency – smooth for a classic sauce, or slightly chunky for more texture.
- Simmer (Optional but Recommended): For a deeper flavor, transfer the blended salsa to a small saucepan. Bring to a gentle simmer over medium-low heat and cook for 10-15 minutes, stirring occasionally, until it thickens slightly and the flavors meld. If you're really short on time, you can serve it un-simmered, but simmering really brings out the best in it.
- Season: Taste and adjust seasoning as needed. The salsa should be bright and savory.
- Make the Pupusa Dough (Masa Harina) Ingredients
- 2 cups masa harina flour (specifically for tortillas/pupusas, not cornmeal)
- 1 ½ cups warm water (plus more if needed)
- 1 teaspoon salt
- Make the Pupusa Dough (Masa Harina) Step-by-Step Instructions
- Combine: In a large mixing bowl, combine the masa harina flour and salt. Gradually add the warm water, mixing with your hands until a soft, pliable dough forms.
- Knead: Continue to knead the dough for 2-3 minutes until it's smooth and uniform.
- Rest: Cover the bowl with a damp towel and let the dough rest for at least 10-15 minutes. This allows the masa harina flour to fully hydrate, making the dough easier to work with and less prone to cracking.
- Dough Feel Test: After resting, pinch off a small piece of dough and roll it into a ball, then gently press the edges. If it cracks excessively, add a tablespoon of warm water at a time and knead until it's smooth and doesn't crack. The perfect dough should feel like soft play-dough – moist but not sticky.
- Mix the Filling (Keep It Simple + Cheesy) Ingredients
- 2 cups shredded cheese (Monterey Jack, mozzarella, or a blend)
- 2 tablespoons refried beans (optional, but helpful for binding)
- Mix the Filling (Keep It Simple + Cheesy) Step-by-Step Instructions
- Combine: In a medium bowl, gently mix the shredded cheese. If using, add the refried beans and mix just enough to combine. The beans act as a binder, making the filling less likely to leak out during cooking.
- Portioning: Keep the filling mixture light and fluffy. Don't overpack it, as this can cause the pupusas to burst.Shape the Pupusas (Step-by-Step) Instructions
- Prep Your Hands: Set up a small bowl with about ½ cup of water mixed with a teaspoon of oil. Dip your hands into this mixture before shaping each pupusa; it prevents the dough from sticking.
- Form a Ball: Take a golf-ball sized piece of dough (about 2-3 ounces) and roll it into a smooth ball in your oiled hands.
- Create a Well: Press your thumb into the center of the ball to create a deep well or cup, leaving the edges thick.
- Add Filling: Spoon about 1-2 tablespoons of the cheese filling into the well. Don't overfill!
- Pinch to Seal: Gently bring the edges of the dough up and over the filling, pinching them together at the top to completely seal the filling inside. It might look like a little pyramid or a dumpling at this point.
- Flatten Gently: Carefully flatten the sealed ball into a disc, about ½ inch thick and 4-5 inches in diameter, rotating it between your oiled palms. Be gentle to prevent the filling from bursting through. If a crack appears, use a small piece of extra dough to patch it.
- Prevent Drying: As you shape your pupusas, place them on a plate and cover them with a damp towel to prevent them from drying out.
- Cook the Pupusas Instructions
- Heat the Skillet: Heat a cast iron skillet, comal, or nonstick pan over medium to medium-high heat. The pan is ready when a drop of water sizzles and evaporates quickly. You don't need oil for cooking pupusas; they are traditionally dry-cooked.
- Cook First Side: Place a pupusa (or as many as fit without crowding) onto the hot, dry skillet. Cook for 3-5 minutes, or until the bottom is golden brown and slightly crispy.
- Flip: Carefully flip the pupusa with a spatula. Cook for another 3-5 minutes on the second side until golden brown.
- Press (Sparingly): If the pupusa puffs up too much, you can gently press it down with the back of your spatula to ensure even cooking. However, avoid pressing too hard or too often, as this can squeeze out the filling.
- Cook Through: The pupusa is done when both sides are beautifully browned and the center is cooked through (no raw masa harina flour taste). You can tell it's cooked when the edges are set and it feels firm to the touch.
- Serve Hot: Transfer cooked pupusas to a plate and serve immediately with curtido and salsa. Keep cooked pupusas warm in a clean kitchen towel while you finish the rest.
You may also like


Hey there! I’m just someone who seriously loves good food and believes that cooking doesn’t have to be complicated to be amazing. Whether it’s a quick weeknight dinner or a cozy weekend meal, I’m all about sharing easy, tasty recipes that actually work.