
Hawaiian Beef Jerky at Home
Hawaiian Beef Jerky at Home
- Serves: 8 People
- Prepare Time: 20 minutes
- Cooking Time: 3-6 hours
- Calories: -
- Difficulty: Easy
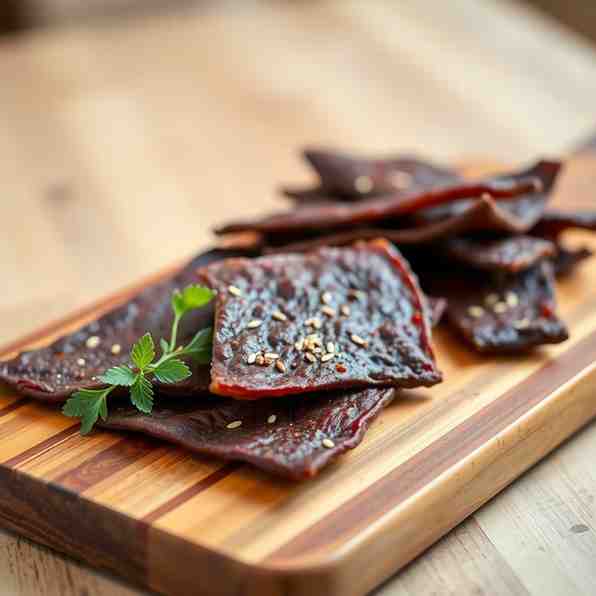
Aloha, jerky lovers! Get ready to embark on a flavor journey that’ll transport your taste buds straight to the islands. We're talking about Pipikaula (pronounced PEE-pee-KOW-lah), a truly authentic Hawaiian beef jerky that's a world away from the often-sweet, overly processed stuff you find in stores. This isn't just any beef jerky recipe for dehydrator or oven; it’s a shoyu-ginger masterpiece with a subtle sweet note, designed to deliver a chewy, savory bite with an optional gentle heat.
If you're a first-timer yearning for a reliable method to create your own authentic beef jerky, you've come to the right place. We'll guide you through making this traditional Hawaiian delicacy safely at home, ensuring every strip is packed with that unmistakable island flavor. Forget bland snacks; this hawaiian beef jerky is high in protein, incredibly satisfying, and surprisingly easy to make. Let's get started on crafting a batch of pipikaula that would make any kama'aina proud!
What exactly is pipi kaula? Simply put, it's a traditional Hawaiian style of cured and dried beef, with "pipi" meaning beef and "kaula" meaning rope or string, referring to the long strips it's often cut into. While historically dried in the sun and wind, we'll be using modern, food-safe methods in your oven (or dehydrator, if you prefer!) to achieve that perfect chewy texture and deep, savory flavor. This recipe is designed to be comprehensive, ensuring you master this hawaiian beef jerky recipe whether you're a beginner or an experienced home cook.
Ingredients
Directions
- Prep the Beef: Start with partially frozen beef (about 30-60 minutes in the freezer makes it easier to slice). Trim off any visible fat or silver skin – fat can cause jerky to spoil faster. Slice the beef against the grain for a more tender chew, or with the grain for a tougher, chewier texture, aiming for uniform slices about 1/8 to 1/4 inch thick.
- Mix the Marinade: In a large mixing bowl or a gallon-sized zip-top bag, combine the soy sauce, canned pineapple juice, brown sugar, grated ginger, minced garlic, Hawaiian salt (or sea salt), black pepper, and optional crushed red pepper flakes. Whisk well until the sugar is dissolved.
- Marinate: Add the sliced beef to the marinade, ensuring all pieces are fully coated. If using a bowl, cover it tightly. Refrigerate for a minimum of 6 hours, but ideally 12-24 hours for maximum flavor absorption.
- Drain & Blot Dry: Once marinated, remove the beef from the marinade. Discard the leftover marinade. Lay the beef slices in a single layer on paper towels and blot them thoroughly dry. This step is crucial for efficient drying and preventing a gummy texture.
- Arrange for Airflow: Place the dried beef strips in a single layer on a wire rack set over a baking sheet. Make sure the pieces aren't overlapping, allowing for even air circulation around each piece.
- Dry in the Oven: Preheat your oven to its lowest setting (typically 170-200°F / 75-95°C). Prop the oven door open slightly with a wooden spoon or heat-safe object to allow moisture to escape. Dry the jerky for 3 to 6 hours, flipping the pieces once halfway through. The drying time will vary depending on your oven, beef thickness, and desired texture.
- Check for Doneness: To check if your jerky is done, remove a piece and let it cool completely to room temperature (this makes it firmer). It should be leathery and pliable, bending without breaking, but you shouldn't see any wet spots. When you bend it, the fibers should show white, but it shouldn't snap cleanly in half. If it's too soft or wet, continue drying.
- Cool & Store: Once done, remove the jerky from the oven and let it cool completely on the wire rack at room temperature. This prevents condensation and moisture issues. Store cooled jerky in an airtight container or zip-top bag.
- Optional Finishing Step (Pupu-Style Bite): For a slightly crispy, "pupu-style" (appetizer) treat, you can quickly pan-crisp a few pieces of your dried pipikaula in a hot, dry skillet for 1-2 minutes per side just before serving.
Hawaiian Beef Jerky at Home

- Serves: 8 People
- Prepare Time: 20 minutes
- Cooking Time: 3-6 hours
- Calories: -
- Difficulty: Easy
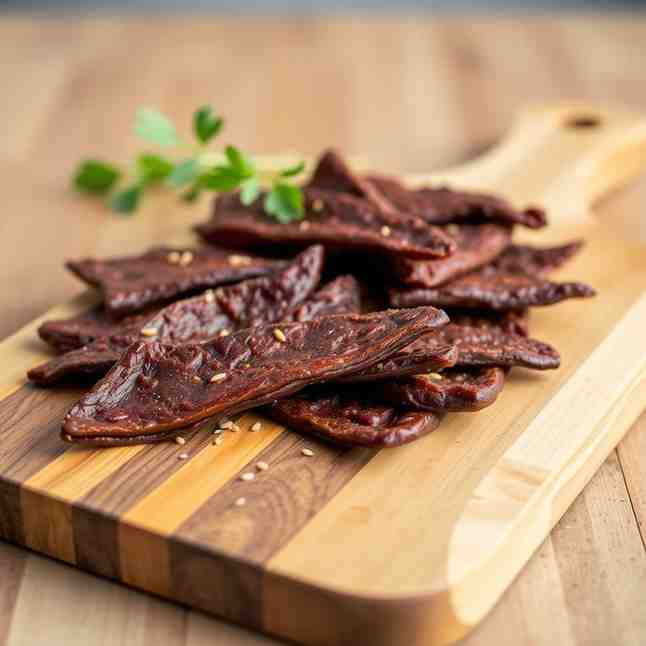
Aloha, jerky lovers! Get ready to embark on a flavor journey that’ll transport your taste buds straight to the islands. We're talking about Pipikaula (pronounced PEE-pee-KOW-lah), a truly authentic Hawaiian beef jerky that's a world away from the often-sweet, overly processed stuff you find in stores. This isn't just any beef jerky recipe for dehydrator or oven; it’s a shoyu-ginger masterpiece with a subtle sweet note, designed to deliver a chewy, savory bite with an optional gentle heat.
If you're a first-timer yearning for a reliable method to create your own authentic beef jerky, you've come to the right place. We'll guide you through making this traditional Hawaiian delicacy safely at home, ensuring every strip is packed with that unmistakable island flavor. Forget bland snacks; this hawaiian beef jerky is high in protein, incredibly satisfying, and surprisingly easy to make. Let's get started on crafting a batch of pipikaula that would make any kama'aina proud!
What exactly is pipi kaula? Simply put, it's a traditional Hawaiian style of cured and dried beef, with "pipi" meaning beef and "kaula" meaning rope or string, referring to the long strips it's often cut into. While historically dried in the sun and wind, we'll be using modern, food-safe methods in your oven (or dehydrator, if you prefer!) to achieve that perfect chewy texture and deep, savory flavor. This recipe is designed to be comprehensive, ensuring you master this hawaiian beef jerky recipe whether you're a beginner or an experienced home cook.
Ingredients
Directions
- Prep the Beef: Start with partially frozen beef (about 30-60 minutes in the freezer makes it easier to slice). Trim off any visible fat or silver skin – fat can cause jerky to spoil faster. Slice the beef against the grain for a more tender chew, or with the grain for a tougher, chewier texture, aiming for uniform slices about 1/8 to 1/4 inch thick.
- Mix the Marinade: In a large mixing bowl or a gallon-sized zip-top bag, combine the soy sauce, canned pineapple juice, brown sugar, grated ginger, minced garlic, Hawaiian salt (or sea salt), black pepper, and optional crushed red pepper flakes. Whisk well until the sugar is dissolved.
- Marinate: Add the sliced beef to the marinade, ensuring all pieces are fully coated. If using a bowl, cover it tightly. Refrigerate for a minimum of 6 hours, but ideally 12-24 hours for maximum flavor absorption.
- Drain & Blot Dry: Once marinated, remove the beef from the marinade. Discard the leftover marinade. Lay the beef slices in a single layer on paper towels and blot them thoroughly dry. This step is crucial for efficient drying and preventing a gummy texture.
- Arrange for Airflow: Place the dried beef strips in a single layer on a wire rack set over a baking sheet. Make sure the pieces aren't overlapping, allowing for even air circulation around each piece.
- Dry in the Oven: Preheat your oven to its lowest setting (typically 170-200°F / 75-95°C). Prop the oven door open slightly with a wooden spoon or heat-safe object to allow moisture to escape. Dry the jerky for 3 to 6 hours, flipping the pieces once halfway through. The drying time will vary depending on your oven, beef thickness, and desired texture.
- Check for Doneness: To check if your jerky is done, remove a piece and let it cool completely to room temperature (this makes it firmer). It should be leathery and pliable, bending without breaking, but you shouldn't see any wet spots. When you bend it, the fibers should show white, but it shouldn't snap cleanly in half. If it's too soft or wet, continue drying.
- Cool & Store: Once done, remove the jerky from the oven and let it cool completely on the wire rack at room temperature. This prevents condensation and moisture issues. Store cooled jerky in an airtight container or zip-top bag.
- Optional Finishing Step (Pupu-Style Bite): For a slightly crispy, "pupu-style" (appetizer) treat, you can quickly pan-crisp a few pieces of your dried pipikaula in a hot, dry skillet for 1-2 minutes per side just before serving.
You may also like


Hey there! I’m just someone who seriously loves good food and believes that cooking doesn’t have to be complicated to be amazing. Whether it’s a quick weeknight dinner or a cozy weekend meal, I’m all about sharing easy, tasty recipes that actually work.


