
Brunei Black Rice Tapai - Your Sweet Fermented Recipe
Brunei Black Rice Tapai - Your Sweet Fermented Recipe
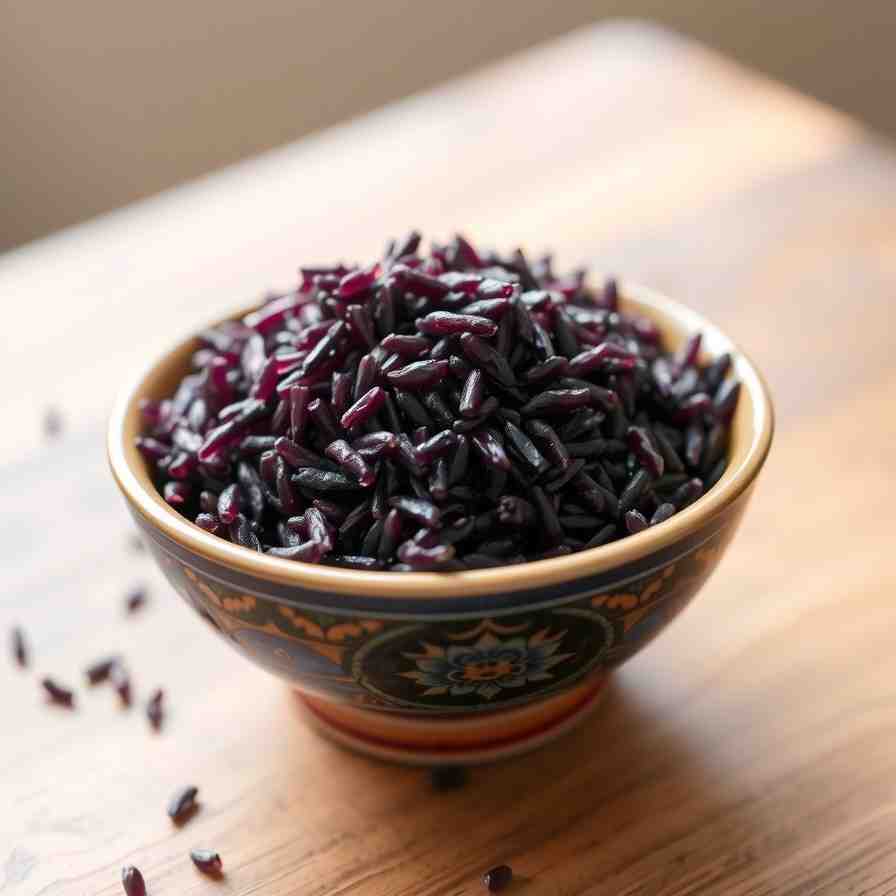
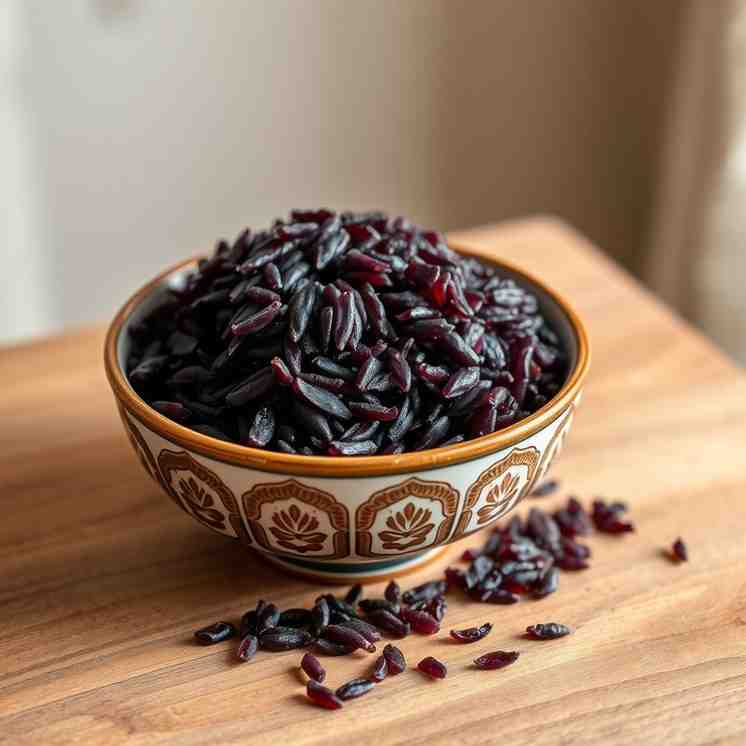
- Serves: 6 People
- Prepare Time: 30 minutes
- Cooking Time: 45 minutes
- Calories: -
- Difficulty: Medium
Welcome to a truly delightful journey into the heart of Bruneian culinary tradition! Today, we're diving deep into the art of making black rice tapai, a cherished sweet, fermented glutinous rice dish that's as rich in flavor as it is in history. If you've been searching for a definitive black glutinous rice recipe that's both authentic and easy to follow, you've come to the right place. Forget the guesswork and uncertainty often associated with fermented foods. Our guide is designed to empower you, whether you're a beginner or an experienced baker, ensuring a safe, successful, and utterly delicious batch of sweet sticky rice every time. We'll explore not just how to prepare this exquisite dish, but also the science behind its unique fermentation, crucial safety tips, and its beautiful cultural significance. Get ready to transform simple black sticky rice into a complex, tangy-sweet delicacy that will transport your taste buds straight to Brunei!
Ingredients
Directions
Brunei's Black Glutinous Rice Tapai Step-by-Step Instructions
Embarking on this black rice recipe for tapai is a rewarding experience. Precision and cleanliness are key to a successful fermentation. Follow these steps carefully for a perfect batch of sweet fermented rice.Prepare the Rice (The Foundation):- Thoroughly rinse the black glutinous rice under cold running water until the water runs clear. This removes excess starch and any impurities.
- Place the rinsed rice in a large bowl, cover with 4 cups of fresh water, and let it soak for at least 4 hours, or preferably overnight (8-12 hours). Soaking helps the rice cook evenly and become perfectly tender.
- After soaking, drain the rice completely using a fine-mesh sieve. Let it sit for about 10-15 minutes to allow any residual water to drip away.
- Traditional Method (Bamboo Steamer): Line your sticky rice bamboo steamer with banana leaves or cheesecloth. Transfer the drained black sticky rice into the lined steamer. Pour 1 cup of water into the pot underneath the steamer. Bring the water to a rolling boil, then place the steamer on top. Steam for 30-40 minutes, or until the rice is tender but still chewy. If using pandan leaves, add them to the steaming water for a fragrant aroma.
- Alternative (Rice Cooker): If you don't have a sticky rice steamer, you can cook the rice in a rice cooker. Use a 1:1 ratio of rice to water (e.g., 2 cups soaked rice to 2 cups fresh water). Cook according to your rice cooker's instructions for glutinous rice.
- Crucial Cooling Step: Once cooked, immediately transfer the hot rice to a large, clean, shallow tray or baking sheet. Spread it out thinly to cool completely to room temperature. This is a critical step! The rice must be completely cool (below 30°C or 86°F) before adding the ragi. Adding ragi to warm rice will kill the yeast and prevent fermentation, or worse, encourage undesirable bacterial growth.
- While the rice cools, finely crush the ragi tapai discs. You can use a mortar and pestle or place them in a plastic bag and crush with a rolling pin. The powder should be very fine, like flour, to ensure even distribution.
- Once the black sweet rice is completely cool, sprinkle half of the crushed ragi evenly over the surface of the rice.
- Using clean hands (or a clean spatula), gently mix the ragi into the rice, ensuring it's distributed throughout.
- Sprinkle the remaining ragi and mix again. The goal is to get the ragi in contact with as many rice grains as possible.
- Line your clean, airtight fermentation container with banana leaves or cheesecloth if desired. This adds a subtle flavor and helps maintain moisture.
- Carefully transfer the inoculated purple sticky rice into the container. Gently press it down lightly, but don't compact it too tightly, as the fermentation process needs some air circulation.
- Cover the container tightly with its lid or wrap it securely with more banana leaves/cheesecloth, then seal with the lid.
- Store the container in a warm, dark place, away from direct sunlight or drafts. An ideal temperature is around 25-30°C (77-86°F).
- Fermentation typically takes 2-4 days.
- Sensory Cues for Readiness:
- Smell: You'll notice a distinct, pleasant, sweet, and slightly alcoholic aroma. It should never smell sour, moldy, or off.
- Taste: The rice grains will be softer, sweeter, and have a tangy, slightly alcoholic kick.
- Liquid: A small amount of sweet, clear liquid (tapai juice) might collect at the bottom of the container. This is normal and a sign of successful fermentation.
- Texture: The rice will become stickier and more translucent.
- Once the tapai has reached your desired level of sweetness and tang, it's ready to enjoy! It's traditionally eaten as a dessert or snack.
- To slow down the fermentation process and preserve its flavor, transfer the tapai to an airtight container and refrigerate. It can last for up to a week in the fridge. The flavor will continue to develop subtly, becoming tangier over time.
Brunei Black Rice Tapai - Your Sweet Fermented Recipe
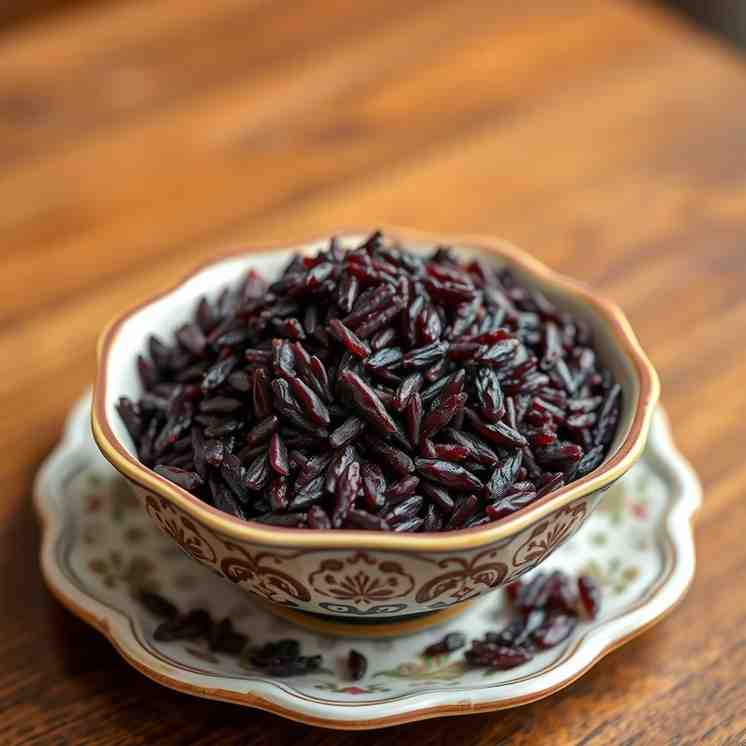
- Serves: 6 People
- Prepare Time: 30 minutes
- Cooking Time: 45 minutes
- Calories: -
- Difficulty: Medium
Welcome to a truly delightful journey into the heart of Bruneian culinary tradition! Today, we're diving deep into the art of making black rice tapai, a cherished sweet, fermented glutinous rice dish that's as rich in flavor as it is in history. If you've been searching for a definitive black glutinous rice recipe that's both authentic and easy to follow, you've come to the right place. Forget the guesswork and uncertainty often associated with fermented foods. Our guide is designed to empower you, whether you're a beginner or an experienced baker, ensuring a safe, successful, and utterly delicious batch of sweet sticky rice every time. We'll explore not just how to prepare this exquisite dish, but also the science behind its unique fermentation, crucial safety tips, and its beautiful cultural significance. Get ready to transform simple black sticky rice into a complex, tangy-sweet delicacy that will transport your taste buds straight to Brunei!
Ingredients
Directions
Brunei's Black Glutinous Rice Tapai Step-by-Step Instructions
Embarking on this black rice recipe for tapai is a rewarding experience. Precision and cleanliness are key to a successful fermentation. Follow these steps carefully for a perfect batch of sweet fermented rice.Prepare the Rice (The Foundation):- Thoroughly rinse the black glutinous rice under cold running water until the water runs clear. This removes excess starch and any impurities.
- Place the rinsed rice in a large bowl, cover with 4 cups of fresh water, and let it soak for at least 4 hours, or preferably overnight (8-12 hours). Soaking helps the rice cook evenly and become perfectly tender.
- After soaking, drain the rice completely using a fine-mesh sieve. Let it sit for about 10-15 minutes to allow any residual water to drip away.
- Traditional Method (Bamboo Steamer): Line your sticky rice bamboo steamer with banana leaves or cheesecloth. Transfer the drained black sticky rice into the lined steamer. Pour 1 cup of water into the pot underneath the steamer. Bring the water to a rolling boil, then place the steamer on top. Steam for 30-40 minutes, or until the rice is tender but still chewy. If using pandan leaves, add them to the steaming water for a fragrant aroma.
- Alternative (Rice Cooker): If you don't have a sticky rice steamer, you can cook the rice in a rice cooker. Use a 1:1 ratio of rice to water (e.g., 2 cups soaked rice to 2 cups fresh water). Cook according to your rice cooker's instructions for glutinous rice.
- Crucial Cooling Step: Once cooked, immediately transfer the hot rice to a large, clean, shallow tray or baking sheet. Spread it out thinly to cool completely to room temperature. This is a critical step! The rice must be completely cool (below 30°C or 86°F) before adding the ragi. Adding ragi to warm rice will kill the yeast and prevent fermentation, or worse, encourage undesirable bacterial growth.
- While the rice cools, finely crush the ragi tapai discs. You can use a mortar and pestle or place them in a plastic bag and crush with a rolling pin. The powder should be very fine, like flour, to ensure even distribution.
- Once the black sweet rice is completely cool, sprinkle half of the crushed ragi evenly over the surface of the rice.
- Using clean hands (or a clean spatula), gently mix the ragi into the rice, ensuring it's distributed throughout.
- Sprinkle the remaining ragi and mix again. The goal is to get the ragi in contact with as many rice grains as possible.
- Line your clean, airtight fermentation container with banana leaves or cheesecloth if desired. This adds a subtle flavor and helps maintain moisture.
- Carefully transfer the inoculated purple sticky rice into the container. Gently press it down lightly, but don't compact it too tightly, as the fermentation process needs some air circulation.
- Cover the container tightly with its lid or wrap it securely with more banana leaves/cheesecloth, then seal with the lid.
- Store the container in a warm, dark place, away from direct sunlight or drafts. An ideal temperature is around 25-30°C (77-86°F).
- Fermentation typically takes 2-4 days.
- Sensory Cues for Readiness:
- Smell: You'll notice a distinct, pleasant, sweet, and slightly alcoholic aroma. It should never smell sour, moldy, or off.
- Taste: The rice grains will be softer, sweeter, and have a tangy, slightly alcoholic kick.
- Liquid: A small amount of sweet, clear liquid (tapai juice) might collect at the bottom of the container. This is normal and a sign of successful fermentation.
- Texture: The rice will become stickier and more translucent.
- Once the tapai has reached your desired level of sweetness and tang, it's ready to enjoy! It's traditionally eaten as a dessert or snack.
- To slow down the fermentation process and preserve its flavor, transfer the tapai to an airtight container and refrigerate. It can last for up to a week in the fridge. The flavor will continue to develop subtly, becoming tangier over time.
The following nutritional values are per serving (one piece of cake) Calories ~200-250 kcal Carbohydrates ~45-55g Protein ~4-5g Fat ~1-2g Making traditional dishes like black rice tapai can feel like a big commitment, but with a few clever tools and ingredient choices, you can streamline the process without sacrificing authenticity! Problem: Ever tried to steam sticky rice in a regular pot? It often ends up either mushy and clumpy on the bottom or still hard in the middle. Uneven cooking is a real headache. Problem: Sourcing good quality ragi tapai can sometimes be a challenge, and using old or inactive starter can lead to fermentation failures. Problem: The traditional method for black glutinous rice requires soaking for 8-12 hours, sometimes even overnight. Forgetting to soak can throw off your entire cooking schedule. Click any ingredient for detailed nutritional information:Recipe Nutritional Values
Additional Information
Recipe Success Tips
Ingredient Substitutions & Variations
Cultural Variations
Make-Ahead & Storage Instructions
Frequently Asked Questions
Recommended Kitchen Tools
Sticky Rice Steamer Basket
Agitate: This inconsistency can ruin the texture of your black glutinous rice, which is crucial for perfect tapai. You might end up with a batch that's not quite right, wasting precious ingredients and time.
Solution: A dedicated sticky rice steamer basket (often bamboo or aluminum with a conical shape) allows steam to circulate evenly through all the grains. This ensures every kernel of your black sticky rice is perfectly cooked, separate, and fluffy – the ideal base for fermentation!High-Quality Ragi Tapai (Yeast Starter)
Agitate: Nothing's more frustrating than waiting days for your tapai to ferment, only to find it hasn't worked, or worse, it's gone bad! This means starting all over again.
Solution: Invest in fresh, reputable ragi tapai from an Asian market or online specialty store. Look for clearly dated packages or ask about freshness. A potent starter ensures a robust, reliable fermentation process, giving you that delightful sweet and tangy flavor much more efficiently.Pre-Soaked Black Glutinous Rice (if available)
Agitate: Life gets busy, and remembering to start soaking rice the night before can be easily missed. This often means delaying your tapai making by a whole day, which can be a real bummer when you're craving this sweet treat.
Solution: While less common for black glutinous rice, some specialty stores might offer pre-soaked or quick-cooking versions. If you find them, they can significantly cut down your prep time, allowing you to get straight to steaming and fermenting without the long wait.Calories per Ingredient
Nutritional Benefits:
Nutritional Benefits:
Resources & References
You may also like



Hey there! I’m just someone who seriously loves good food and believes that cooking doesn’t have to be complicated to be amazing. Whether it’s a quick weeknight dinner or a cozy weekend meal, I’m all about sharing easy, tasty recipes that actually work.