
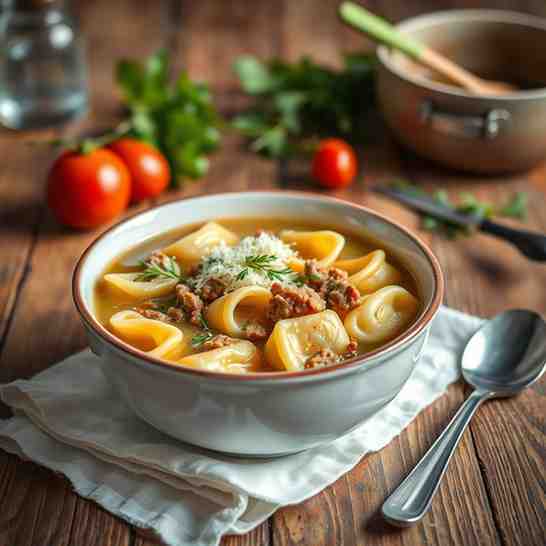
Cappelletti en Brodo - Homemade Pasta & Broth
Cappelletti en Brodo - Homemade Pasta & Broth
- Serves: 6 People
- Prepare Time: 2 hours 30
- Cooking Time: 4 hours 10
- Calories: -
- Difficulty: Hard
Picture this: a chilly evening, a warm, inviting bowl cradled in your hands, steam rising to meet your face, carrying the rich aroma of slow-simmered broth and delicate, savory pasta. This isn't just any soup; it's Cappelletti en Brodo, a cornerstone of Northern Italian culinary tradition, especially in the Emilia-Romagna region. While its cousin, tortellini, often takes the spotlight, cappelletti ("little hats") offer a distinct, equally cherished experience.
This isn't merely a recipe; it's a journey into the heart of authentic Italian cooking. We're not cutting corners or offering shortcuts here. We're diving deep into the time-honored methods to create a truly canonical en brodo recipe from scratch – from the deeply flavorful broth to the silken fresh pasta dough and the perfectly seasoned filling. This dish embodies family, celebration (especially around Christmas), and the simple joy of sharing something truly special. Get ready to transform your kitchen into a little corner of Italy and discover the unmatched satisfaction of making this classic comfort food yourself.
Ingredients
Directions
- Prep the Bones: If using a whole carcass, break it down slightly. Place the chicken bones/carcass in a large stockpot.
- Add Cold Water & Aromatics: Add the cold water to the pot, ensuring the bones are fully submerged. Add the quartered onion, chopped carrots, celery, bay leaf, and peppercorns. Starting with cold water is crucial as it slowly extracts more flavor and impurities from the bones, leading to a clearer broth.
- Bring to a Simmer: Place the pot over medium-high heat and bring it slowly to a gentle simmer. Do not boil vigorously.
- Skim Impurities: As the broth heats, foam and impurities will rise to the surface. Use a ladle or a fine-mesh skimmer to carefully remove and discard this foam. Continue skimming as needed during the first hour.
- Simmer Gently: Once the broth is simmering and largely clear of foam, reduce the heat to low. The broth should barely bubble. Cover partially and let it simmer for at least 3-4 hours, or even longer (up to 6 hours) for a richer flavor.
- Strain the Broth: Carefully remove the bones and large vegetables from the pot using tongs or a slotted spoon. Then, pour the broth through a fine-mesh sieve or a cheesecloth-lined colander into another clean pot or heatproof container. Discard the solids.
- Season and Cool: Taste the broth and adjust salt if necessary. Allow the broth to cool completely before storing. Once cool, you can refrigerate it, and any fat will solidify on top, making it easy to skim off for an even clearer broth.
- Fresh Egg Pasta Dough Ingredients
- 2 cups (240g) Italian "00" flour (or unbleached all-purpose flour)
- 3 large eggs, at room temperature
- Pinch of salt
- Fresh Egg Pasta Dough Step-by-Step Instructions
- Form a Well: On a clean, large work surface (like a wooden board or countertop), pile the flour into a mound. Create a deep well in the center of the flour, like a volcano crater.
- Add Eggs & Salt: Crack the eggs into the well and add the pinch of salt.
- Incorporate Flour: Using a fork, gently whisk the eggs in the well, slowly drawing in small amounts of flour from the inner edge of the well. Continue until a shaggy, thick paste forms.
- Combine & Knead: Once the mixture is too thick for the fork, use your hands to gradually incorporate the remaining flour. Push the dough together, gathering any loose bits. Begin kneading the dough.
- Develop the Dough: Knead for 10-15 minutes. This is the workout! Push the dough away with the heel of your hand, fold it over, rotate, and repeat. The dough will feel sticky at first, but as you knead, it will become smooth, elastic, and firm. It should spring back when lightly poked. If it feels too dry, add a few drops of water; if too wet, a tiny sprinkle of flour.
- Rest the Dough: Form the dough into a ball, wrap it tightly in plastic wrap (or cover with an inverted bowl), and let it rest at room temperature for at least 30 minutes. This resting period allows the gluten to relax, making the dough easier to roll.
- Cappelletti Filling & Assembly Step-by-Step Instructions
- Prepare the Filling: In a medium bowl, combine the finely minced pork loin, mortadella, and prosciutto. Add the grated Parmigiano-Reggiano, egg yolk, nutmeg, and black pepper. Mix thoroughly with your hands until well combined and paste-like. Cover and refrigerate while you roll out the pasta.
- Roll Out the Pasta:
- Divide the rested pasta dough into 3-4 portions. Keep the portions you're not working with covered to prevent drying.
- Lightly flour your work surface and the dough.
- Using a rolling pin or a pasta machine, roll one portion of dough into a very thin sheet. If using a pasta machine, start at the widest setting and pass the dough through, folding and repeating a few times. Then, progressively move to thinner settings until the pasta sheet is almost translucent (usually setting 6 or 7 on most machines).
- Important: Keep the pasta sheet lightly dusted with flour to prevent sticking, but don't over-flour.
- Cut the Squares: Lay the pasta sheet flat. Using a fluted pasta wheel or a sharp knife, cut the pasta sheet into 1.5 to 2-inch squares.
- Fill the Cappelletti: Place a tiny dollop (about ¼ teaspoon) of filling in the center of each pasta square. Don't overfill!
- Shape the Cappelletti:
- Take one square and fold it diagonally to form a triangle, pressing firmly around the filling to seal the edges and remove any air pockets.
- Bring the two bottom points of the triangle together, overlapping them slightly.
- Press them firmly to seal, forming a "little hat" shape. This is where the name "cappelletti" comes from!
- Place the shaped cappelletti on a lightly floured baking sheet or tray, ensuring they don't touch to prevent sticking.
- Repeat with the remaining dough and filling.
- Cook the Cappelletti: Bring your homemade broth to a gentle simmer in a large pot.
- Carefully drop the cappelletti into the simmering broth in batches, ensuring you don't overcrowd the pot.
- Cook for 3-5 minutes, or until they float to the surface and are al dente (tender but with a slight bite). The cooking time will depend on the thickness of your pasta.
- Serve: Ladle the hot cappelletti and plenty of clear, flavorful broth into warmed bowls. Serve immediately with a generous grating of fresh Parmigiano-Reggiano cheese.
Cappelletti en Brodo - Homemade Pasta & Broth

- Serves: 6 People
- Prepare Time: 2 hours 30
- Cooking Time: 4 hours 10
- Calories: -
- Difficulty: Hard
Picture this: a chilly evening, a warm, inviting bowl cradled in your hands, steam rising to meet your face, carrying the rich aroma of slow-simmered broth and delicate, savory pasta. This isn't just any soup; it's Cappelletti en Brodo, a cornerstone of Northern Italian culinary tradition, especially in the Emilia-Romagna region. While its cousin, tortellini, often takes the spotlight, cappelletti ("little hats") offer a distinct, equally cherished experience.
This isn't merely a recipe; it's a journey into the heart of authentic Italian cooking. We're not cutting corners or offering shortcuts here. We're diving deep into the time-honored methods to create a truly canonical en brodo recipe from scratch – from the deeply flavorful broth to the silken fresh pasta dough and the perfectly seasoned filling. This dish embodies family, celebration (especially around Christmas), and the simple joy of sharing something truly special. Get ready to transform your kitchen into a little corner of Italy and discover the unmatched satisfaction of making this classic comfort food yourself.
Ingredients
Directions
- Prep the Bones: If using a whole carcass, break it down slightly. Place the chicken bones/carcass in a large stockpot.
- Add Cold Water & Aromatics: Add the cold water to the pot, ensuring the bones are fully submerged. Add the quartered onion, chopped carrots, celery, bay leaf, and peppercorns. Starting with cold water is crucial as it slowly extracts more flavor and impurities from the bones, leading to a clearer broth.
- Bring to a Simmer: Place the pot over medium-high heat and bring it slowly to a gentle simmer. Do not boil vigorously.
- Skim Impurities: As the broth heats, foam and impurities will rise to the surface. Use a ladle or a fine-mesh skimmer to carefully remove and discard this foam. Continue skimming as needed during the first hour.
- Simmer Gently: Once the broth is simmering and largely clear of foam, reduce the heat to low. The broth should barely bubble. Cover partially and let it simmer for at least 3-4 hours, or even longer (up to 6 hours) for a richer flavor.
- Strain the Broth: Carefully remove the bones and large vegetables from the pot using tongs or a slotted spoon. Then, pour the broth through a fine-mesh sieve or a cheesecloth-lined colander into another clean pot or heatproof container. Discard the solids.
- Season and Cool: Taste the broth and adjust salt if necessary. Allow the broth to cool completely before storing. Once cool, you can refrigerate it, and any fat will solidify on top, making it easy to skim off for an even clearer broth.
- Fresh Egg Pasta Dough Ingredients
- 2 cups (240g) Italian "00" flour (or unbleached all-purpose flour)
- 3 large eggs, at room temperature
- Pinch of salt
- Fresh Egg Pasta Dough Step-by-Step Instructions
- Form a Well: On a clean, large work surface (like a wooden board or countertop), pile the flour into a mound. Create a deep well in the center of the flour, like a volcano crater.
- Add Eggs & Salt: Crack the eggs into the well and add the pinch of salt.
- Incorporate Flour: Using a fork, gently whisk the eggs in the well, slowly drawing in small amounts of flour from the inner edge of the well. Continue until a shaggy, thick paste forms.
- Combine & Knead: Once the mixture is too thick for the fork, use your hands to gradually incorporate the remaining flour. Push the dough together, gathering any loose bits. Begin kneading the dough.
- Develop the Dough: Knead for 10-15 minutes. This is the workout! Push the dough away with the heel of your hand, fold it over, rotate, and repeat. The dough will feel sticky at first, but as you knead, it will become smooth, elastic, and firm. It should spring back when lightly poked. If it feels too dry, add a few drops of water; if too wet, a tiny sprinkle of flour.
- Rest the Dough: Form the dough into a ball, wrap it tightly in plastic wrap (or cover with an inverted bowl), and let it rest at room temperature for at least 30 minutes. This resting period allows the gluten to relax, making the dough easier to roll.
- Cappelletti Filling & Assembly Step-by-Step Instructions
- Prepare the Filling: In a medium bowl, combine the finely minced pork loin, mortadella, and prosciutto. Add the grated Parmigiano-Reggiano, egg yolk, nutmeg, and black pepper. Mix thoroughly with your hands until well combined and paste-like. Cover and refrigerate while you roll out the pasta.
- Roll Out the Pasta:
- Divide the rested pasta dough into 3-4 portions. Keep the portions you're not working with covered to prevent drying.
- Lightly flour your work surface and the dough.
- Using a rolling pin or a pasta machine, roll one portion of dough into a very thin sheet. If using a pasta machine, start at the widest setting and pass the dough through, folding and repeating a few times. Then, progressively move to thinner settings until the pasta sheet is almost translucent (usually setting 6 or 7 on most machines).
- Important: Keep the pasta sheet lightly dusted with flour to prevent sticking, but don't over-flour.
- Cut the Squares: Lay the pasta sheet flat. Using a fluted pasta wheel or a sharp knife, cut the pasta sheet into 1.5 to 2-inch squares.
- Fill the Cappelletti: Place a tiny dollop (about ¼ teaspoon) of filling in the center of each pasta square. Don't overfill!
- Shape the Cappelletti:
- Take one square and fold it diagonally to form a triangle, pressing firmly around the filling to seal the edges and remove any air pockets.
- Bring the two bottom points of the triangle together, overlapping them slightly.
- Press them firmly to seal, forming a "little hat" shape. This is where the name "cappelletti" comes from!
- Place the shaped cappelletti on a lightly floured baking sheet or tray, ensuring they don't touch to prevent sticking.
- Repeat with the remaining dough and filling.
- Cook the Cappelletti: Bring your homemade broth to a gentle simmer in a large pot.
- Carefully drop the cappelletti into the simmering broth in batches, ensuring you don't overcrowd the pot.
- Cook for 3-5 minutes, or until they float to the surface and are al dente (tender but with a slight bite). The cooking time will depend on the thickness of your pasta.
- Serve: Ladle the hot cappelletti and plenty of clear, flavorful broth into warmed bowls. Serve immediately with a generous grating of fresh Parmigiano-Reggiano cheese.
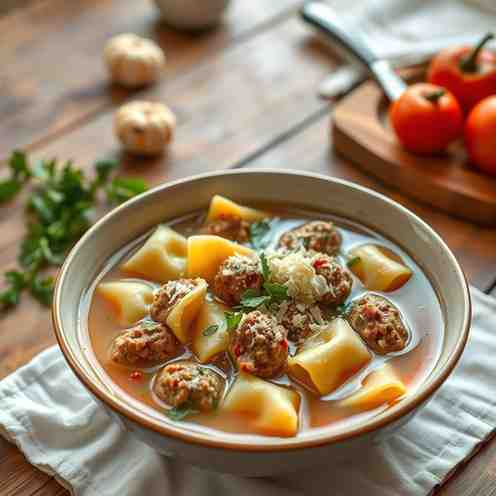
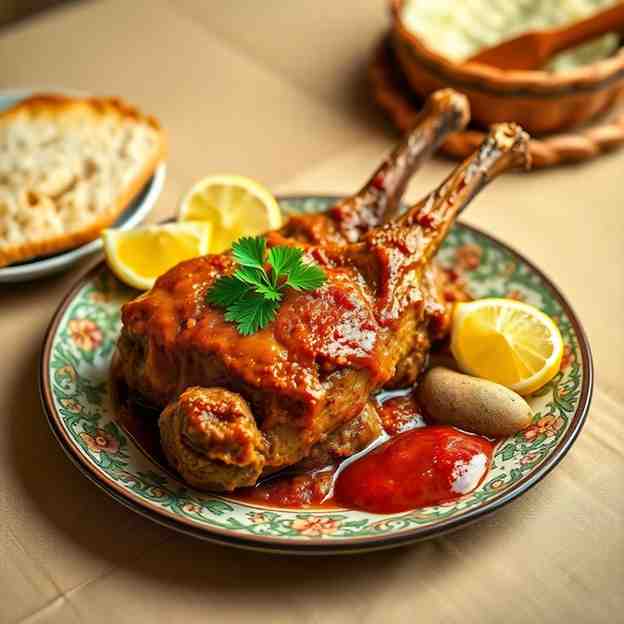
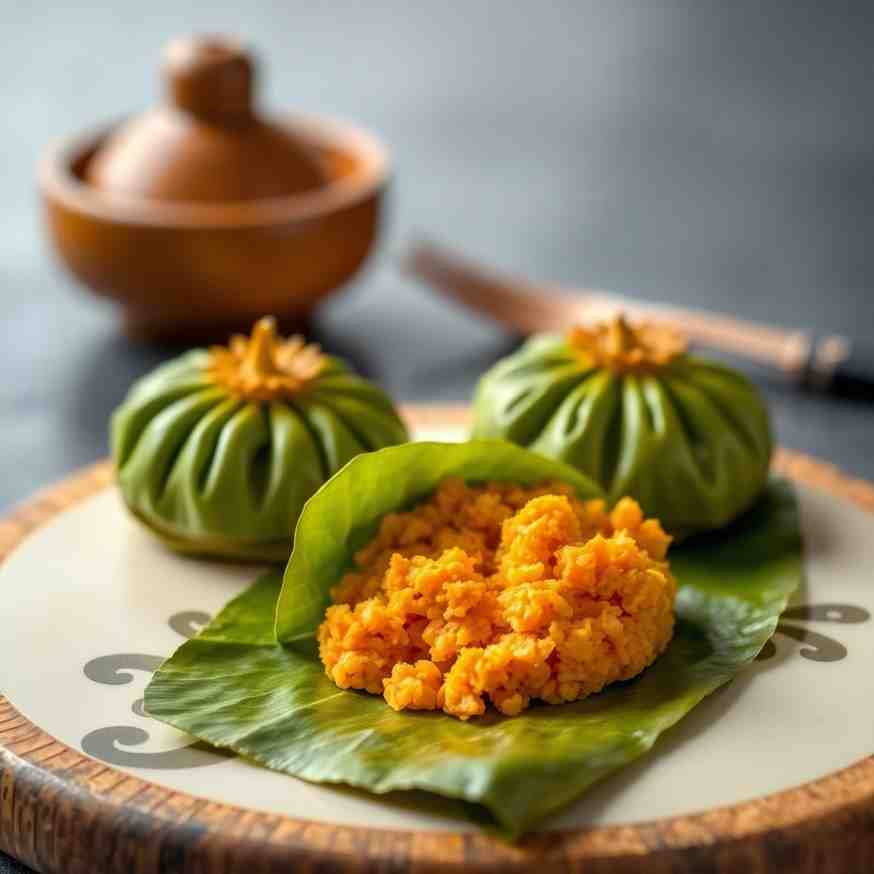
You may also like

Hey there! I’m just someone who seriously loves good food and believes that cooking doesn’t have to be complicated to be amazing. Whether it’s a quick weeknight dinner or a cozy weekend meal, I’m all about sharing easy, tasty recipes that actually work.


