
Easy Cassava Cake Recipe - Traditional Filipino Treat You'll Love
Easy Cassava Cake Recipe - Traditional Filipino Treat You'll Love

- Serves: 12 People
- Prepare Time: 20 minutes
- Cooking Time: 75 minutes
- Calories: -
- Difficulty: Easy
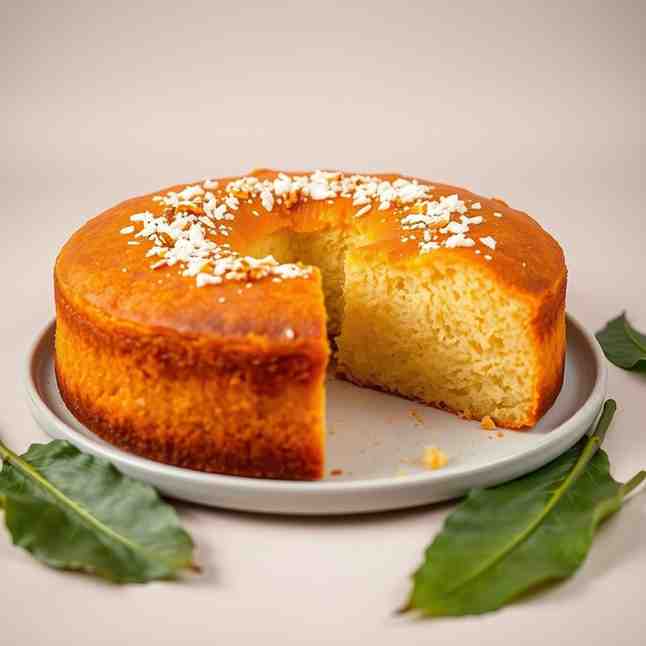
Welcome to the ultimate guide for making cassava cake at home! This traditional Filipino dessert, also known as `kassava cake`, is a beloved treat that's surprisingly easy to master. Our beginner-proof recipe promises a deliciously chewy, coconutty base topped with a rich, creamy custard, making it perfect for sharing with family and friends. Get ready to bake a taste of the Philippines right in your own kitchen!
Ingredients
Directions
- Prep for Perfection
- Preheat your oven: Get it going to 350°F (175°C).
- Prep your pan: Grab a 9x13-inch baking pan. Line it with parchment paper, leaving an overhang on the longer sides to easily lift the cake out later. Grease the parchment and exposed pan edges lightly with butter or cooking spray.
- Thaw and drain cassava: If you haven't already, thaw your frozen grated cassava and squeeze it super dry using a cheesecloth or clean towel. Seriously, this step is key! You want it to feel like dry, shredded coconut.
- Mix the Batter Smoothly
- In a large mixing bowl, combine the very dry grated cassava with the coconut milk, evaporated milk, sweetened condensed milk, eggs, melted butter, vanilla extract, and salt.
- Mix order that prevents lumps: Start by whisking the wet ingredients (milks, eggs, butter, vanilla, salt) together before adding the grated cassava. Then, add the cassava and mix until just combined. This helps ensure everything is evenly distributed without overworking the batter.
- Batter texture description: The batter should be thick, creamy, and slightly lumpy from the grated cassava. It won't be a smooth, pourable batter like a typical flour cake, and that's exactly what you want!
- Bake the Chewy Base
- Pour the cassava batter into your prepared 9x13-inch pan and spread it evenly.
- Bake time range + doneness cues: Bake for 45-55 minutes, or until the edges are lightly golden brown and the center is set. When you gently shake the pan, the center should no longer jiggle excessively. A wooden skewer inserted into the center might come out with moist crumbs, but not wet batter.
- "If your pan is deeper/shallower…": If your pan is deeper than 9x13 (e.g., an 8x8 square), it might take a bit longer to bake through. If it's shallower, it might bake faster. Keep an eye on those doneness cues!
- Craft the Creamy Custard Topping
- While the base bakes, whisk together the coconut milk, sweetened condensed milk, egg yolks, cornstarch, and a pinch of salt in a medium saucepan.
- Cook on stovetop to a defined thickness: Cook over medium-low heat, stirring constantly with a whisk, until the mixture thickens to a pudding-like consistency. It should coat the back of a spoon and hold its shape for a second when you draw a line through it. This usually takes about 5-10 minutes.
- What to do if it looks grainy/curdled: If your custard looks a bit grainy or curdled, don't panic! Remove it from the heat immediately and whisk vigorously for a minute or two. Often, it smooths out. If not, a quick blitz with an immersion blender or a run through a fine-mesh sieve can save it.
- Top and Finish Baking
- Once the cassava base is baked and the custard is ready, carefully pour and spread the topping evenly over the hot cassava cake base.
- Bake until set + lightly golden: Return the cake to the oven and bake for another 15-20 minutes, or until the custard topping is set and lightly golden.
- Optional: brief broil for color: For a beautiful, deeply golden-brown top, you can briefly broil the cake for 1-2 minutes. Watch it like a hawk to prevent burning!
- Cool and Chill for the Best Texture
- Remove the cake from the oven and let it cool completely at room temperature.
- Why chilling matters for slicing + chew: This is crucial! Chilling allows the cake to firm up, making it much easier to slice cleanly and developing its signature chewy texture. Don't skip this step!
- Best chill time: For the absolute best results, chill the cassava cake in the refrigerator for at least 4 hours, or ideally, overnight.
Easy Cassava Cake Recipe - Traditional Filipino Treat You'll Love
- Serves: 12 People
- Prepare Time: 20 minutes
- Cooking Time: 75 minutes
- Calories: -
- Difficulty: Easy
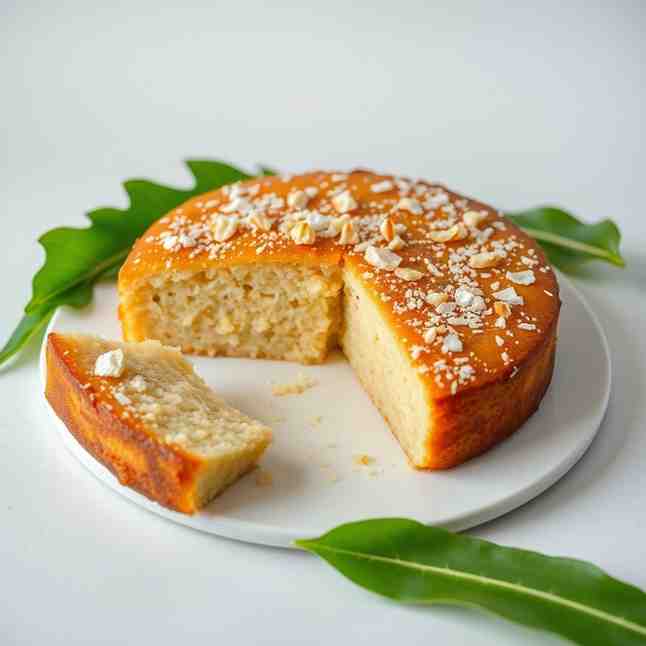
Welcome to the ultimate guide for making cassava cake at home! This traditional Filipino dessert, also known as `kassava cake`, is a beloved treat that's surprisingly easy to master. Our beginner-proof recipe promises a deliciously chewy, coconutty base topped with a rich, creamy custard, making it perfect for sharing with family and friends. Get ready to bake a taste of the Philippines right in your own kitchen!
Ingredients
Directions
- Prep for Perfection
- Preheat your oven: Get it going to 350°F (175°C).
- Prep your pan: Grab a 9x13-inch baking pan. Line it with parchment paper, leaving an overhang on the longer sides to easily lift the cake out later. Grease the parchment and exposed pan edges lightly with butter or cooking spray.
- Thaw and drain cassava: If you haven't already, thaw your frozen grated cassava and squeeze it super dry using a cheesecloth or clean towel. Seriously, this step is key! You want it to feel like dry, shredded coconut.
- Mix the Batter Smoothly
- In a large mixing bowl, combine the very dry grated cassava with the coconut milk, evaporated milk, sweetened condensed milk, eggs, melted butter, vanilla extract, and salt.
- Mix order that prevents lumps: Start by whisking the wet ingredients (milks, eggs, butter, vanilla, salt) together before adding the grated cassava. Then, add the cassava and mix until just combined. This helps ensure everything is evenly distributed without overworking the batter.
- Batter texture description: The batter should be thick, creamy, and slightly lumpy from the grated cassava. It won't be a smooth, pourable batter like a typical flour cake, and that's exactly what you want!
- Bake the Chewy Base
- Pour the cassava batter into your prepared 9x13-inch pan and spread it evenly.
- Bake time range + doneness cues: Bake for 45-55 minutes, or until the edges are lightly golden brown and the center is set. When you gently shake the pan, the center should no longer jiggle excessively. A wooden skewer inserted into the center might come out with moist crumbs, but not wet batter.
- "If your pan is deeper/shallower…": If your pan is deeper than 9x13 (e.g., an 8x8 square), it might take a bit longer to bake through. If it's shallower, it might bake faster. Keep an eye on those doneness cues!
- Craft the Creamy Custard Topping
- While the base bakes, whisk together the coconut milk, sweetened condensed milk, egg yolks, cornstarch, and a pinch of salt in a medium saucepan.
- Cook on stovetop to a defined thickness: Cook over medium-low heat, stirring constantly with a whisk, until the mixture thickens to a pudding-like consistency. It should coat the back of a spoon and hold its shape for a second when you draw a line through it. This usually takes about 5-10 minutes.
- What to do if it looks grainy/curdled: If your custard looks a bit grainy or curdled, don't panic! Remove it from the heat immediately and whisk vigorously for a minute or two. Often, it smooths out. If not, a quick blitz with an immersion blender or a run through a fine-mesh sieve can save it.
- Top and Finish Baking
- Once the cassava base is baked and the custard is ready, carefully pour and spread the topping evenly over the hot cassava cake base.
- Bake until set + lightly golden: Return the cake to the oven and bake for another 15-20 minutes, or until the custard topping is set and lightly golden.
- Optional: brief broil for color: For a beautiful, deeply golden-brown top, you can briefly broil the cake for 1-2 minutes. Watch it like a hawk to prevent burning!
- Cool and Chill for the Best Texture
- Remove the cake from the oven and let it cool completely at room temperature.
- Why chilling matters for slicing + chew: This is crucial! Chilling allows the cake to firm up, making it much easier to slice cleanly and developing its signature chewy texture. Don't skip this step!
- Best chill time: For the absolute best results, chill the cassava cake in the refrigerator for at least 4 hours, or ideally, overnight.
You may also like


Hey there! I’m just someone who seriously loves good food and believes that cooking doesn’t have to be complicated to be amazing. Whether it’s a quick weeknight dinner or a cozy weekend meal, I’m all about sharing easy, tasty recipes that actually work.


