
Classic ANZAC Biscuits Recipe Bake Iconic Australian Cookies
Classic ANZAC Biscuits Recipe Bake Iconic Australian Cookies
- Serves: 24 People
- Prepare Time: 15 minutes
- Cooking Time: 12 minutes
- Calories: -
- Difficulty: Easy
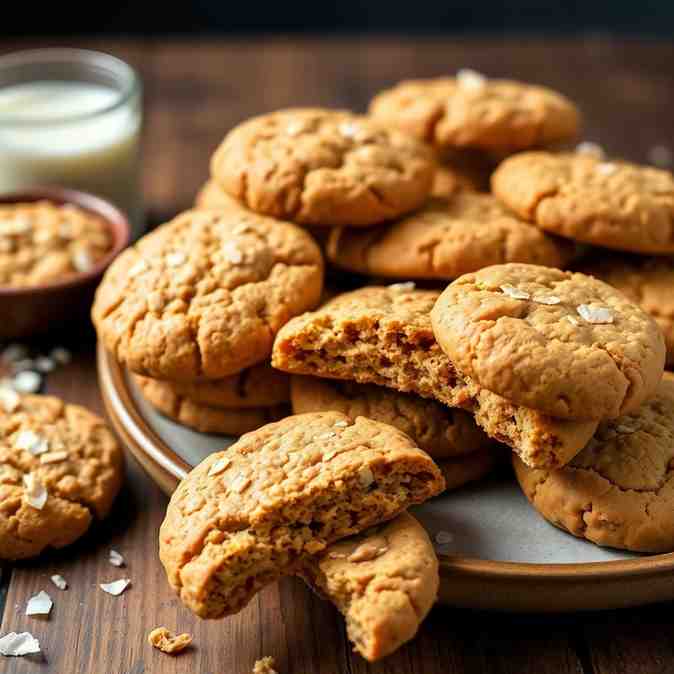
If you've ever dreamt of a cookie that's both deeply comforting and surprisingly resilient, then you absolutely need to meet the ANZAC biscuits. These iconic Australian and New Zealander sweet treats are more than just a cookie; they're a piece of history, packed with hearty oats, fragrant coconut, and that unmistakable golden syrup flavor. Forget fancy mixers or fussy techniques – our classic ANZAC biscuits recipe is all about simple, melt-and-mix magic that guarantees crisp edges and a perfectly chewy middle every single time.
So, what exactly are ANZAC biscuits? At their core, they're delightful oat and coconut cookies, bound together with butter and golden syrup, famously made without eggs. Their origins trace back to World War I, when wives and mothers sent these non-perishable biscuits to soldiers fighting abroad. Designed to withstand long journeys by sea, they became a symbol of support and resilience. Today, they're synonymous with ANZAC Day (April 25th), a day of remembrance for fallen soldiers from Australia and New Zealand. While the story is rich, the taste is pure joy. This recipe brings you that same traditional, heartwarming flavor with easy-to-follow instructions tailored for your American kitchen. Ready to dive in?
You'll quickly fall in love with this classic ANZAC biscuits recipe because it nails that authentic taste and texture. We're talking about those traditional golden syrup, oat, and coconut notes that make these cookies so unique. Our method delivers one definitive texture: beautifully crisp edges that give way to a satisfyingly chewy center. The best part? It's a simple, no-mixer, one-bowl melt-and-mix process that anyone can master. Plus, it uses everyday pantry ingredients, with clear notes on how to find or substitute anything less common in US stores. And once they're baked, these cookies keep incredibly well and even ship beautifully, making them perfect for care packages or sharing with loved ones.
Ingredients
Directions
- Prep the Pan & OvenPreheat your oven to 325°F (160°C). If you have a conventional oven, this temperature works great. For a fan-assisted (convection) oven, you might need to drop it slightly to 300°F (150°C), but watch closely. Position an oven rack in the middle. Line a light-colored baking sheet with parchment paper. This prevents sticking and helps ensure even browning.
- Mix the Dry Ingredients In a large mixing bowl, combine the all-purpose flour, rolled oats, unsweetened desiccated coconut, granulated sugar, light brown sugar, and salt. Use a whisk or a spoon to mix everything together until it’s well combined and there are no lumps of brown sugar. The mixture should look like a coarse, sandy blend with visible oats and coconut.
- Melt the Butter and Golden Syrup In a small saucepan, combine the unsalted butter and golden syrup. Place the saucepan over medium heat and stir occasionally until the butter is just melted and the mixture is smooth. Once melted, immediately remove the saucepan from the heat. In a separate small cup, dissolve the baking soda in the 2 tablespoons of hot water. Pour this fizzy mixture into the warm butter and golden syrup, stirring well. It will foam up quite a bit – this is completely normal and part of the magic!
- Combine into Dough Pour the wet butter and syrup mixture into the bowl with your dry ingredients. Using a sturdy spoon or spatula, mix everything together until all the dry ingredients are evenly moistened and no pockets of flour remain. The mixture will look a bit crumbly in the bowl, but it should hold together easily when you squeeze a small amount between your fingers.
- Fix if too dry and sandy: If your dough feels too crumbly and won't hold shape, add 1–2 teaspoons of warm water, one teaspoon at a time, mixing after each addition, until it comes together.
- Fix if too sticky: If the dough feels overly sticky or greasy, add 1–2 teaspoons of all-purpose flour, mixing until the consistency is just right.
- Shape the Cookies Using a tablespoon or a small cookie scoop (about 1.5 tablespoons), portion out the dough. Roll each portion into a ball and place them on your prepared baking sheet, leaving about 2 inches (5 cm) of space between each cookie to allow for spreading. Gently flatten the tops of each dough ball with the palm of your hand or the back of a spoon to about ½ inch (1.25 cm) thick. This helps ensure even baking and that classic crisp-chewy texture.
- Bake to the Perfect Texture Bake for 11–13 minutes. For our standard texture – crisp edges and a slightly chewy middle – aim for the longer end of this range. The edges of the cookies should be a deep golden brown, but the centers might still look a little soft. Don't worry, they'll firm up beautifully as they cool.
- For slightly crisper cookies: Bake for an additional 1–2 minutes, watching carefully for deeper golden edges.
- For slightly chewier cookies: Bake at the lower end of the time range (around 11 minutes), removing them when the edges are just golden.
- Cool & Set Once baked, let the ANZAC biscuits cool on the baking sheet for about 5 minutes. They are quite fragile when hot. After 5 minutes, carefully transfer them to a wire rack to cool completely. As they cool, they will crisp up and become perfectly set. For mailing or gifting, ensure they are fully cooled and firm.
Classic ANZAC Biscuits Recipe Bake Iconic Australian Cookies
- Serves: 24 People
- Prepare Time: 15 minutes
- Cooking Time: 12 minutes
- Calories: -
- Difficulty: Easy
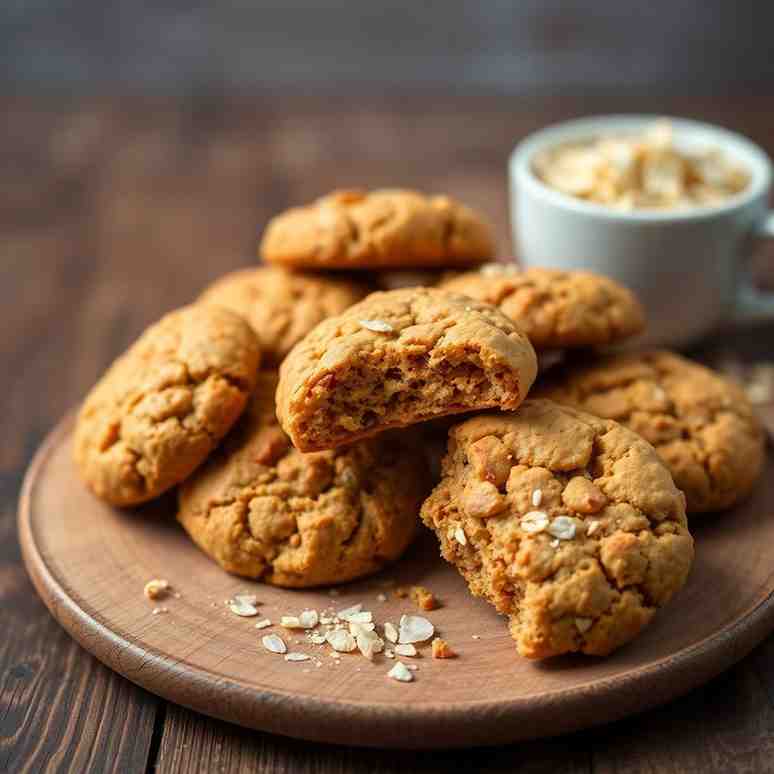
If you've ever dreamt of a cookie that's both deeply comforting and surprisingly resilient, then you absolutely need to meet the ANZAC biscuits. These iconic Australian and New Zealander sweet treats are more than just a cookie; they're a piece of history, packed with hearty oats, fragrant coconut, and that unmistakable golden syrup flavor. Forget fancy mixers or fussy techniques – our classic ANZAC biscuits recipe is all about simple, melt-and-mix magic that guarantees crisp edges and a perfectly chewy middle every single time.
So, what exactly are ANZAC biscuits? At their core, they're delightful oat and coconut cookies, bound together with butter and golden syrup, famously made without eggs. Their origins trace back to World War I, when wives and mothers sent these non-perishable biscuits to soldiers fighting abroad. Designed to withstand long journeys by sea, they became a symbol of support and resilience. Today, they're synonymous with ANZAC Day (April 25th), a day of remembrance for fallen soldiers from Australia and New Zealand. While the story is rich, the taste is pure joy. This recipe brings you that same traditional, heartwarming flavor with easy-to-follow instructions tailored for your American kitchen. Ready to dive in?
You'll quickly fall in love with this classic ANZAC biscuits recipe because it nails that authentic taste and texture. We're talking about those traditional golden syrup, oat, and coconut notes that make these cookies so unique. Our method delivers one definitive texture: beautifully crisp edges that give way to a satisfyingly chewy center. The best part? It's a simple, no-mixer, one-bowl melt-and-mix process that anyone can master. Plus, it uses everyday pantry ingredients, with clear notes on how to find or substitute anything less common in US stores. And once they're baked, these cookies keep incredibly well and even ship beautifully, making them perfect for care packages or sharing with loved ones.
Ingredients
Directions
- Prep the Pan & OvenPreheat your oven to 325°F (160°C). If you have a conventional oven, this temperature works great. For a fan-assisted (convection) oven, you might need to drop it slightly to 300°F (150°C), but watch closely. Position an oven rack in the middle. Line a light-colored baking sheet with parchment paper. This prevents sticking and helps ensure even browning.
- Mix the Dry Ingredients In a large mixing bowl, combine the all-purpose flour, rolled oats, unsweetened desiccated coconut, granulated sugar, light brown sugar, and salt. Use a whisk or a spoon to mix everything together until it’s well combined and there are no lumps of brown sugar. The mixture should look like a coarse, sandy blend with visible oats and coconut.
- Melt the Butter and Golden Syrup In a small saucepan, combine the unsalted butter and golden syrup. Place the saucepan over medium heat and stir occasionally until the butter is just melted and the mixture is smooth. Once melted, immediately remove the saucepan from the heat. In a separate small cup, dissolve the baking soda in the 2 tablespoons of hot water. Pour this fizzy mixture into the warm butter and golden syrup, stirring well. It will foam up quite a bit – this is completely normal and part of the magic!
- Combine into Dough Pour the wet butter and syrup mixture into the bowl with your dry ingredients. Using a sturdy spoon or spatula, mix everything together until all the dry ingredients are evenly moistened and no pockets of flour remain. The mixture will look a bit crumbly in the bowl, but it should hold together easily when you squeeze a small amount between your fingers.
- Fix if too dry and sandy: If your dough feels too crumbly and won't hold shape, add 1–2 teaspoons of warm water, one teaspoon at a time, mixing after each addition, until it comes together.
- Fix if too sticky: If the dough feels overly sticky or greasy, add 1–2 teaspoons of all-purpose flour, mixing until the consistency is just right.
- Shape the Cookies Using a tablespoon or a small cookie scoop (about 1.5 tablespoons), portion out the dough. Roll each portion into a ball and place them on your prepared baking sheet, leaving about 2 inches (5 cm) of space between each cookie to allow for spreading. Gently flatten the tops of each dough ball with the palm of your hand or the back of a spoon to about ½ inch (1.25 cm) thick. This helps ensure even baking and that classic crisp-chewy texture.
- Bake to the Perfect Texture Bake for 11–13 minutes. For our standard texture – crisp edges and a slightly chewy middle – aim for the longer end of this range. The edges of the cookies should be a deep golden brown, but the centers might still look a little soft. Don't worry, they'll firm up beautifully as they cool.
- For slightly crisper cookies: Bake for an additional 1–2 minutes, watching carefully for deeper golden edges.
- For slightly chewier cookies: Bake at the lower end of the time range (around 11 minutes), removing them when the edges are just golden.
- Cool & Set Once baked, let the ANZAC biscuits cool on the baking sheet for about 5 minutes. They are quite fragile when hot. After 5 minutes, carefully transfer them to a wire rack to cool completely. As they cool, they will crisp up and become perfectly set. For mailing or gifting, ensure they are fully cooled and firm.
The following nutritional values are per serving (one piece of cake) Calories ~150-170 kcal Carbohydrates ~20-25g Protein ~2-3g Fat ~7-9g Making ANZAC biscuits is already pretty straightforward, but a few simple tools can make your baking experience even smoother and quicker. Here are our top picks: Problem: You're tired of unevenly sized cookies that bake inconsistently, leading to some being burnt and others undercooked. Problem: You dread the cleanup after baking, especially when cookies stick to the pan or leave behind stubborn crumbs. Problem: You're juggling multiple tasks in the kitchen, and measuring sticky ingredients like golden syrup can be messy and time-consuming. Click any ingredient for detailed nutritional information:Recipe Nutritional Values
Additional Information
Recipe Success Tips
Ingredient Substitutions & Variations
Make-Ahead & Storage Instructions
Texture & Troubleshooting Guide
Frequently Asked Questions
Recommended Kitchen Tools
Time-Saving Tools & Ingredients
Agitate: This inconsistency can ruin a whole batch and make your presentation look less than perfect, especially if you're gifting them!
Solution: A small cookie scoop or tablespoon ensures every cookie dough ball is the same size. This leads to uniform baking and a professional-looking batch of biscuits every time.Time-Saving Tools & Ingredients
Agitate: Scraping off burnt bits and scrubbing baking sheets can be a real chore, eating into your precious post-baking relaxation time.
Solution:Parchment paper is your best friend! Lining your baking sheets with it prevents sticking, promotes even baking, and makes cleanup a breeze. Just lift the paper and toss it!Time-Saving Tools & Ingredients
Agitate: Sticky residue on your measuring cups can lead to inaccurate measurements and extra washing up, slowing down your flow.
Solution: Using a kitchen scale to measure ingredients by weight (especially the syrup and flour) is incredibly precise and often less messy. No more scraping out sticky syrup from a measuring cup – just pour directly into your bowl on the scale!Calories per Ingredient
Resources & References
You may also like


Hey there! I’m just someone who seriously loves good food and believes that cooking doesn’t have to be complicated to be amazing. Whether it’s a quick weeknight dinner or a cozy weekend meal, I’m all about sharing easy, tasty recipes that actually work.


