
Classic Chocolate Milkshake Recipe - Thick, Creamy Shake Now
Classic Chocolate Milkshake Recipe - Thick, Creamy Shake Now
- Serves: 2 People
- Prepare Time: 2 minutes
- Cooking Time: 3 minutes
- Calories: -
- Difficulty: Easy
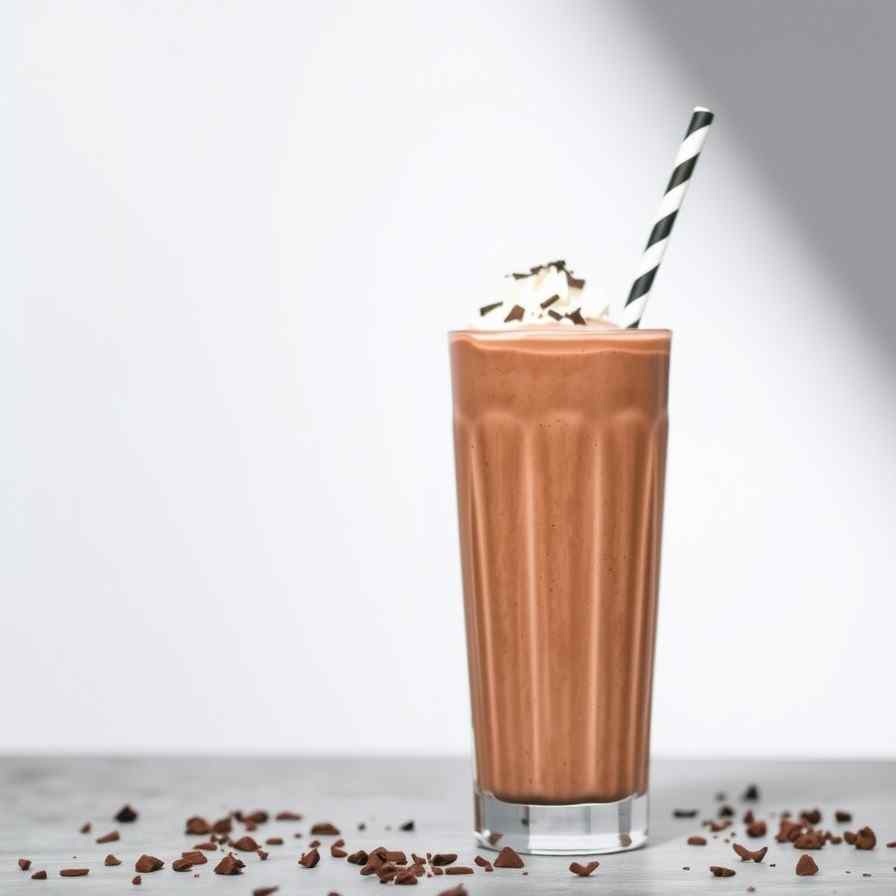
Forget those thin, watery milkshakes that leave you disappointed. You’re about to unlock the secret to a truly thick, creamy, ice-cream-shop-style chocolate milkshake recipe right in your own kitchen! This isn't just another "throw three ingredients in a blender" approach; we're talking about a homemade milkshake that’s perfectly blendable, intensely chocolatey, and boasts that ideal spoon-standing consistency. We'll show you exactly how to make it, complete with clever fixes if things go awry. Ready to whip up the ultimate chocolate milkshake with ice cream in just about five minutes? Let’s dive into making the best basic chocolate milkshake recipe you'll ever taste!
Ingredients
Directions
- Before You Blend (30 Seconds That Matter):
- Chill Your Glassware: For that authentic ice cream shop feel and to keep your shake colder longer, pop your tall glasses into the freezer for 5-10 minutes before you start. It’s optional but highly recommended!
- Soften the Ice Cream: Let your ice cream sit out on the counter for 3-5 minutes. This slight softening makes it easier to blend into a thick consistency without over-blending or straining your blender.
- Blend (The No-Fail Order):
- Start with Milk: Pour the 1/4 cup of whole milk into your blender first. This creates a liquid base that helps your blender blades grab the ingredients properly from the start.
- Add Ice Cream: Scoop the softened ice cream into the blender in chunks.
- Flavor Boosts: Add the chocolate syrup, vanilla extract, and that tiny pinch of salt on top of the ice cream.
- Initial Pulses: Secure the lid and pulse the blender 3-5 times. This helps break down the ice cream without fully liquefying it.
- Blend to Smoothness: Start blending on a low setting, then gradually increase to medium. Blend just until the mixture is smooth and creamy. The key here is to stop as soon as it's smooth – over-blending generates heat, which can make your milkshake runny!
- Adjust Thickness (Measurable & Repeatable):
- If Too Thick to Blend: If your blender is struggling or the mixture is too thick to move, add 1 tablespoon of milk at a time. Pulse between each addition until it reaches a blendable consistency. Resist the urge to add more milk than necessary!
- If Too Thin: Oops! If your shake ends up thinner than desired, don't keep blending. Instead, add 1/2 cup of additional ice cream to the blender and pulse a few times until it's incorporated and thickens up.
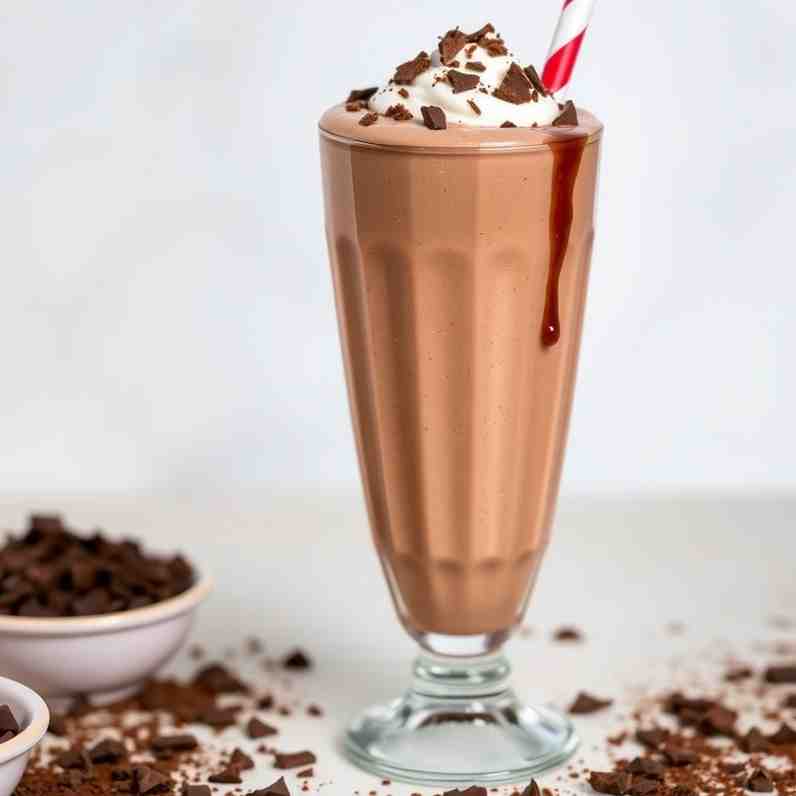
- Serve Immediately: Pour your perfectly thick and creamy chocolate milkshake into your chilled glasses and enjoy right away with a wide straw!
Classic Chocolate Milkshake Recipe - Thick, Creamy Shake Now
- Serves: 2 People
- Prepare Time: 2 minutes
- Cooking Time: 3 minutes
- Calories: -
- Difficulty: Easy
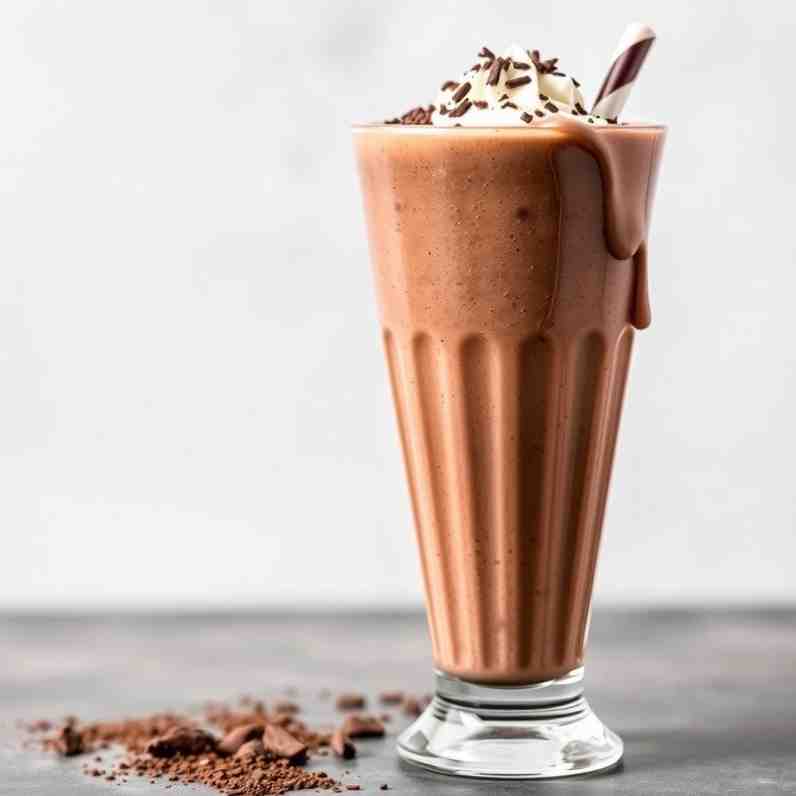
Forget those thin, watery milkshakes that leave you disappointed. You’re about to unlock the secret to a truly thick, creamy, ice-cream-shop-style chocolate milkshake recipe right in your own kitchen! This isn't just another "throw three ingredients in a blender" approach; we're talking about a homemade milkshake that’s perfectly blendable, intensely chocolatey, and boasts that ideal spoon-standing consistency. We'll show you exactly how to make it, complete with clever fixes if things go awry. Ready to whip up the ultimate chocolate milkshake with ice cream in just about five minutes? Let’s dive into making the best basic chocolate milkshake recipe you'll ever taste!
Ingredients
Directions
- Before You Blend (30 Seconds That Matter):
- Chill Your Glassware: For that authentic ice cream shop feel and to keep your shake colder longer, pop your tall glasses into the freezer for 5-10 minutes before you start. It’s optional but highly recommended!
- Soften the Ice Cream: Let your ice cream sit out on the counter for 3-5 minutes. This slight softening makes it easier to blend into a thick consistency without over-blending or straining your blender.
- Blend (The No-Fail Order):
- Start with Milk: Pour the 1/4 cup of whole milk into your blender first. This creates a liquid base that helps your blender blades grab the ingredients properly from the start.
- Add Ice Cream: Scoop the softened ice cream into the blender in chunks.
- Flavor Boosts: Add the chocolate syrup, vanilla extract, and that tiny pinch of salt on top of the ice cream.
- Initial Pulses: Secure the lid and pulse the blender 3-5 times. This helps break down the ice cream without fully liquefying it.
- Blend to Smoothness: Start blending on a low setting, then gradually increase to medium. Blend just until the mixture is smooth and creamy. The key here is to stop as soon as it's smooth – over-blending generates heat, which can make your milkshake runny!
- Adjust Thickness (Measurable & Repeatable):
- If Too Thick to Blend: If your blender is struggling or the mixture is too thick to move, add 1 tablespoon of milk at a time. Pulse between each addition until it reaches a blendable consistency. Resist the urge to add more milk than necessary!
- If Too Thin: Oops! If your shake ends up thinner than desired, don't keep blending. Instead, add 1/2 cup of additional ice cream to the blender and pulse a few times until it's incorporated and thickens up.
- Serve Immediately: Pour your perfectly thick and creamy chocolate milkshake into your chilled glasses and enjoy right away with a wide straw!
You may also like


Hey there! I’m just someone who seriously loves good food and believes that cooking doesn’t have to be complicated to be amazing. Whether it’s a quick weeknight dinner or a cozy weekend meal, I’m all about sharing easy, tasty recipes that actually work.


