
Classic Hummus Recipe - Creamy & Smooth from Dried Chickpeas
Classic Hummus Recipe - Creamy & Smooth from Dried Chickpeas
- Serves: 8 People
- Prepare Time: 20 minutes
- Cooking Time: 90 minutes
- Calories: -
- Difficulty: Medium
Ever wonder how your favorite restaurant gets their hummus so incredibly smooth and creamy, unlike anything you can whip up at home? The secret, my friend, often lies in starting with dried chickpeas and a few clever techniques. Forget grainy, store-bought tubs – you’re about to learn how to make classic homemade hummus that’s so luscious, it’ll make you wonder why you ever did it any other way.
This isn't just another hummus recipe from dried garbanzo beans; it's a deep dive into the why behind the creaminess. We'll walk you through everything from perfectly cooking your chickpeas to the magic of tahini and ice water, ensuring your dip is consistently velvety. Get ready to master the recipe for hummus using dried chickpeas and impress everyone with your superior, ultra-smooth creation!
Ingredients
Directions
- Part 1: Preparing Your Dried Chickpeas for Creaminess
- Soak the Chickpeas (Overnight): Place the dried chickpeas in a large bowl and cover them with at least 4 times their volume of cold water. Let them soak overnight (8-12 hours) at room temperature. They will roughly double in size. If you're in a hurry, you can quick-soak them by boiling them for 5 minutes, then letting them sit in the hot water for 1 hour.
- Cook Until Cream-Ready: Drain the soaked chickpeas and rinse them well. Transfer them to a large pot and cover with fresh cold water by about 2-3 inches. Add 1/2 teaspoon of baking soda (this helps soften the skins for a smoother texture). Bring to a boil, then reduce heat to a gentle simmer. Cook for 60-90 minutes, or until the chickpeas are incredibly soft.
- Doneness Test: They should mash with almost no pressure between your fingers, and the skins should feel very tender, not tough. Overcooked is your friend here!
- Drain Smart: Drain the cooked chickpeas, but reserve about 1/2 cup of the cooking liquid. This starchy liquid is gold for adjusting the consistency of your hummus later. Let the chickpeas cool slightly.
- Part 2: Blending Your Way to Unbeatable Smoothness
- Prep Garlic & Lemon: In a small bowl, combine the minced garlic with the fresh lemon juice. Let it sit for 5-10 minutes. This mellows the raw garlic bite and infuses the lemon. For ultra-smooth hummus, you can strain out the garlic solids after this step, if desired.
- Make the Chickpea Base: Add the still-warm, cooked chickpeas (no skins removed yet, unless you chose to peel them) to the bowl of a food processor. Process for 3-5 minutes, scraping down the sides occasionally, until they form a thick, pasty "powder" or a very thick, somewhat dry paste. This initial processing is key to breaking them down thoroughly.
- Emulsify for Silkiness: With the food processor running, add the tahini, followed by the lemon juice/garlic mixture, and salt. Continue to process. While it's running, slowly stream in the ice water (or drop in a few ice cubes, one at a time). Process for another 5-7 minutes, or even longer, until the hummus is incredibly smooth, light, and airy. Don't stop early! The longer you blend, the creamier it gets.
- Final Taste & Texture Dial-In: Taste your hummus.
- Adjusting Flavor: Need more zing? Add a splash more lemon juice. Lacking something? A pinch more salt can make flavors pop.
- Adjusting Texture: If it's too thick, add more of the reserved chickpea cooking liquid or a bit more ice water, one tablespoon at a time, until it reaches your desired consistency.
- Part 3: Serving Your Masterpiece (Lebanese-Style)
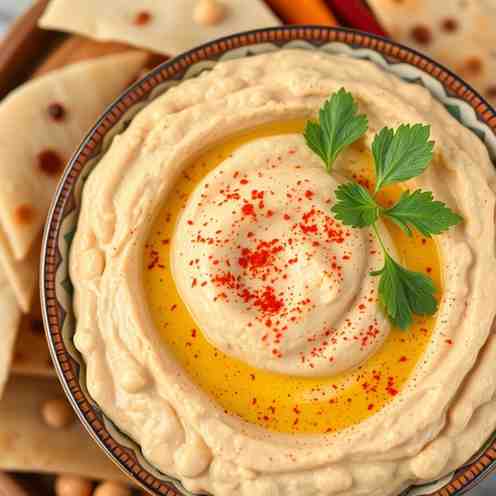
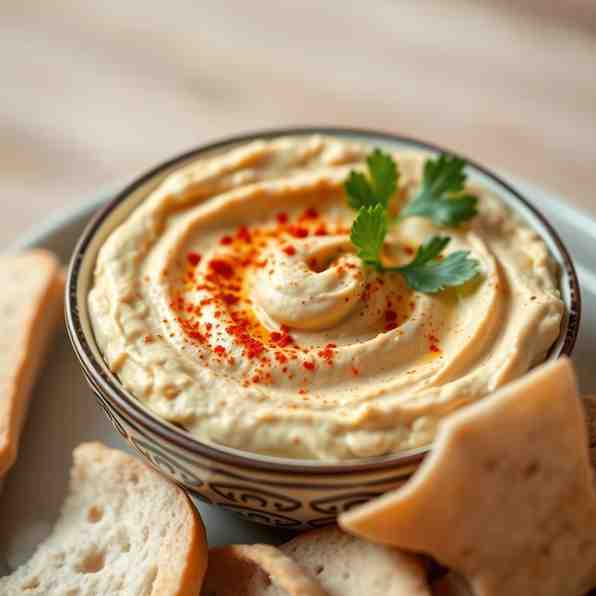
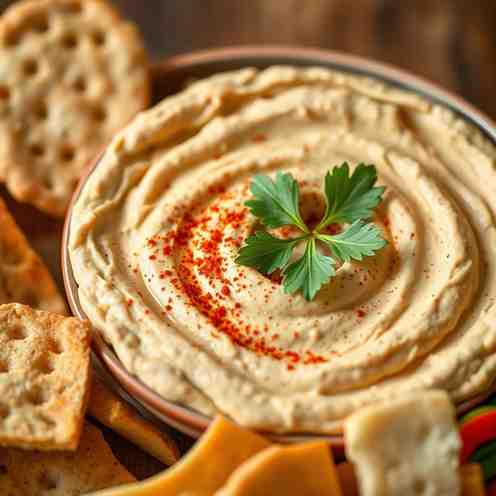
- Plate Beautifully: Spread the hummus onto a shallow serving plate, creating a swirl pattern with the back of a spoon. Make a small well in the center.Garnish Generously: Drizzle generously with good quality olive oil. Sprinkle a few whole cooked chickpeas in the center well. Finish with a dusting of sumac or paprika and a sprinkle of fresh chopped parsley, if using.
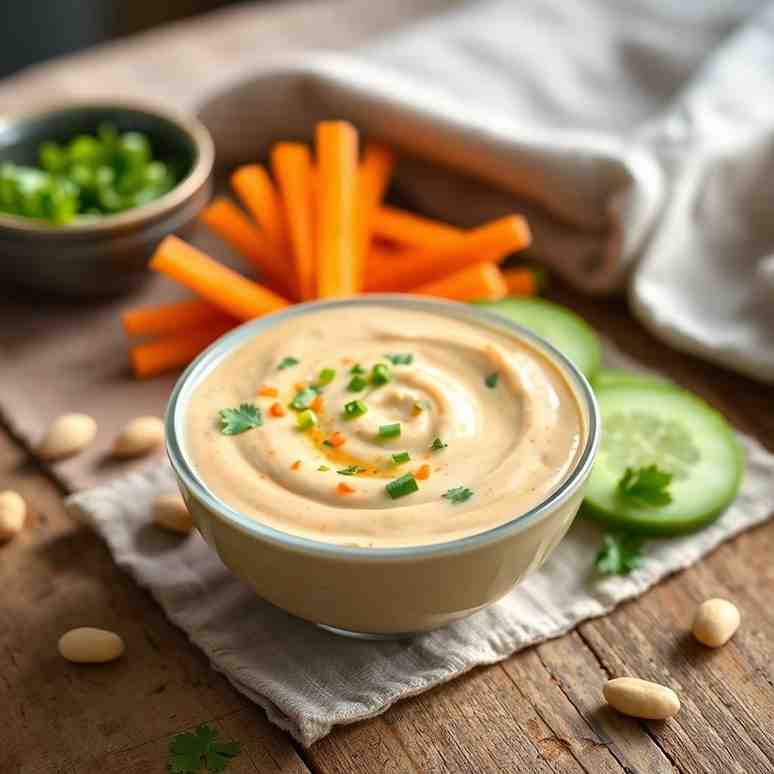
- Serve immediately with warm pita bread, fresh vegetables, or as part of a mezze platter!
Classic Hummus Recipe - Creamy & Smooth from Dried Chickpeas
- Serves: 8 People
- Prepare Time: 20 minutes
- Cooking Time: 90 minutes
- Calories: -
- Difficulty: Medium
Ever wonder how your favorite restaurant gets their hummus so incredibly smooth and creamy, unlike anything you can whip up at home? The secret, my friend, often lies in starting with dried chickpeas and a few clever techniques. Forget grainy, store-bought tubs – you’re about to learn how to make classic homemade hummus that’s so luscious, it’ll make you wonder why you ever did it any other way.
This isn't just another hummus recipe from dried garbanzo beans; it's a deep dive into the why behind the creaminess. We'll walk you through everything from perfectly cooking your chickpeas to the magic of tahini and ice water, ensuring your dip is consistently velvety. Get ready to master the recipe for hummus using dried chickpeas and impress everyone with your superior, ultra-smooth creation!
Ingredients
Directions
- Part 1: Preparing Your Dried Chickpeas for Creaminess
- Soak the Chickpeas (Overnight): Place the dried chickpeas in a large bowl and cover them with at least 4 times their volume of cold water. Let them soak overnight (8-12 hours) at room temperature. They will roughly double in size. If you're in a hurry, you can quick-soak them by boiling them for 5 minutes, then letting them sit in the hot water for 1 hour.
- Cook Until Cream-Ready: Drain the soaked chickpeas and rinse them well. Transfer them to a large pot and cover with fresh cold water by about 2-3 inches. Add 1/2 teaspoon of baking soda (this helps soften the skins for a smoother texture). Bring to a boil, then reduce heat to a gentle simmer. Cook for 60-90 minutes, or until the chickpeas are incredibly soft.
- Doneness Test: They should mash with almost no pressure between your fingers, and the skins should feel very tender, not tough. Overcooked is your friend here!
- Drain Smart: Drain the cooked chickpeas, but reserve about 1/2 cup of the cooking liquid. This starchy liquid is gold for adjusting the consistency of your hummus later. Let the chickpeas cool slightly.
- Part 2: Blending Your Way to Unbeatable Smoothness
- Prep Garlic & Lemon: In a small bowl, combine the minced garlic with the fresh lemon juice. Let it sit for 5-10 minutes. This mellows the raw garlic bite and infuses the lemon. For ultra-smooth hummus, you can strain out the garlic solids after this step, if desired.
- Make the Chickpea Base: Add the still-warm, cooked chickpeas (no skins removed yet, unless you chose to peel them) to the bowl of a food processor. Process for 3-5 minutes, scraping down the sides occasionally, until they form a thick, pasty "powder" or a very thick, somewhat dry paste. This initial processing is key to breaking them down thoroughly.
- Emulsify for Silkiness: With the food processor running, add the tahini, followed by the lemon juice/garlic mixture, and salt. Continue to process. While it's running, slowly stream in the ice water (or drop in a few ice cubes, one at a time). Process for another 5-7 minutes, or even longer, until the hummus is incredibly smooth, light, and airy. Don't stop early! The longer you blend, the creamier it gets.
- Final Taste & Texture Dial-In: Taste your hummus.
- Adjusting Flavor: Need more zing? Add a splash more lemon juice. Lacking something? A pinch more salt can make flavors pop.
- Adjusting Texture: If it's too thick, add more of the reserved chickpea cooking liquid or a bit more ice water, one tablespoon at a time, until it reaches your desired consistency.
- Part 3: Serving Your Masterpiece (Lebanese-Style)
- Plate Beautifully: Spread the hummus onto a shallow serving plate, creating a swirl pattern with the back of a spoon. Make a small well in the center.Garnish Generously: Drizzle generously with good quality olive oil. Sprinkle a few whole cooked chickpeas in the center well. Finish with a dusting of sumac or paprika and a sprinkle of fresh chopped parsley, if using.
- Serve immediately with warm pita bread, fresh vegetables, or as part of a mezze platter!
You may also like


Hey there! I’m just someone who seriously loves good food and believes that cooking doesn’t have to be complicated to be amazing. Whether it’s a quick weeknight dinner or a cozy weekend meal, I’m all about sharing easy, tasty recipes that actually work.


