
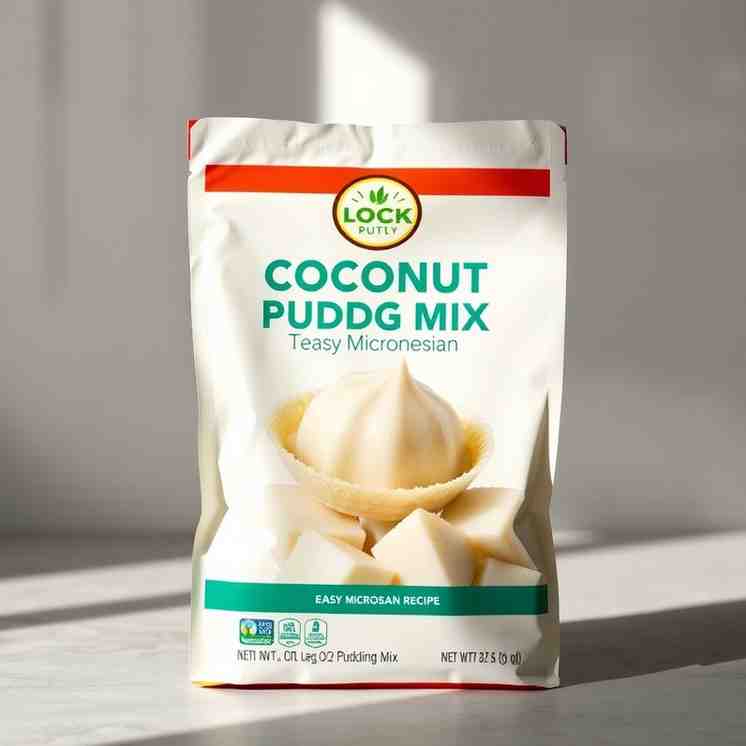
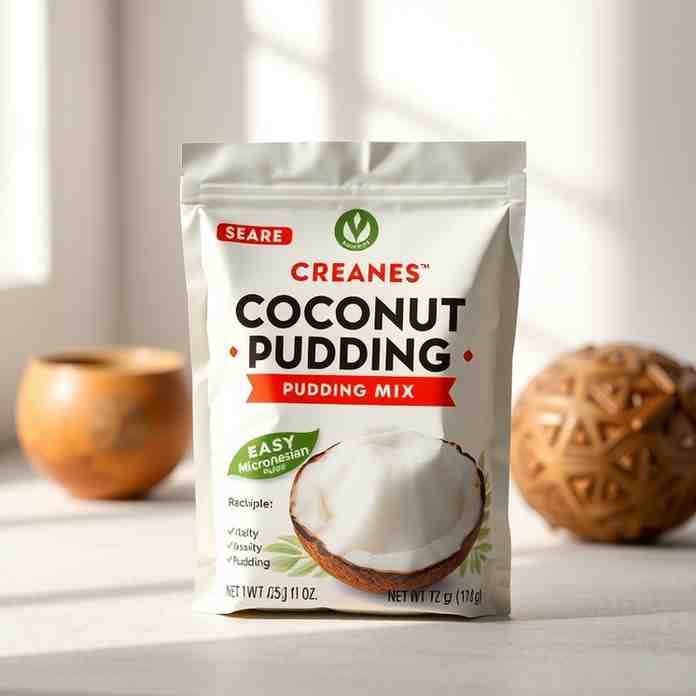
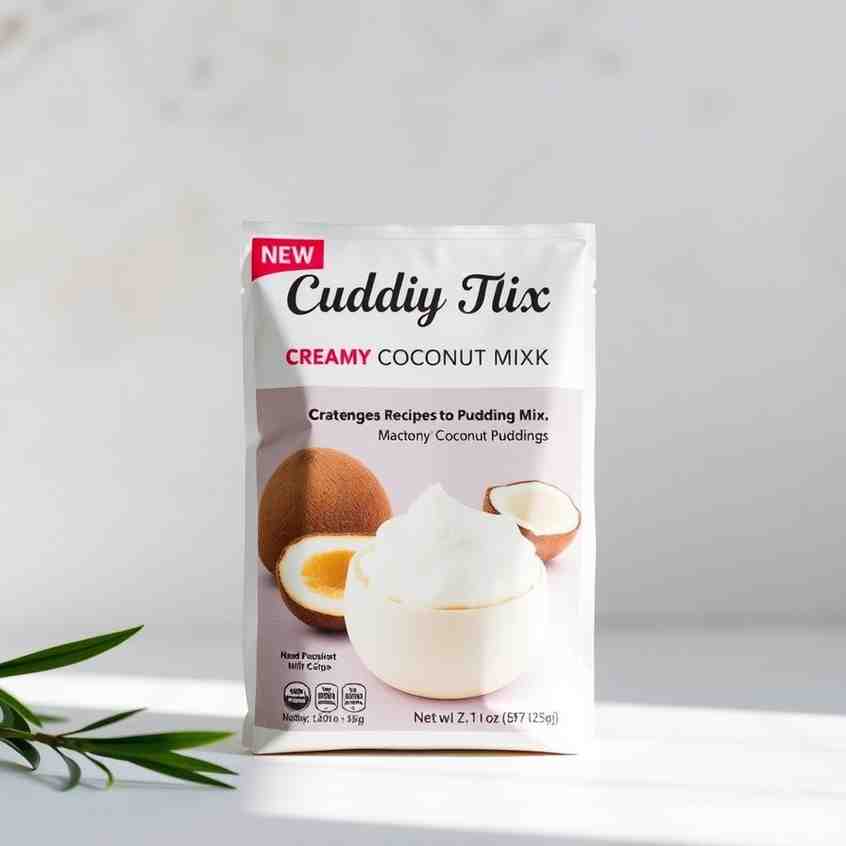
Creamy Coconut Pudding Mix - Easy Micronesian Taro Recipe
Creamy Coconut Pudding Mix - Easy Micronesian Taro Recipe
- Serves: 6 People
- Prepare Time: 20 minutes
- Cooking Time: 30 minutes
- Calories: -
- Difficulty: Easy
Craving a dessert that's both exotic and incredibly comforting? Get ready to dive into the delightful world of Micronesian Taro Pudding with Coconut Milk! This isn't your average chia or rice pudding; it's a unique, creamy coconut pudding mix that transports your taste buds straight to the islands. Imagine a dessert that's lightly sweet, wonderfully rich from coconut milk, and boasts an earthy, subtly nutty flavor from taro. It's a truly authentic and easy homemade recipe dessert that's perfect for anyone looking for something different, delicious, and easy to prepare. Whether you're a seasoned baker or just starting your culinary journey, this recipe for creamy taro pudding will quickly become one of your best sweet recipes and a go-to for easy sweet recipes that impress.
This recipe is a home-kitchen-friendly "pudding" interpretation of the various taro and coconut-based sweets found across Micronesia, often enjoyed as part of daily meals or special occasions. We're making it super accessible, so you can bring a taste of paradise right into your kitchen with this delicious homemade recipe.
At its heart, Micronesian taro pudding is a celebration of taro, a root vegetable that's a staple across many Pacific islands, much like potatoes are in Western cultures. Sweet taro preparations often pair beautifully with the rich, creamy notes of coconut. While traditional Micronesian desserts might be known by names like Pihlohlo Mwehng (a common name for taro and coconut dishes in some parts of Micronesia) or Uter (another term for taro-based dishes, sometimes referring to a more savory preparation), we're calling this a "pudding" for a US audience. This helps convey the creamy, soft texture and the dessert-like quality that this particular homemade sweet recipe embodies, making it relatable while honoring its cultural inspiration. It's truly a recipe for authentic island flavors!
Ingredients
Directions
- Prep the Taro: If using fresh taro, carefully peel the taro root (wearing gloves can prevent any potential skin irritation) and cut it into roughly 1-inch chunks. If using frozen taro, thaw it completely.
- Cook Until Tender: Place the taro chunks in a medium pot and cover them with water by about an inch. Bring to a boil, then reduce heat and simmer gently for 15-20 minutes, or until the taro is completely fork-tender. It should mash easily. Drain the taro very well in a colander, shaking off excess water.
- Mash Smooth: Return the drained, cooked taro to the pot. Add one can of full-fat coconut milk. Using a potato masher, mash the taro until it's as smooth as possible. For an ultra-silky pudding, you can transfer the mixture to a blender and blend until completely smooth.
- Sweeten & Simmer: Stir in the sugar (granulated or coconut sugar) and the pinch of salt. Add the second can of full-fat coconut milk. Whisk everything together until well combined. Bring the mixture to a gentle simmer over medium-low heat, stirring constantly to prevent sticking. Do not boil vigorously.
- Thicken to Pudding Perfection: In a small bowl, whisk together the cornstarch with 2 tablespoons of cold water until smooth. Slowly pour this cornstarch slurry into the simmering taro mixture, whisking continuously. Continue to cook and stir for 2-3 minutes, until the pudding visibly thickens and coats the back of a spoon. It should look glossy and have a consistency like a thick custard or gravy.
- Finish & Flavor: Remove the pot from the heat. Stir in the vanilla extract (if using). If desired, fold in some toasted coconut flakes for added texture and flavor, or save them for topping.
- Chill for Creaminess: Pour the warm pudding into individual serving bowls or a larger dish. To prevent a "skin" from forming on top, you can gently press a piece of plastic wrap directly onto the surface of the pudding. Chill in the refrigerator for at least 2-4 hours, or until completely cold and set.
You may also like


Hey there! I’m just someone who seriously loves good food and believes that cooking doesn’t have to be complicated to be amazing. Whether it’s a quick weeknight dinner or a cozy weekend meal, I’m all about sharing easy, tasty recipes that actually work.


