
Crispy Gluten-Free Calamari with Lemon | Easy Recipe
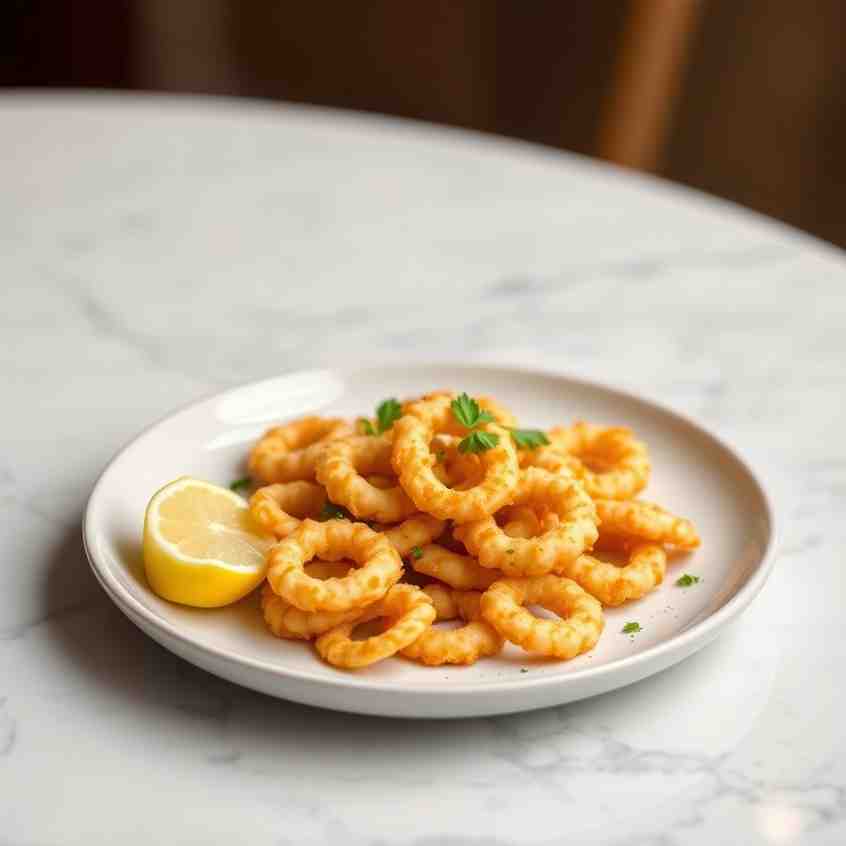
Crispy Gluten-Free Calamari with Lemon | Easy Recipe

- Serves: 2 People
- Prepare Time: 15 minutes
- Cooking Time: 10 minutes
- Calories: -
- Difficulty: Easy
Welcome to your new favorite way to enjoy crispy gluten-free calamari! Forget rubbery squid or soggy coatings – this recipe is your ticket to restaurant-quality fried calamari right in your own kitchen, complete with a bright squeeze of lemon. We’re talking about that perfect shatter-crisp exterior and tender, never-chewy inside, all ready in a flash.
What makes this recipe stand out? We’ve cracked the code on a repeatable "crispy system" that guarantees success every time. Plus, it's naturally dairy-free and offers an incredibly easy gluten-free swap, making it accessible for everyone. Whether you're a seasoned chef or a beginner just dipping your toes into frying, you'll love how simple and satisfying this dish is.
Ready to get frying?
Before you even start, here's a quick rundown of what makes this recipe a winner:
Quick Brine: Essential for tender squid and a non-fishy flavor.
Pat Dry, Really Dry: The secret to a coating that sticks and gets super crispy.
Right Dredge: Our blend of starch and a touch of leavener creates that light, shattery crust.
Rest Time: A crucial, often overlooked step that prevents coating loss.
Oil Temperature: Keep it consistent for perfect browning and to avoid greasiness.
Small Batches: Don't overcrowd the pot! This is key for even cooking and crispiness.
Drain on a Rack: Say goodbye to soggy bottoms!
Salt Immediately: Seasoning when hot helps flavor adhere best.
Ingredients
Directions
- Prep & Thaw Calamari: If using frozen calamari, thaw it completely in the refrigerator overnight or under cold running water. Once thawed, drain any excess liquid thoroughly. Transfer the calamari to a paper towel-lined plate and pat it very, very dry. This is crucial for a crispy coating that sticks!
- Quick Brine: In a medium bowl, combine 1 cup of cold water with 1 teaspoon of kosher salt and a good squeeze of lemon juice (about 1 tablespoon). Add the dried calamari, making sure it's submerged. Let it brine for no more than 10-15 minutes. This quick soak tenderizes the squid and removes any lingering fishiness.
- Drain & Dry (Again!): After brining, drain the calamari thoroughly. Transfer it back to a fresh stack of paper towels or a clean kitchen towel and pat it extremely dry once more. Any moisture left on the calamari will prevent the dredge from adhering and result in a soggy coating.
- Make the Dredge: In a shallow dish or a sturdy resealable bag, combine the all-purpose flour (or 1:1 gluten-free baking blend), cornstarch, baking powder, black pepper, paprika (if using), cayenne (if using), and garlic powder (if using). If you're using lemon zest in your dredge, add it now. Whisk or shake until well combined.
- Coat the Calamari: Add the super-dry calamari to the dredge mixture. Toss gently to coat each piece evenly. Shake off any excess flour – a thin, even coating is what you're after.
- Coating Adhesion Explanation: Now, here's a crucial step often missed: Place the coated calamari in a colander or on a wire rack set over a baking sheet. Let it rest for 5 minutes while you heat your oil. This brief rest allows the moisture from the calamari to hydrate the flour mixture, creating a sticky paste that adheres much better during frying, preventing the coating from falling off.
- Heat the Oil: Pour the neutral high-heat oil into a small, heavy pot or Dutch oven (a smaller pot is great for single servings as it requires less oil to achieve adequate depth). Attach a thermometer to the side of the pot. Heat the oil over medium-high heat until it reaches 350-360°F (175-182°C).
- Oil Temperature Matters: If the oil is too cool, the calamari will absorb too much oil and turn out greasy and soggy. If it's too hot, the coating will burn before the calamari cooks through, leading to a tough, rubbery interior.
- Fry in Small Batches: Carefully add a small batch of coated calamari to the hot oil. Do not overcrowd the pot, as this will drop the oil temperature and lead to greasy calamari. Fry for 1-2 minutes, or until the calamari is pale golden brown and the bubbling around it steadies. Calamari cooks very quickly!
- Drain & Season: Using a spider or slotted spoon, transfer the fried calamari to a wire rack set over a sheet pan. Immediately sprinkle with a pinch of kosher salt while it's still hot. This helps the salt adhere and enhances the flavor.
- Serve: Serve the crispy calamari piping hot with fresh lemon wedges for squeezing. If making the optional dip, quickly stir together the mayo, minced garlic, lemon juice, and a pinch of salt. Serve alongside!
You may also like


Hey there! I’m just someone who seriously loves good food and believes that cooking doesn’t have to be complicated to be amazing. Whether it’s a quick weeknight dinner or a cozy weekend meal, I’m all about sharing easy, tasty recipes that actually work.


