
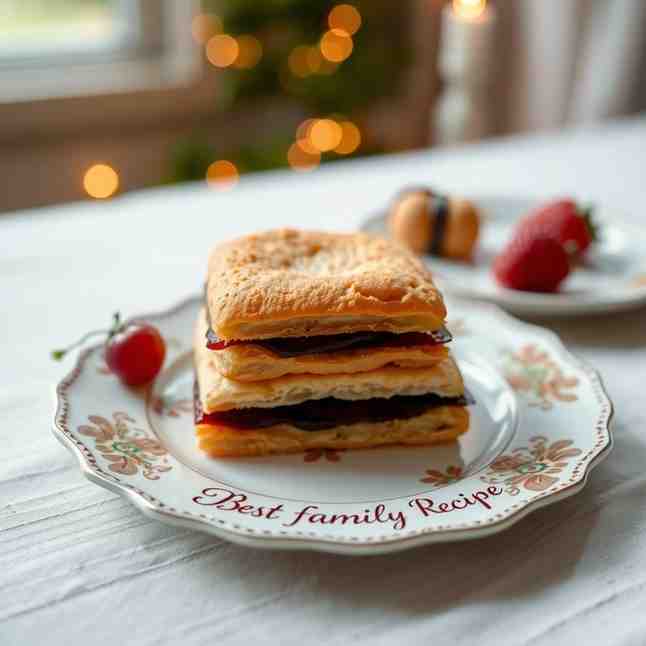
Danish Klejner - Best Family Recipe
Danish Klejner - Best Family Recipe
- Serves: 8 People
- Prepare Time: 30 minutes
- Cooking Time: 30 minutes
- Calories: -
- Difficulty: Medium
Get ready to bring a little piece of Danish Christmas magic right into your kitchen! Today, we're diving into the delightful world of Danish Klejner – those crispy twisted fried cookies, lightly scented with warm cardamom. Imagine cozy family gatherings, a steaming cup of coffee, and a plate piled high with these golden beauties. That's the essence of Danish Christmas tradition, and it’s about to become your new best family recipe. You might think frying cookies sounds intimidating, but I promise, it's simpler than you imagine. With a straightforward dough, a fun twisting technique, and basic frying skills, you can absolutely master these at home. So, if you're looking for simple recipes for families or even recipes for two that feel truly special, you've found it. Let's get cooking and make some unforgettable memories!
Ingredients
Directions
- Make the Dough: In a large mixing bowl, whisk together the eggs, granulated sugar, ground cardamom, salt, and your chosen leavening (hartshorn salt OR baking powder + baking soda) until well combined. Add the cold butter pieces to the egg mixture. Using your fingertips or a pastry blender, cut in the butter until the mixture resembles coarse crumbs. Now, gradually add the milk or cream and the flour, mixing until a soft, cohesive dough forms. It should feel like a soft sugar cookie dough – not too sticky, not too crumbly. If it’s too crumbly, add a teaspoon of milk; if it’s sticky, dust with a tiny bit more flour.
- Rest the Dough: Gently form the dough into a disc, wrap it tightly in plastic wrap, and chill it in the refrigerator for at least 10-30 minutes. This short rest makes the dough much easier to roll. Planning ahead for the holidays? You can actually chill this dough for up to 24 hours! Just remember to let it sit out at room temperature for about 10-15 minutes before rolling if it's been in the fridge for a long time.
- Roll & Cut the Diamonds: Lightly flour your work surface and your rolling pin. Roll out the chilled dough to an even ¼-inch (about 6mm) thickness. Now, using a knife and a ruler (or a pastry wheel if you have one, like a traditional klejnespore!), cut the dough into diamond shapes, roughly 3 inches long by 1 inch wide. Don't worry about perfection; rustic charm is part of the fun!
- Cut the Slit: Take each diamond and cut a single slit right in the center, running lengthwise. Make sure to leave a little bit of dough at both ends (about ¼ inch) so the diamond doesn't tear apart. The slit should be about half the length of the diamond itself.
- Twist Each Klejne: This is the magic part! Hold one diamond with a pointed end facing you. Gently push that pointed end through the slit you just cut and pull it halfway through. This creates that classic, elegant twist. They don’t need to be perfectly uniform; they’ll still taste absolutely delicious!
- Heat the Oil: Grab a heavy-bottomed pot or a Dutch oven and pour in about 2-3 inches of your chosen frying oil. Heat the oil over medium-high heat until it reaches around 350°F (175°C). Don't have a thermometer? You can use a wooden spoon test: if you dip the handle into the oil and small bubbles form around it, your oil is ready. Or, drop a tiny pinch of dough into the oil – it should sizzle immediately but not darken too quickly.
- Fry the Klejner: Carefully slide a few Klejner into the hot oil. Don't overcrowd the pot, or the oil temperature will drop, leading to greasy cookies. Fry them for about 2-3 minutes total, turning them once or twice with a slotted spoon or spider, until they are beautifully deep golden brown all over. They should have crisp edges and feel light in the center when done.
- Drain, Cool & Dust: Transfer the fried Klejner to a sheet pan lined with paper towels or a wire rack to drain any excess oil. Let them cool to warm or room temperature. If you like, give them a light dusting of powdered sugar before serving. While one batch is frying, you can prep the next batch of twisted dough on the counter to keep your rhythm going!
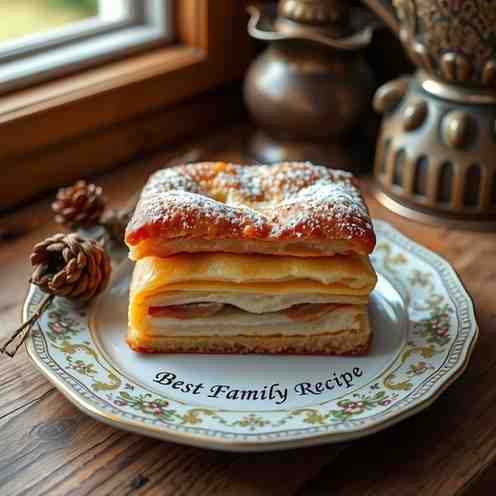
Danish Klejner - Best Family Recipe

- Serves: 8 People
- Prepare Time: 30 minutes
- Cooking Time: 30 minutes
- Calories: -
- Difficulty: Medium
Get ready to bring a little piece of Danish Christmas magic right into your kitchen! Today, we're diving into the delightful world of Danish Klejner – those crispy twisted fried cookies, lightly scented with warm cardamom. Imagine cozy family gatherings, a steaming cup of coffee, and a plate piled high with these golden beauties. That's the essence of Danish Christmas tradition, and it’s about to become your new best family recipe. You might think frying cookies sounds intimidating, but I promise, it's simpler than you imagine. With a straightforward dough, a fun twisting technique, and basic frying skills, you can absolutely master these at home. So, if you're looking for simple recipes for families or even recipes for two that feel truly special, you've found it. Let's get cooking and make some unforgettable memories!
Ingredients
Directions
- Make the Dough: In a large mixing bowl, whisk together the eggs, granulated sugar, ground cardamom, salt, and your chosen leavening (hartshorn salt OR baking powder + baking soda) until well combined. Add the cold butter pieces to the egg mixture. Using your fingertips or a pastry blender, cut in the butter until the mixture resembles coarse crumbs. Now, gradually add the milk or cream and the flour, mixing until a soft, cohesive dough forms. It should feel like a soft sugar cookie dough – not too sticky, not too crumbly. If it’s too crumbly, add a teaspoon of milk; if it’s sticky, dust with a tiny bit more flour.
- Rest the Dough: Gently form the dough into a disc, wrap it tightly in plastic wrap, and chill it in the refrigerator for at least 10-30 minutes. This short rest makes the dough much easier to roll. Planning ahead for the holidays? You can actually chill this dough for up to 24 hours! Just remember to let it sit out at room temperature for about 10-15 minutes before rolling if it's been in the fridge for a long time.
- Roll & Cut the Diamonds: Lightly flour your work surface and your rolling pin. Roll out the chilled dough to an even ¼-inch (about 6mm) thickness. Now, using a knife and a ruler (or a pastry wheel if you have one, like a traditional klejnespore!), cut the dough into diamond shapes, roughly 3 inches long by 1 inch wide. Don't worry about perfection; rustic charm is part of the fun!
- Cut the Slit: Take each diamond and cut a single slit right in the center, running lengthwise. Make sure to leave a little bit of dough at both ends (about ¼ inch) so the diamond doesn't tear apart. The slit should be about half the length of the diamond itself.
- Twist Each Klejne: This is the magic part! Hold one diamond with a pointed end facing you. Gently push that pointed end through the slit you just cut and pull it halfway through. This creates that classic, elegant twist. They don’t need to be perfectly uniform; they’ll still taste absolutely delicious!
- Heat the Oil: Grab a heavy-bottomed pot or a Dutch oven and pour in about 2-3 inches of your chosen frying oil. Heat the oil over medium-high heat until it reaches around 350°F (175°C). Don't have a thermometer? You can use a wooden spoon test: if you dip the handle into the oil and small bubbles form around it, your oil is ready. Or, drop a tiny pinch of dough into the oil – it should sizzle immediately but not darken too quickly.
- Fry the Klejner: Carefully slide a few Klejner into the hot oil. Don't overcrowd the pot, or the oil temperature will drop, leading to greasy cookies. Fry them for about 2-3 minutes total, turning them once or twice with a slotted spoon or spider, until they are beautifully deep golden brown all over. They should have crisp edges and feel light in the center when done.
- Drain, Cool & Dust: Transfer the fried Klejner to a sheet pan lined with paper towels or a wire rack to drain any excess oil. Let them cool to warm or room temperature. If you like, give them a light dusting of powdered sugar before serving. While one batch is frying, you can prep the next batch of twisted dough on the counter to keep your rhythm going!
You may also like


Hey there! I’m just someone who seriously loves good food and believes that cooking doesn’t have to be complicated to be amazing. Whether it’s a quick weeknight dinner or a cozy weekend meal, I’m all about sharing easy, tasty recipes that actually work.


