
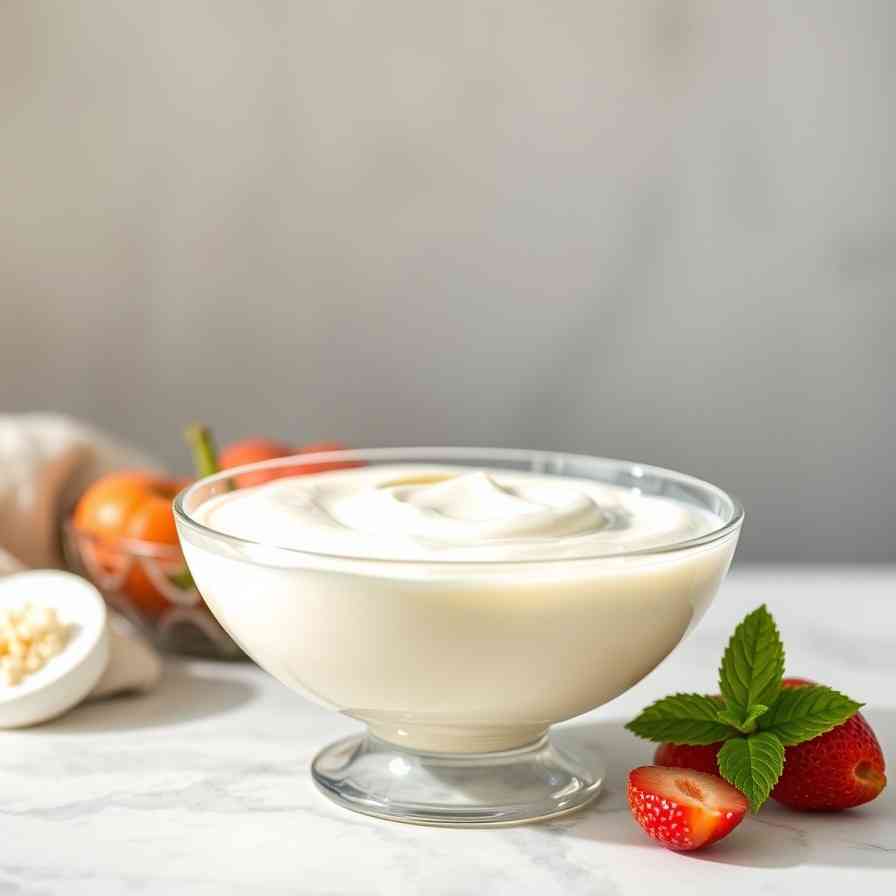
Easy Homemade Yogurt Recipe - Creamy, Thick & Simple
Easy Homemade Yogurt Recipe - Creamy, Thick & Simple
- Serves: 4 People
- Prepare Time: 15 minutes
- Cooking Time: 8 hours
- Calories: -
- Difficulty: Easy
Dreaming of luscious, creamy homemade yogurt that tastes incredible and saves you money? You've come to the right place! This guide will walk you through an easy homemade yogurt recipe that delivers thick, tangy, and utterly delicious plain yogurt, perfect for enjoying on its own or as a base for your favorite flavors. Forget fancy equipment or complicated steps – this method is designed for everyone, from absolute beginners to seasoned home cooks, and doesn't even require a dedicated yogurt maker.
Making your own yogurt isn't just a fun kitchen project; it's a game-changer. You get full control over the ingredients, ensuring no added sugars or thickeners, and the satisfaction of creating a truly fresh, probiotic-rich food. Plus, it's significantly more cost-effective than buying store-bought. Ready to unlock the secrets to perfect homemade whole milk yogurt? Let's get started!
For those who are eager to jump straight in, here’s the lightning-fast summary of our easy homemade yogurt recipe:
1. Heat milk to 180–190°F (82-88°C).
2. Cool milk to ~110°F (43°C).
3. Mix in your yogurt starter culture.
4. Hold warm (incubate) for 6–12 hours.
5. Chill for at least 4 hours.
6. Eat and save a little starter for next time!
Before we get to the detailed steps for your easy homemade yogurt recipe, let's gather your essentials. This method prioritizes simplicity, so you won't need anything specialized.
Ingredients
Directions
- Heat the Milk: Pour the whole milk into your medium pot. Heat it over medium heat, stirring occasionally to prevent scorching the bottom. Bring the milk to a temperature of 180–190°F (82-88°C). This step kills any unwanted bacteria and denatures the milk proteins, which helps create a thicker yogurt. Look for gentle steaming and small bubbles around the edges, but don't let it boil vigorously.
- Cool the Milk: Remove the pot from the heat. Now, you need to cool the milk down to 110°F (43°C). This is the ideal temperature for your yogurt starter culture to thrive without being killed by excessive heat. You can let it cool naturally at room temperature (this takes a while!), or for a faster cool, place the pot in a sink filled with an ice bath, stirring occasionally until it reaches the target temperature.
- Temper the Starter: Once your milk is at 110°F (43°C), scoop out about 1/2 cup of the warm milk into a small bowl. Add your 2 tablespoons of plain yogurt starter to this small bowl and whisk until completely smooth. This "tempers" the starter, bringing it up to temperature gently and ensuring it mixes evenly into the larger batch of milk without clumping.
- Whisk in the Starter: Pour the tempered starter mixture back into the pot with the rest of the cooled milk. Whisk gently but thoroughly for about 30-60 seconds to ensure the cultures are evenly distributed throughout the milk.
- Incubate Undisturbed: Carefully pour the inoculated milk into your clean lidded container(s) or jars. Place the container(s) in your chosen warm incubation setup (oven with light, cooler, Instant Pot, heating pad, etc.). Leave it undisturbed for 6-12 hours. The longer it incubates, the tangier and often thicker your yogurt will become. Avoid shaking or disturbing it during this time. Your yogurt is "set" when it looks firm and jiggles like a loose custard, rather than sloshing like liquid milk. Small pockets of clear liquid (whey) on top are completely normal.
- Chill to Finish: Once your yogurt is set, remove it from the warm incubation spot. Place the lidded container(s) directly into the refrigerator and chill for at least 4 hours. Chilling is crucial as it stops the fermentation process, further thickens the yogurt, and improves its overall texture and flavor.
- Save Starter for Next Time: Before you dig in, remember to reserve about 2 tablespoons of your freshly made yogurt to use as a starter for your next batch! Store it in a small, clean, lidded container in the fridge. This ensures a continuous supply of delicious
- homemade probiotic yogurt.
- What Your Yogurt Should Look & Smell Like (Checkpoints)
- After Incubation: It should have a jiggle like a soft custard or gelatin. When you tilt the jar slightly, it should pull away from the sides in a solid mass, not slosh like milk. The smell should be pleasantly tangy, like fresh yogurt. Small amounts of clear, yellowish liquid (whey) on the surface are perfectly normal.
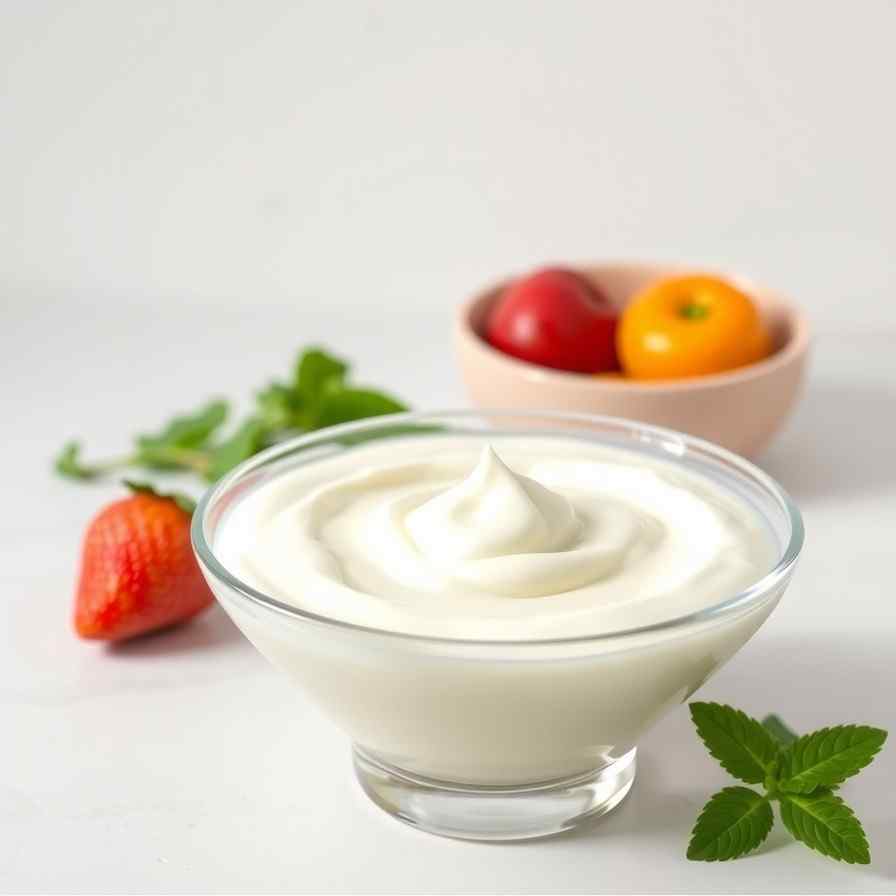
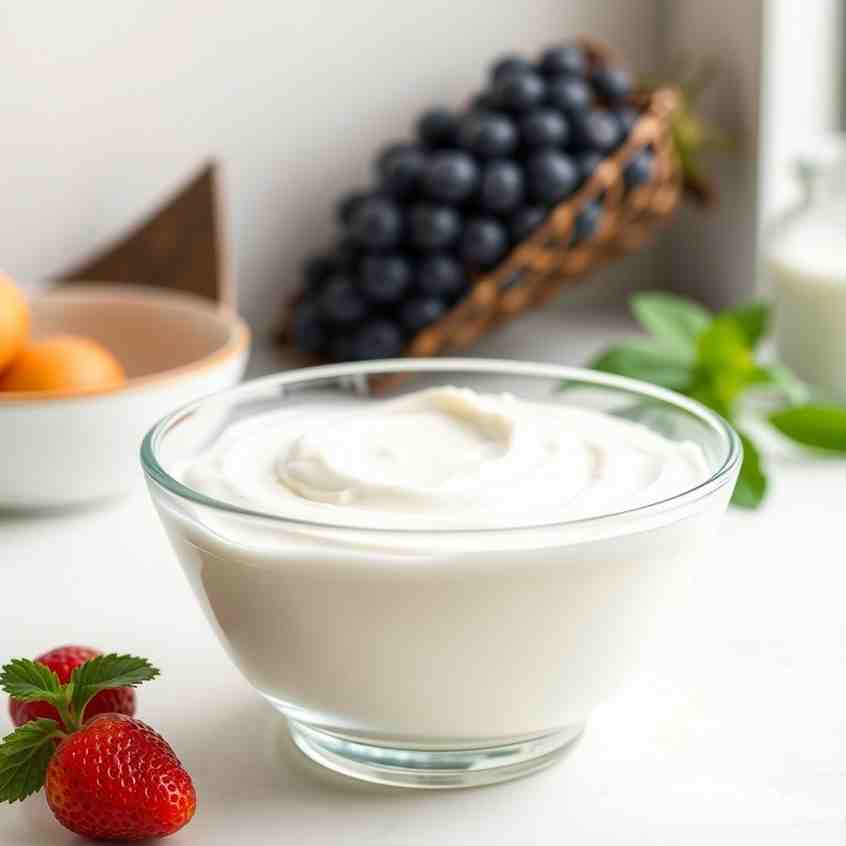
- After Chilling: Your yogurt should be noticeably thicker and scoopable. The texture will be smooth and creamy, and the tang will have mellowed slightly.
Easy Homemade Yogurt Recipe - Creamy, Thick & Simple
- Serves: 4 People
- Prepare Time: 15 minutes
- Cooking Time: 8 hours
- Calories: -
- Difficulty: Easy
Dreaming of luscious, creamy homemade yogurt that tastes incredible and saves you money? You've come to the right place! This guide will walk you through an easy homemade yogurt recipe that delivers thick, tangy, and utterly delicious plain yogurt, perfect for enjoying on its own or as a base for your favorite flavors. Forget fancy equipment or complicated steps – this method is designed for everyone, from absolute beginners to seasoned home cooks, and doesn't even require a dedicated yogurt maker.
Making your own yogurt isn't just a fun kitchen project; it's a game-changer. You get full control over the ingredients, ensuring no added sugars or thickeners, and the satisfaction of creating a truly fresh, probiotic-rich food. Plus, it's significantly more cost-effective than buying store-bought. Ready to unlock the secrets to perfect homemade whole milk yogurt? Let's get started!
For those who are eager to jump straight in, here’s the lightning-fast summary of our easy homemade yogurt recipe:
1. Heat milk to 180–190°F (82-88°C).
2. Cool milk to ~110°F (43°C).
3. Mix in your yogurt starter culture.
4. Hold warm (incubate) for 6–12 hours.
5. Chill for at least 4 hours.
6. Eat and save a little starter for next time!
Before we get to the detailed steps for your easy homemade yogurt recipe, let's gather your essentials. This method prioritizes simplicity, so you won't need anything specialized.
Ingredients
Directions
- Heat the Milk: Pour the whole milk into your medium pot. Heat it over medium heat, stirring occasionally to prevent scorching the bottom. Bring the milk to a temperature of 180–190°F (82-88°C). This step kills any unwanted bacteria and denatures the milk proteins, which helps create a thicker yogurt. Look for gentle steaming and small bubbles around the edges, but don't let it boil vigorously.
- Cool the Milk: Remove the pot from the heat. Now, you need to cool the milk down to 110°F (43°C). This is the ideal temperature for your yogurt starter culture to thrive without being killed by excessive heat. You can let it cool naturally at room temperature (this takes a while!), or for a faster cool, place the pot in a sink filled with an ice bath, stirring occasionally until it reaches the target temperature.
- Temper the Starter: Once your milk is at 110°F (43°C), scoop out about 1/2 cup of the warm milk into a small bowl. Add your 2 tablespoons of plain yogurt starter to this small bowl and whisk until completely smooth. This "tempers" the starter, bringing it up to temperature gently and ensuring it mixes evenly into the larger batch of milk without clumping.
- Whisk in the Starter: Pour the tempered starter mixture back into the pot with the rest of the cooled milk. Whisk gently but thoroughly for about 30-60 seconds to ensure the cultures are evenly distributed throughout the milk.
- Incubate Undisturbed: Carefully pour the inoculated milk into your clean lidded container(s) or jars. Place the container(s) in your chosen warm incubation setup (oven with light, cooler, Instant Pot, heating pad, etc.). Leave it undisturbed for 6-12 hours. The longer it incubates, the tangier and often thicker your yogurt will become. Avoid shaking or disturbing it during this time. Your yogurt is "set" when it looks firm and jiggles like a loose custard, rather than sloshing like liquid milk. Small pockets of clear liquid (whey) on top are completely normal.
- Chill to Finish: Once your yogurt is set, remove it from the warm incubation spot. Place the lidded container(s) directly into the refrigerator and chill for at least 4 hours. Chilling is crucial as it stops the fermentation process, further thickens the yogurt, and improves its overall texture and flavor.
- Save Starter for Next Time: Before you dig in, remember to reserve about 2 tablespoons of your freshly made yogurt to use as a starter for your next batch! Store it in a small, clean, lidded container in the fridge. This ensures a continuous supply of delicious
- homemade probiotic yogurt.
- What Your Yogurt Should Look & Smell Like (Checkpoints)
- After Incubation: It should have a jiggle like a soft custard or gelatin. When you tilt the jar slightly, it should pull away from the sides in a solid mass, not slosh like milk. The smell should be pleasantly tangy, like fresh yogurt. Small amounts of clear, yellowish liquid (whey) on the surface are perfectly normal.
- After Chilling: Your yogurt should be noticeably thicker and scoopable. The texture will be smooth and creamy, and the tang will have mellowed slightly.
You may also like


Hey there! I’m just someone who seriously loves good food and believes that cooking doesn’t have to be complicated to be amazing. Whether it’s a quick weeknight dinner or a cozy weekend meal, I’m all about sharing easy, tasty recipes that actually work.


