
Gundruk - Nepali Fermented Greens Today
Gundruk - Nepali Fermented Greens Today
- Serves: 6 People
- Prepare Time: 30 minutes
- Cooking Time: 0 minutes
- Calories: -
- Difficulty: Medium
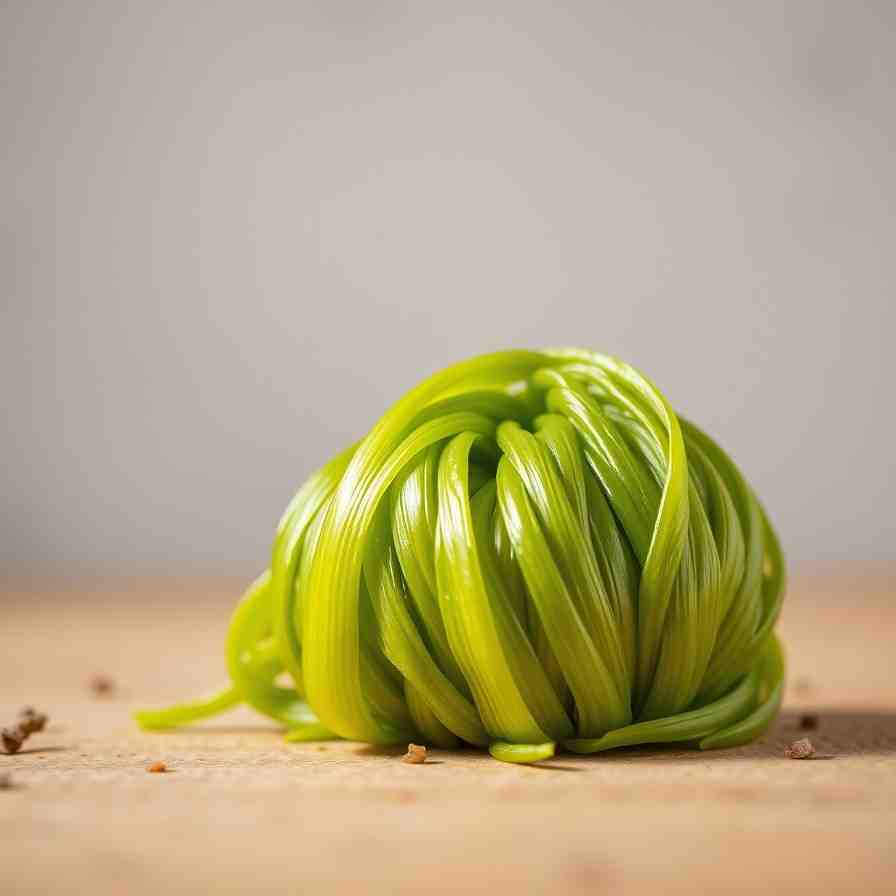
Welcome to the vibrant and flavorful world of cuisine of Nepal, a culinary journey rich in unique tastes and time-honored traditions! Among its many treasures, one dish stands out for its simplicity, deep flavor, and incredible health benefits: Gundruk. This traditional Nepali fermented green vegetable isn't just a side dish; it's a staple, a cultural icon, and a testament to sustainable eating. Imagine crisp green leaves, transformed through a natural fermentation process into a tangy, umami-packed ingredient that elevates any meal.
Gundruk boasts a fascinating history, deeply woven into the fabric of Nepali rural life. Historically, it was a genius way to preserve seasonal green vegetables, ensuring families had nutrient-rich food even during lean months. Beyond its cultural significance, Gundruk is a powerhouse of nutrition. As a fermented food, it's packed with beneficial probiotics that support gut health, aiding digestion and boosting immunity. It’s also a fantastic source of essential vitamins and minerals, making it a truly healthy green recipe. Whether you're a seasoned chef eager to explore authentic Nepali side dishes or a curious beginner looking for easy healthy meals at home, learning to make Gundruk is an incredibly rewarding experience. Get ready to discover the magic of fermented greens and bring a piece of Nepal into your kitchen!
Ingredients
Directions
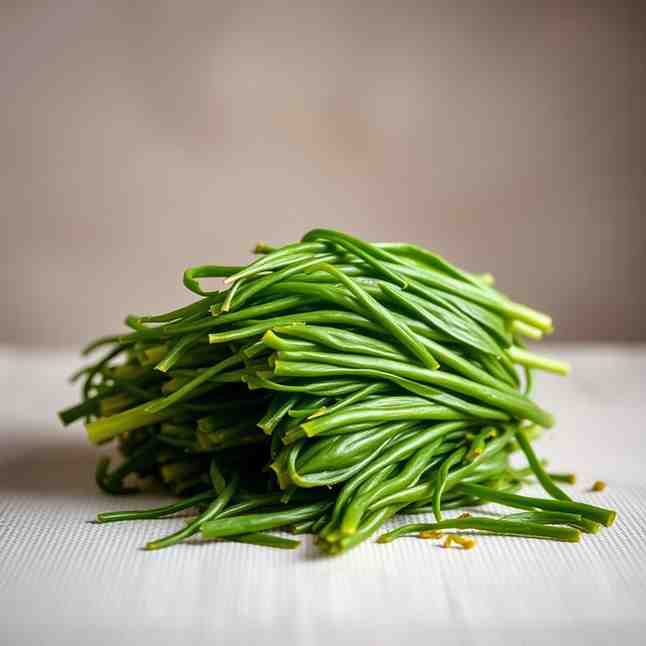
- Clean and Prepare Your Greens Begin by thoroughly cleaning your mustard greens. Rinse them under cold running water to remove any dirt, dust, or tiny bugs. Pay close attention to the stems and undersides of the leaves. Once clean, gently shake off excess water and spread them out on a clean cloth or tray to air dry completely. It’s crucial that the greens are as dry as possible to prevent unwanted mold during fermentation.
- Wilt the Greens Under the Sun This step is essential for softening the greens and making them easier to handle. Lay the cleaned, dried greens in direct sunlight for about half a day (4-6 hours). You'll notice they become slightly limp and less brittle. This wilting process helps break down some of the tough fibers, preparing them for the next stage. If sun is not available, you can air dry them indoors for a longer period (12-24 hours) until they are noticeably pliable.
- Lightly Crush the Greens Once wilted, gather the greens and lightly crush them. The goal here is to bruise the leaves and stems, releasing some of their natural juices, without mashing them into a pulp. You can do this by gently squeezing them with your hands, using a mortar and pestle lightly, or even walking on them (traditionally, clean feet were used!). This crushing helps initiate the fermentation process.
- Pack and Salt for Fermentation Take your lightly crushed greens and begin packing them tightly into a clean, non-metallic container. Glass jars, ceramic crocks, or food-grade plastic containers work best. Layer the greens, pressing down firmly with your fist or a clean utensil to remove any air pockets. As you pack, sprinkle salt evenly throughout the layers. The salt helps draw out moisture and creates an environment suitable for beneficial bacteria to thrive. If you're using optional flavorings like turmeric, chili, or garlic, add them now, mixing them into the greens as you pack.
- Ferment and Wait Once the container is packed tightly, ensure the greens are submerged under their own liquid (brine). If not enough liquid has formed, you can place a clean plate or a smaller jar filled with water on top of the greens to weigh them down. This keeps them anaerobic, preventing mold. Cover the container with a lid or a clean cloth secured with a rubber band. Store it in a cool, dry place away from direct sunlight. Allow the greens to ferment for 10-15 days. During this time, check periodically (every 2-3 days) for any signs of mold or off-odors. A pleasant, slightly sour smell is normal; a foul, rotten smell is not. You might also see some bubbling, which is a good sign of fermentation.
Gundruk - Nepali Fermented Greens Today

- Serves: 6 People
- Prepare Time: 30 minutes
- Cooking Time: 0 minutes
- Calories: -
- Difficulty: Medium
Welcome to the vibrant and flavorful world of cuisine of Nepal, a culinary journey rich in unique tastes and time-honored traditions! Among its many treasures, one dish stands out for its simplicity, deep flavor, and incredible health benefits: Gundruk. This traditional Nepali fermented green vegetable isn't just a side dish; it's a staple, a cultural icon, and a testament to sustainable eating. Imagine crisp green leaves, transformed through a natural fermentation process into a tangy, umami-packed ingredient that elevates any meal.
Gundruk boasts a fascinating history, deeply woven into the fabric of Nepali rural life. Historically, it was a genius way to preserve seasonal green vegetables, ensuring families had nutrient-rich food even during lean months. Beyond its cultural significance, Gundruk is a powerhouse of nutrition. As a fermented food, it's packed with beneficial probiotics that support gut health, aiding digestion and boosting immunity. It’s also a fantastic source of essential vitamins and minerals, making it a truly healthy green recipe. Whether you're a seasoned chef eager to explore authentic Nepali side dishes or a curious beginner looking for easy healthy meals at home, learning to make Gundruk is an incredibly rewarding experience. Get ready to discover the magic of fermented greens and bring a piece of Nepal into your kitchen!
Ingredients
Directions
- Clean and Prepare Your Greens Begin by thoroughly cleaning your mustard greens. Rinse them under cold running water to remove any dirt, dust, or tiny bugs. Pay close attention to the stems and undersides of the leaves. Once clean, gently shake off excess water and spread them out on a clean cloth or tray to air dry completely. It’s crucial that the greens are as dry as possible to prevent unwanted mold during fermentation.
- Wilt the Greens Under the Sun This step is essential for softening the greens and making them easier to handle. Lay the cleaned, dried greens in direct sunlight for about half a day (4-6 hours). You'll notice they become slightly limp and less brittle. This wilting process helps break down some of the tough fibers, preparing them for the next stage. If sun is not available, you can air dry them indoors for a longer period (12-24 hours) until they are noticeably pliable.
- Lightly Crush the Greens Once wilted, gather the greens and lightly crush them. The goal here is to bruise the leaves and stems, releasing some of their natural juices, without mashing them into a pulp. You can do this by gently squeezing them with your hands, using a mortar and pestle lightly, or even walking on them (traditionally, clean feet were used!). This crushing helps initiate the fermentation process.
- Pack and Salt for Fermentation Take your lightly crushed greens and begin packing them tightly into a clean, non-metallic container. Glass jars, ceramic crocks, or food-grade plastic containers work best. Layer the greens, pressing down firmly with your fist or a clean utensil to remove any air pockets. As you pack, sprinkle salt evenly throughout the layers. The salt helps draw out moisture and creates an environment suitable for beneficial bacteria to thrive. If you're using optional flavorings like turmeric, chili, or garlic, add them now, mixing them into the greens as you pack.
- Ferment and Wait Once the container is packed tightly, ensure the greens are submerged under their own liquid (brine). If not enough liquid has formed, you can place a clean plate or a smaller jar filled with water on top of the greens to weigh them down. This keeps them anaerobic, preventing mold. Cover the container with a lid or a clean cloth secured with a rubber band. Store it in a cool, dry place away from direct sunlight. Allow the greens to ferment for 10-15 days. During this time, check periodically (every 2-3 days) for any signs of mold or off-odors. A pleasant, slightly sour smell is normal; a foul, rotten smell is not. You might also see some bubbling, which is a good sign of fermentation.
You may also like


Hey there! I’m just someone who seriously loves good food and believes that cooking doesn’t have to be complicated to be amazing. Whether it’s a quick weeknight dinner or a cozy weekend meal, I’m all about sharing easy, tasty recipes that actually work.


