
Make Hakarl - Dried Fish Iceland
Make Hakarl - Dried Fish Iceland
- Serves: 1 People
- Prepare Time: 30 minutes
- Cooking Time: -
- Calories: -
- Difficulty: Easy
Ever wondered about the culinary adventures that await in the land of fire and ice? Iceland boasts some truly unique traditions, and one of the most talked-about is Hákarl. This isn't just any dried fish Iceland has to offer; it's a centuries-old delicacy, a fermented shark that's as much a test of courage as it is a treat for the palate.
While many know it by its pungent aroma, few truly understand the intricate process behind its creation. Forget the myths about fermentation in urine – we're here to give you the real, clear, and usable guide to preparing this fascinating traditional dish. Whether you're a seasoned foodie eager to explore seafood food recipes or a curious beginner looking for exotic fish dishes recipes, this comprehensive article will demystify Hákarl, focusing on practical steps, safety, and the cultural heart of this iconic type of fish to eat. Get ready to dive into the world of fermented fish sauce and dry salted fish as we uncover how to make this extraordinary meal with fish.
Ingredients
Directions
- Preparation of the Shark:
- Carefully butcher the Greenland shark, removing the head, guts, and any non-meat parts. The skin is typically left on during the initial stages.
- Rinse the meat thoroughly with cold water to remove any surface impurities.
- The Fermentation Pit (Initial Curing):
- Dig a shallow pit in gravelly soil, or prepare a large, clean, non-reactive container. The key is good drainage.
- Place the shark meat into the pit or container. Ensure it's packed tightly.
- Cover the meat with heavy stones or weights. This process presses out the toxic fluids and initiates the fermentation.
- Allow the shark to ferment for 6-12 weeks (the exact time depends on the season and the size of the shark). During this time, the internal toxins are broken down by bacteria, rendering the meat safe to consume. A strong ammonia smell will develop – this is normal.
- The Drying Stage (Air Curing):
- After the fermentation period, remove the shark meat from the pit.
- Cut the meat into large strips or chunks. The skin is usually removed at this point, or scored deeply to aid drying.
- Hang the shark strips in a specially designed drying shed (or a very well-ventilated, cool, and dry outdoor area) for 3-5 months. The shed must be protected from direct sun, rain, and pests, but allow for consistent airflow.
- During this period, the meat will develop a hard, brown crust on the outside, and the inside will become soft and reddish. The strong ammonia smell will mellow slightly, evolving into the characteristic Hákarl aroma.
- Final Preparation for Consumption:
- Once fully dried, the Hákarl is ready. The tough, brown crust is trimmed away, revealing the translucent, yellowish inner flesh.
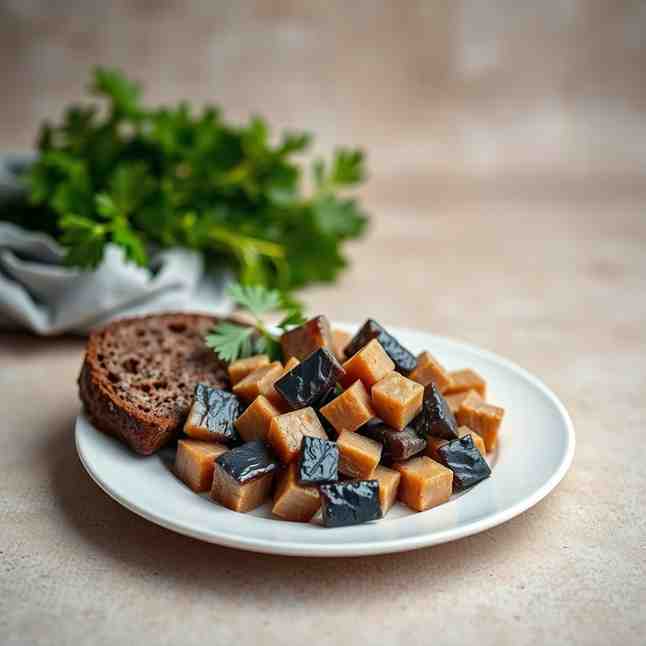
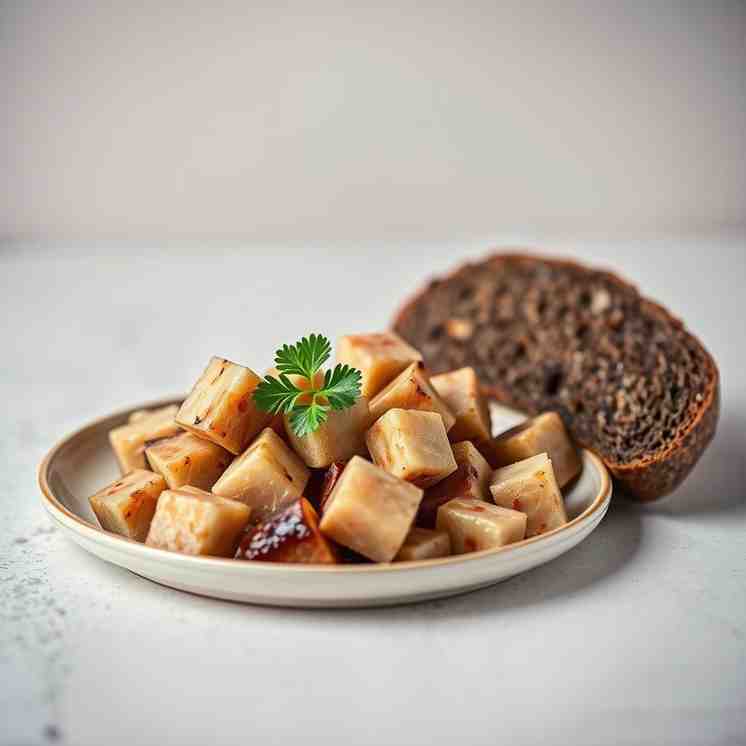
- Cut the Hákarl into small, bite-sized cubes. It's traditionally served in small portions.
Make Hakarl - Dried Fish Iceland

- Serves: 1 People
- Prepare Time: 30 minutes
- Cooking Time: -
- Calories: -
- Difficulty: Easy
Ever wondered about the culinary adventures that await in the land of fire and ice? Iceland boasts some truly unique traditions, and one of the most talked-about is Hákarl. This isn't just any dried fish Iceland has to offer; it's a centuries-old delicacy, a fermented shark that's as much a test of courage as it is a treat for the palate.
While many know it by its pungent aroma, few truly understand the intricate process behind its creation. Forget the myths about fermentation in urine – we're here to give you the real, clear, and usable guide to preparing this fascinating traditional dish. Whether you're a seasoned foodie eager to explore seafood food recipes or a curious beginner looking for exotic fish dishes recipes, this comprehensive article will demystify Hákarl, focusing on practical steps, safety, and the cultural heart of this iconic type of fish to eat. Get ready to dive into the world of fermented fish sauce and dry salted fish as we uncover how to make this extraordinary meal with fish.
Ingredients
Directions
- Preparation of the Shark:
- Carefully butcher the Greenland shark, removing the head, guts, and any non-meat parts. The skin is typically left on during the initial stages.
- Rinse the meat thoroughly with cold water to remove any surface impurities.
- The Fermentation Pit (Initial Curing):
- Dig a shallow pit in gravelly soil, or prepare a large, clean, non-reactive container. The key is good drainage.
- Place the shark meat into the pit or container. Ensure it's packed tightly.
- Cover the meat with heavy stones or weights. This process presses out the toxic fluids and initiates the fermentation.
- Allow the shark to ferment for 6-12 weeks (the exact time depends on the season and the size of the shark). During this time, the internal toxins are broken down by bacteria, rendering the meat safe to consume. A strong ammonia smell will develop – this is normal.
- The Drying Stage (Air Curing):
- After the fermentation period, remove the shark meat from the pit.
- Cut the meat into large strips or chunks. The skin is usually removed at this point, or scored deeply to aid drying.
- Hang the shark strips in a specially designed drying shed (or a very well-ventilated, cool, and dry outdoor area) for 3-5 months. The shed must be protected from direct sun, rain, and pests, but allow for consistent airflow.
- During this period, the meat will develop a hard, brown crust on the outside, and the inside will become soft and reddish. The strong ammonia smell will mellow slightly, evolving into the characteristic Hákarl aroma.
- Final Preparation for Consumption:
- Once fully dried, the Hákarl is ready. The tough, brown crust is trimmed away, revealing the translucent, yellowish inner flesh.
- Cut the Hákarl into small, bite-sized cubes. It's traditionally served in small portions.
You may also like


Hey there! I’m just someone who seriously loves good food and believes that cooking doesn’t have to be complicated to be amazing. Whether it’s a quick weeknight dinner or a cozy weekend meal, I’m all about sharing easy, tasty recipes that actually work.


