
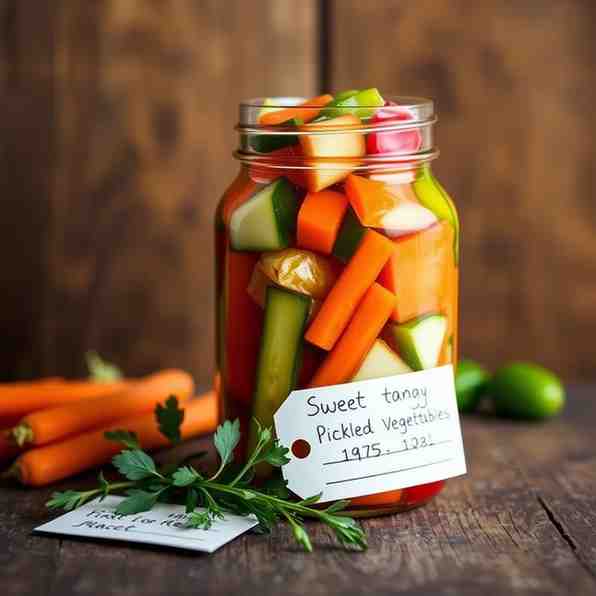
Sweet & Tangy Pickled Vegetables - A Homemade Recipe
Sweet & Tangy Pickled Vegetables - A Homemade Recipe
- Serves: 4 People
- Prepare Time: 45 minutes
- Cooking Time: 20 minutes
- Calories: -
- Difficulty: Easy
Ready to transform your garden bounty into something truly special? Our vegetables pickles recipe brings the delightful flavors of a Latvian classic, Marinēti Dārzeņi, right to your American kitchen. Forget those bland store-bought jars – this recipe for pickled mixed vegetables delivers a vibrant, sweet-and-tangy crunch that's perfect for any occasion.
Unlike many quick fridge pickles, this guide focuses on a clear, safe, and shelf-stable canning method, ensuring your jars of homemade pickled mixed vegetables last through the winter. We'll walk you through every step, from prepping your veggies to pickle to troubleshooting common canning issues, guaranteeing a perfect batch every time. Whether you're a beginner eager to try your hand at pickle at home or an experienced canner looking for a new pickle recipe, you'll find everything you need here, including exact yields, precise canning instructions, and tips for maximum crunch. Get ready to enjoy the best good pickle recipes you've ever made!
Ingredients
Directions
- Prep Jars + Set Up the Canner
- Wash 4 pint-sized Mason jars, bands, and new lids in hot, soapy water. Rinse thoroughly. Keep jars hot until ready to fill (e.g., in a dishwasher on a hot cycle or simmering in your canner).
- Place a canning rack in the bottom of your large pot or canner. Add enough water to cover the jars by at least 1 inch when they are placed in the canner. Begin heating the water to a simmer (180°F / 82°C) while you prepare your vegetables and brine.
- Prep Vegetables (with exact cut sizes)
- Cucumbers: Cut into spears, about 3-4 inches long and ½-inch thick.
- Cauliflower: Break or cut into small florets, about 1-inch in size.
- Carrots: Cut into ½-inch thick rounds or sticks.
- Bell Peppers: Cut into strips, about ½-inch wide and 2-3 inches long.
- Onions: Cut into small wedges or slices.
- Optional Quick Blanch: For slightly firmer cauliflower and carrots, you can blanch them briefly. Bring a pot of water to a boil, add cauliflower and carrots, blanch for 1 minute, then immediately transfer to an ice bath to stop cooking. Drain well.
- Make the Brine
- In a non-reactive pot (stainless steel or enamel), combine the water, 5% distilled white vinegar, pickling salt, sugar, allspice berries, black peppercorns, and mustard seeds.
- Bring the mixture to a rolling boil over medium-high heat, stirring until the salt and sugar are fully dissolved. A "rolling boil" means bubbles are continuously breaking over the entire surface of the liquid and cannot be stirred down. Reduce heat to a simmer to keep the brine hot.
- Pack Jars
- Carefully remove hot jars from your canner or dishwasher.
- If using, add optional aromatics (garlic, dill, bay leaf, hot pepper) to the bottom of each jar.
- Pack the prepared vegetables tightly into the hot jars, leaving about ½-inch of headspace (the space between the top of the food and the rim of the jar). Don't crush the vegetables, but ensure they are snug.
- Ladle the hot pickling brine over the vegetables, ensuring they are completely submerged. Maintain the ½-inch headspace.
- Use a non-metallic utensil (like a plastic chopstick or bubble remover tool) to gently remove any air bubbles trapped between the vegetables. Wipe the rims of the jars clean with a damp cloth to ensure a proper seal.
- Center a hot lid on each jar, then screw on the bands finger-tight (just until you feel resistance, then a slight snug).
- Process (Boiling-Water Canner)
- Carefully lower the packed jars onto the rack in your preheated canner using a jar lifter. Ensure the jars are covered by at least 1 inch of water. Add more hot water if needed.
- Cover the canner with its lid. Bring the water to a rolling boil.
- Once the water reaches a rolling boil, start your processing time.
- For pint jars, process for 15 minutes.
- For quart jars (if using), process for 20 minutes.
- Altitude Adjustment Note: If you live above 1,000 feet, you'll need to increase processing time. Consult a reliable canning guide for specific adjustments based on your elevation.
- Cool + Check Seals
- After the processing time is complete, turn off the heat and carefully remove the canner lid. Let the jars rest in the canner for 5 minutes before removing them.
- Using a jar lifter, carefully transfer the hot jars to a clean kitchen towel on a countertop, leaving at least 1 inch of space between jars. Do not retighten the bands.
- Allow the jars to cool undisturbed for 12-24 hours. You'll hear "pinging" sounds as the lids seal.
- After cooling, check seals: Press the center of each lid. If it doesn't flex, it's sealed. Remove the bands, lift the jar by the lid to confirm. If a jar didn't seal, refrigerate it and consume within 2-3 weeks.
You may also like


Hey there! I’m just someone who seriously loves good food and believes that cooking doesn’t have to be complicated to be amazing. Whether it’s a quick weeknight dinner or a cozy weekend meal, I’m all about sharing easy, tasty recipes that actually work.


