
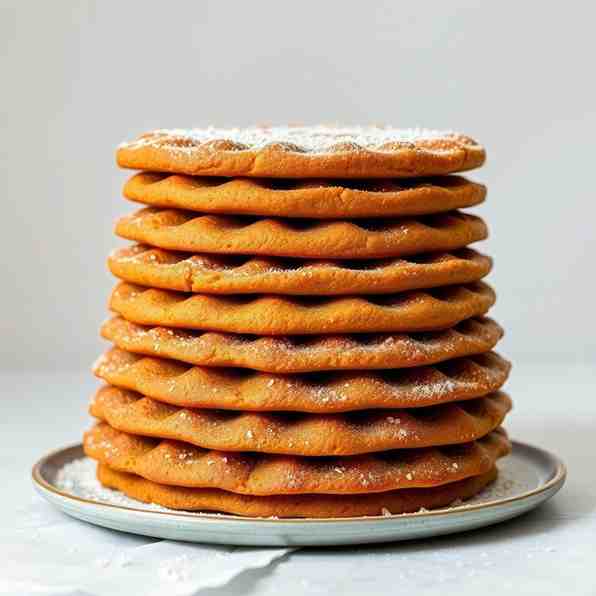
Kransekake - Gluten-Free Almond Flour Cake
Kransekake - Gluten-Free Almond Flour Cake
- Serves: 15 People
- Prepare Time: 45 minutes
- Cooking Time: 20 minutes
- Calories: -
- Difficulty: Medium
Ever dreamt of creating a show-stopping cake that's not only delicious but also tells a story? Get ready to dive into the wonderful world of Kransekake! This traditional Norwegian marzipan ring cake is a true masterpiece, a staple at celebrations from Christmas festivities to elegant weddings. If you're looking to impress with a unique dessert, or simply explore the joys of baking with almond flour for a naturally gluten-free cake, you've come to the right place. Forget dry, crumbly attempts – this isn't just any Kransekake recipe. We're going to walk you through every single step, packed with insider tips and troubleshooting secrets, ensuring your cake is perfectly chewy, stunningly beautiful, and utterly unforgettable. Let's get started on your journey to master this iconic gluten-free baking tradition!
Ingredients
Directions
- Prepare the Dough
- In a large mixing bowl, combine the almond flour and powdered sugar. Whisk them together thoroughly to ensure there are no lumps and the ingredients are evenly distributed.
- Add the pasteurized egg whites and almond extract (if using) to the dry ingredients.
- Mix everything together. You can start with a spoon, but you'll likely need to switch to your hands to really bring the dough together. Knead it gently until it forms a cohesive, pliable dough. It should feel like firm play-dough – smooth, not sticky, and not too dry.
- Tip: If your dough feels too dry and crumbly, add a tiny bit more egg white, a quarter teaspoon at a time, until it reaches the right consistency. Be careful not to add too much!
- Chill the Dough
- Shape the dough into a disk, wrap it tightly in plastic wrap, and place it in the refrigerator.
- Time Recommendation: Chill the dough for a minimum of 8 hours, or ideally, overnight.
- Shape the Dough
- Preheat your oven to 375°F (190°C). Lightly grease and flour your Kransekake forms (if using) or line a baking sheet with parchment paper if free-forming.
- Take small portions of the chilled dough and roll them into ropes, about ½ inch (1.25 cm) thick. Aim for an even thickness along the entire length of the rope.
- Carefully form each rope into a ring, pressing the ends together firmly to seal. Start with the largest ring for the base of your cake and progressively make smaller rings.
- Troubleshooting Tip: Avoiding Cracking: If the dough cracks while shaping, it might be too cold or slightly too dry. Let it warm up on the counter for a few minutes, or knead it briefly to warm it with your hands. You can also gently press and smooth any small cracks as you go.
- Bake the Rings
- Place the shaped rings onto your prepared baking forms or parchment-lined baking sheet.
- Bake for 12-15 minutes, or until the rings are lightly golden brown and firm to the touch. They should have a slightly chewy interior.
- Troubleshooting Tip: Avoid Overbaking: Keep a close eye on them! Overbaking will make the Kransekake hard and dry instead of wonderfully chewy. The rings should still be pale in the center and just turn golden on the edges.
- Remove the rings from the oven and let them cool completely on a wire rack before attempting to handle them. They will firm up as they cool.
- Assemble the Cake
- Prepare the Royal Icing: In a clean bowl, whisk the pasteurized egg whites until frothy. Gradually add the powdered sugar, a tablespoon at a time, mixing until smooth. Stir in the lemon juice. The icing should be thick enough to hold its shape when piped, but still flow smoothly.
- Transfer the royal icing to a piping bag for cake with a small, round tip (or simply snip a tiny corner off a Ziploc bag).
- Arrange your largest Kransekake ring on your serving platter. Pipe a decorative squiggle or zigzag pattern of royal icing around the top surface of the ring.
- Carefully place the next largest ring on top, aligning it so it sits securely on the icing.
- Repeat this process, piping icing and stacking rings from largest to smallest, creating a beautiful pyramid shape. How to ensure each layer sticks properly: The royal icing acts as both glue and decoration, so ensure each layer has a good "bed" of icing. Allow the icing to set slightly between layers if you notice any wobbling.
- Once assembled, you can add final marzipan decorations for cakes or other simple embellishments.
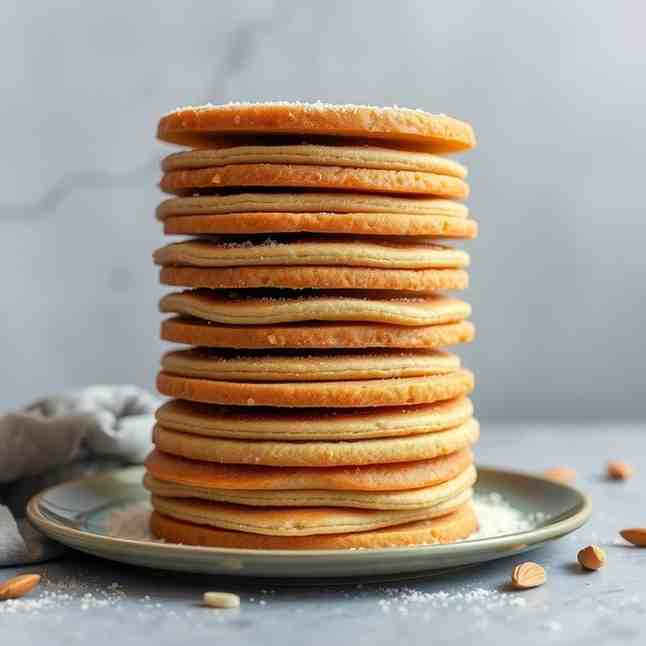
You may also like


Hey there! I’m just someone who seriously loves good food and believes that cooking doesn’t have to be complicated to be amazing. Whether it’s a quick weeknight dinner or a cozy weekend meal, I’m all about sharing easy, tasty recipes that actually work.


