
Kulolo Recipe - Easy Hawaiian Sweet Treat
Kulolo Recipe - Easy Hawaiian Sweet Treat
- Serves: 9 People
- Prepare Time: 20 minutes
- Cooking Time: 1 hour 45 m
- Calories: -
- Difficulty: Easy
Aloha, sweet tooths! Get ready to discover a true gem of `local Hawaiian food`: Kulolo (Kūlolo). This traditional Hawaiian taro pudding is a chewy, fudge-like `sweet treat recipe` that's surprisingly `easy to make` right in your own kitchen. Forget complicated ingredients or fancy equipment – our recipe focuses on simplicity, using just a `few easy ingredients` to bring the authentic taste of the islands to your home.
If you've ever dreamt of making a `dessert with easy ingredients` that tastes exotic yet comforting, Kulolo is your answer. This guide will walk you through every step, ensuring your Kulolo comes out perfectly, from selecting the right taro to achieving that ideal chewy texture. We'll even share tips to avoid common pitfalls, guaranteeing a delightful experience for both `beginners` and seasoned bakers. Get ready to bake a little slice of paradise!
Best After: Chilling overnight for optimal set and flavor.
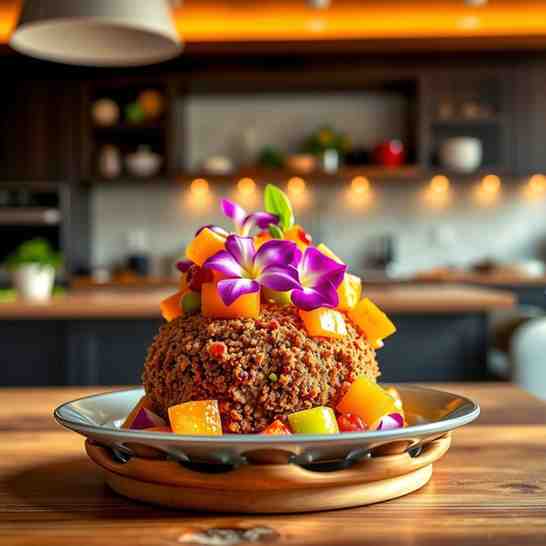
Simply put, Kulolo is a traditional Hawaiian dessert made from grated taro (kalo) and coconut milk, sweetened with sugar. Imagine a dense, chewy fudge or a firm mochi, but with a unique, earthy undertone from the taro. Traditionally, Kulolo was baked for hours in an underground oven called an imu, often wrapped in ti leaves. While we're adapting it for a standard home oven, we'll keep the essence of this ancient method to achieve a beautifully set and flavorful treat.
Ingredients
Directions
- Prep & Safety First: Put on gloves before handling raw taro to prevent skin irritation. Peel the taro root thoroughly, then grate it very finely using a food processor with a grating attachment or a hand grater. Preheat your oven to 375°F (190°C).
- Mix It Up: In a large bowl, combine the finely grated taro, full-fat coconut milk, raw or brown sugar, and the optional pinch of salt. Mix well until everything is thoroughly combined. The mixture should be thick, almost like a dense batter, but still pourable.
- Pan Setup: Line your 9x5 loaf pan or 8x8 baking dish with parchment paper, leaving an overhang for easy removal. If using ti leaves, line the bottom and sides of the pan with them, then pour the Kulolo mixture into the pan and smooth the top. If not using ti leaves, just pour the mixture directly onto the parchment. Cover the pan tightly with foil.
- Bake with Steam: Place your Kulolo pan inside a larger roasting pan or baking dish. Carefully pour hot water into the larger pan until it comes halfway up the sides of the Kulolo pan. This creates a moist, steamy environment in the oven, which is crucial for a perfectly set Kulolo. Bake for 1 hour 30 minutes.
- Brown It Up: After 1 hour 30 minutes, carefully remove the foil cover from the Kulolo pan. Return it to the oven (still in the water bath) and bake for another 15 minutes, or until the top is beautifully golden brown and caramelized. This step deepens the flavor.
- Cool & Chill: Remove the Kulolo pan from the water bath and let it cool completely on a wire rack at room temperature. Once cool, transfer it to the refrigerator. For the best texture and flavor, chill your Kulolo for at least 4 hours, but preferably overnight. This allows it to firm up properly.
- Slice & Serve: Once thoroughly chilled, use the parchment paper overhang to lift the Kulolo out of the pan. Place it on a cutting board. For clean slices, use a sharp, wet knife, wiping it clean between each cut. Slice into squares or rectangles and serve!
- How to Tell When It’s Done
- Visual Cues: The Kulolo should be a deep golden brown on top after the browning step. It will also pull away slightly from the edges of the pan.
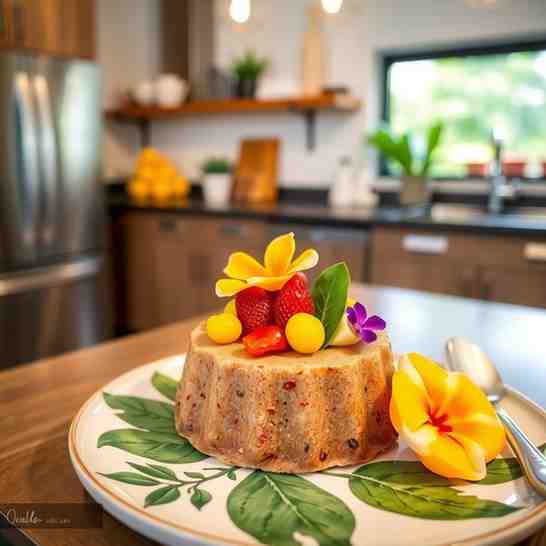
- Texture Cues (After Cooling): Once cooled and chilled, it should be firm enough to slice cleanly without crumbling or being overly sticky. It will have a dense, chewy, and slightly elastic texture.
- The Set Improves with Chilling: Don't be alarmed if it feels a little soft right out of the oven. Kulolo truly sets and develops its characteristic chewiness after a good chill in the refrigerator, ideally overnight.
- Serving Ideas
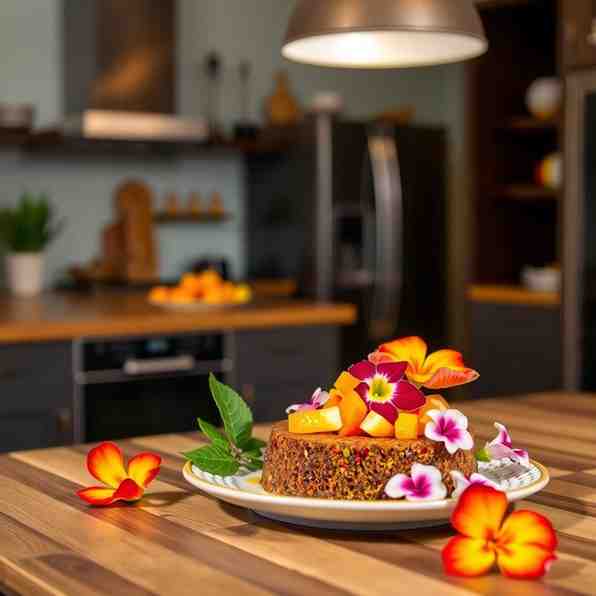
- Traditionally Served: Kulolo is most commonly served in simple squares, either chilled or at room temperature.
- Best Temperature: While delicious chilled, many Hawaiians enjoy Kulolo at room temperature, as its subtle flavors become more pronounced.
- Simple Add-ons: For an extra touch, drizzle with a little extra coconut cream, sprinkle with a pinch of flaky sea salt, or serve alongside fresh tropical fruit.
Kulolo Recipe - Easy Hawaiian Sweet Treat
- Serves: 9 People
- Prepare Time: 20 minutes
- Cooking Time: 1 hour 45 m
- Calories: -
- Difficulty: Easy
Aloha, sweet tooths! Get ready to discover a true gem of `local Hawaiian food`: Kulolo (Kūlolo). This traditional Hawaiian taro pudding is a chewy, fudge-like `sweet treat recipe` that's surprisingly `easy to make` right in your own kitchen. Forget complicated ingredients or fancy equipment – our recipe focuses on simplicity, using just a `few easy ingredients` to bring the authentic taste of the islands to your home.
If you've ever dreamt of making a `dessert with easy ingredients` that tastes exotic yet comforting, Kulolo is your answer. This guide will walk you through every step, ensuring your Kulolo comes out perfectly, from selecting the right taro to achieving that ideal chewy texture. We'll even share tips to avoid common pitfalls, guaranteeing a delightful experience for both `beginners` and seasoned bakers. Get ready to bake a little slice of paradise!
Best After: Chilling overnight for optimal set and flavor.
Simply put, Kulolo is a traditional Hawaiian dessert made from grated taro (kalo) and coconut milk, sweetened with sugar. Imagine a dense, chewy fudge or a firm mochi, but with a unique, earthy undertone from the taro. Traditionally, Kulolo was baked for hours in an underground oven called an imu, often wrapped in ti leaves. While we're adapting it for a standard home oven, we'll keep the essence of this ancient method to achieve a beautifully set and flavorful treat.
Ingredients
Directions
- Prep & Safety First: Put on gloves before handling raw taro to prevent skin irritation. Peel the taro root thoroughly, then grate it very finely using a food processor with a grating attachment or a hand grater. Preheat your oven to 375°F (190°C).
- Mix It Up: In a large bowl, combine the finely grated taro, full-fat coconut milk, raw or brown sugar, and the optional pinch of salt. Mix well until everything is thoroughly combined. The mixture should be thick, almost like a dense batter, but still pourable.
- Pan Setup: Line your 9x5 loaf pan or 8x8 baking dish with parchment paper, leaving an overhang for easy removal. If using ti leaves, line the bottom and sides of the pan with them, then pour the Kulolo mixture into the pan and smooth the top. If not using ti leaves, just pour the mixture directly onto the parchment. Cover the pan tightly with foil.
- Bake with Steam: Place your Kulolo pan inside a larger roasting pan or baking dish. Carefully pour hot water into the larger pan until it comes halfway up the sides of the Kulolo pan. This creates a moist, steamy environment in the oven, which is crucial for a perfectly set Kulolo. Bake for 1 hour 30 minutes.
- Brown It Up: After 1 hour 30 minutes, carefully remove the foil cover from the Kulolo pan. Return it to the oven (still in the water bath) and bake for another 15 minutes, or until the top is beautifully golden brown and caramelized. This step deepens the flavor.
- Cool & Chill: Remove the Kulolo pan from the water bath and let it cool completely on a wire rack at room temperature. Once cool, transfer it to the refrigerator. For the best texture and flavor, chill your Kulolo for at least 4 hours, but preferably overnight. This allows it to firm up properly.
- Slice & Serve: Once thoroughly chilled, use the parchment paper overhang to lift the Kulolo out of the pan. Place it on a cutting board. For clean slices, use a sharp, wet knife, wiping it clean between each cut. Slice into squares or rectangles and serve!
- How to Tell When It’s Done
- Visual Cues: The Kulolo should be a deep golden brown on top after the browning step. It will also pull away slightly from the edges of the pan.
- Texture Cues (After Cooling): Once cooled and chilled, it should be firm enough to slice cleanly without crumbling or being overly sticky. It will have a dense, chewy, and slightly elastic texture.
- The Set Improves with Chilling: Don't be alarmed if it feels a little soft right out of the oven. Kulolo truly sets and develops its characteristic chewiness after a good chill in the refrigerator, ideally overnight.
- Serving Ideas
- Traditionally Served: Kulolo is most commonly served in simple squares, either chilled or at room temperature.
- Best Temperature: While delicious chilled, many Hawaiians enjoy Kulolo at room temperature, as its subtle flavors become more pronounced.
- Simple Add-ons: For an extra touch, drizzle with a little extra coconut cream, sprinkle with a pinch of flaky sea salt, or serve alongside fresh tropical fruit.
You may also like


Hey there! I’m just someone who seriously loves good food and believes that cooking doesn’t have to be complicated to be amazing. Whether it’s a quick weeknight dinner or a cozy weekend meal, I’m all about sharing easy, tasty recipes that actually work.


