
Onigiri - Easy Japanese Meal Prep for Delicious Lunch Boxes
Onigiri - Easy Japanese Meal Prep for Delicious Lunch Boxes
- Serves: 4 People
- Prepare Time: 15 minutes
- Cooking Time: 25 minutes
- Calories: -
- Difficulty: Easy
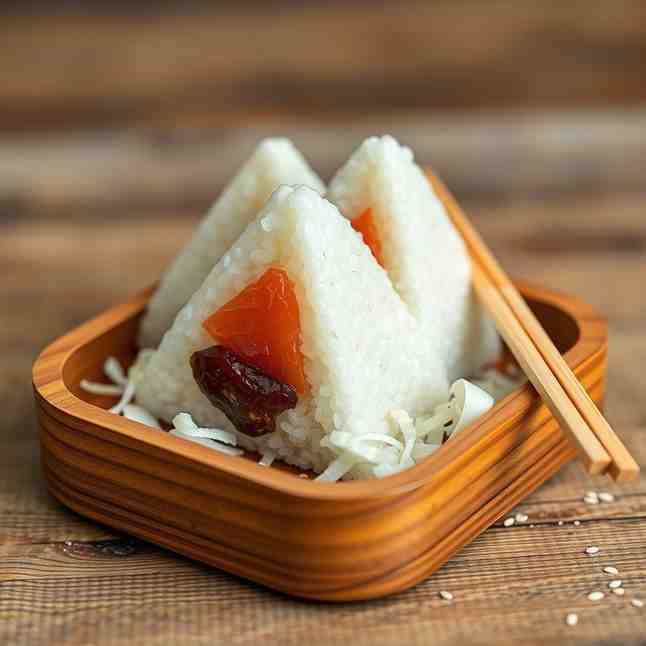
Craving a quick, healthy, and utterly delicious lunch that’s also super fun to make? Say hello to Onigiri (oh-nee-gee-ree)! These iconic Japanese rice balls are more than just a snack; they’re a staple for japanese meal prep, perfect for packing into bento box meals or grabbing for an on the go meal. Forget sad desk lunches—onigiri brings a taste of Japan right to your fingertips, making your work/school lunch something to genuinely look forward to.
Onigiri are incredibly versatile, but we know you're busy. That's why we're going to keep things simple. This guide focuses on one reliable, easy-to-follow method and a single, crowd-pleasing recipe for perfectly shaped, flavorful rice balls. We'll also share a few optional add-ins and clever tips to keep your onigiri fresh and tasty.
Whether you're a beginner in the kitchen or a seasoned home cook looking for fresh easy bento box ideas, you'll master these delightful rice balls in no time. Get ready to elevate your lunch game with this healthy, satisfying, and totally customizable japanese bento lunch box staple!
Ingredients
Directions
- Rinse the Rice: Place the Japanese short-grain rice in a bowl and add cold water. Swirl the rice gently with your hand, then drain the cloudy water. Repeat this process 3-4 times until the water runs mostly clear. This removes excess starch, ensuring perfectly fluffy, non-sticky rice.
- Cook the Rice:
- Rice Cooker Method: Combine the rinsed rice and 2 cups of water in your rice cooker. Cook according to your rice cooker's instructions. Once finished, let it rest on the "warm" setting for at least 10-15 minutes without lifting the lid.
- Stovetop Method: Combine the rinsed rice and 2 cups of water in a small pot with a tight-fitting lid. Bring to a boil over medium-high heat, then immediately reduce heat to low, cover, and simmer for 15 minutes. Remove from heat and let it rest, covered, for another 10 minutes.
- Cool the Rice Slightly: Transfer the cooked rice to a large, shallow bowl or baking sheet to cool slightly. It should be warm enough to handle comfortably but not scorching hot. This usually takes about 10-15 minutes. The goal is warm and workable, not cold and dry.
- Mix the Filling: While the rice cools, prepare your tuna-mayo filling. In a small bowl, combine the drained canned tuna, Japanese mayonnaise, and soy sauce. Mix well until everything is evenly combined.
- Shape the Onigiri (Hand Method):
- Prepare Your Hands: Fill a small bowl with cold water. Dip your hands in the water, then sprinkle a pinch of kosher salt onto your palms and rub them together. This prevents sticking and seasons the rice.
- Portion the Rice: Using wet, salted hands, scoop about ½ cup of warm rice into one palm. Gently flatten it slightly into a disc.
- Add the Filling: Make a small, shallow well in the center of the rice disc. Place about 1-2 teaspoons of the tuna-mayo filling into the well. Be careful not to overfill, or it might leak.
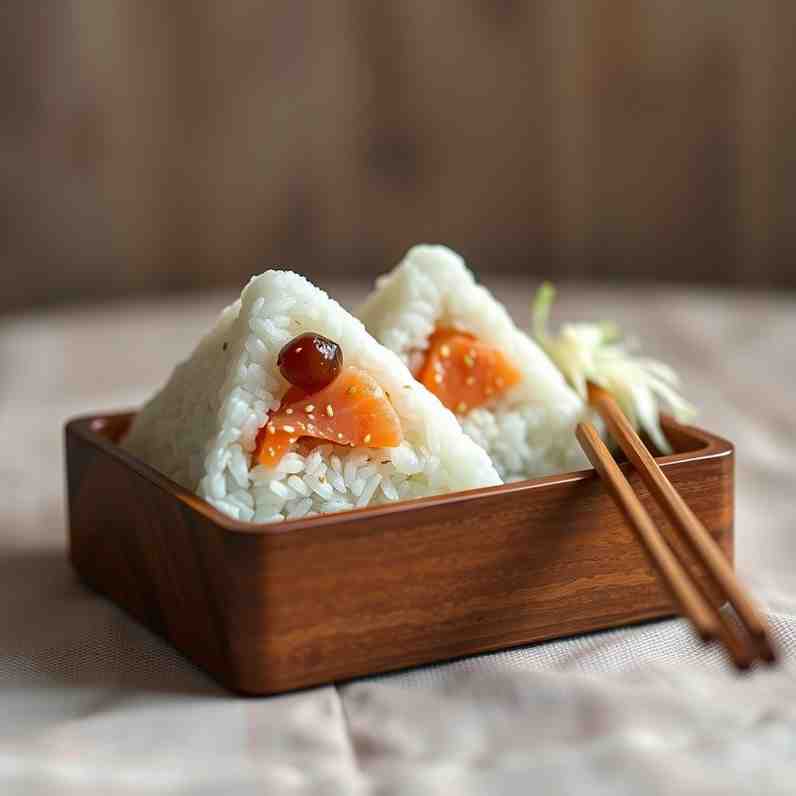
- Cover and Shape: Gently scoop a bit more rice (about ¼ cup) on top of the filling to cover it completely. Now, bring your hands together, using your non-dominant hand as a base and your dominant hand to gently press and rotate the rice into a triangle shape. Aim for a gentle but firm press—you want it to hold its shape when lifted, but not be densely packed or squished. Keep dipping your hands in water and re-salting as needed to prevent sticking.
- Wrap with Nori (Right Before Eating): To keep the nori crisp, do not wrap your onigiri with it until you are ready to eat. Store the nori strips separately in an airtight container. When it’s mealtime, simply press a strip of nori onto the bottom or sides of your onigiri.
Onigiri - Easy Japanese Meal Prep for Delicious Lunch Boxes

- Serves: 4 People
- Prepare Time: 15 minutes
- Cooking Time: 25 minutes
- Calories: -
- Difficulty: Easy
Craving a quick, healthy, and utterly delicious lunch that’s also super fun to make? Say hello to Onigiri (oh-nee-gee-ree)! These iconic Japanese rice balls are more than just a snack; they’re a staple for japanese meal prep, perfect for packing into bento box meals or grabbing for an on the go meal. Forget sad desk lunches—onigiri brings a taste of Japan right to your fingertips, making your work/school lunch something to genuinely look forward to.
Onigiri are incredibly versatile, but we know you're busy. That's why we're going to keep things simple. This guide focuses on one reliable, easy-to-follow method and a single, crowd-pleasing recipe for perfectly shaped, flavorful rice balls. We'll also share a few optional add-ins and clever tips to keep your onigiri fresh and tasty.
Whether you're a beginner in the kitchen or a seasoned home cook looking for fresh easy bento box ideas, you'll master these delightful rice balls in no time. Get ready to elevate your lunch game with this healthy, satisfying, and totally customizable japanese bento lunch box staple!
Ingredients
Directions
- Rinse the Rice: Place the Japanese short-grain rice in a bowl and add cold water. Swirl the rice gently with your hand, then drain the cloudy water. Repeat this process 3-4 times until the water runs mostly clear. This removes excess starch, ensuring perfectly fluffy, non-sticky rice.
- Cook the Rice:
- Rice Cooker Method: Combine the rinsed rice and 2 cups of water in your rice cooker. Cook according to your rice cooker's instructions. Once finished, let it rest on the "warm" setting for at least 10-15 minutes without lifting the lid.
- Stovetop Method: Combine the rinsed rice and 2 cups of water in a small pot with a tight-fitting lid. Bring to a boil over medium-high heat, then immediately reduce heat to low, cover, and simmer for 15 minutes. Remove from heat and let it rest, covered, for another 10 minutes.
- Cool the Rice Slightly: Transfer the cooked rice to a large, shallow bowl or baking sheet to cool slightly. It should be warm enough to handle comfortably but not scorching hot. This usually takes about 10-15 minutes. The goal is warm and workable, not cold and dry.
- Mix the Filling: While the rice cools, prepare your tuna-mayo filling. In a small bowl, combine the drained canned tuna, Japanese mayonnaise, and soy sauce. Mix well until everything is evenly combined.
- Shape the Onigiri (Hand Method):
- Prepare Your Hands: Fill a small bowl with cold water. Dip your hands in the water, then sprinkle a pinch of kosher salt onto your palms and rub them together. This prevents sticking and seasons the rice.
- Portion the Rice: Using wet, salted hands, scoop about ½ cup of warm rice into one palm. Gently flatten it slightly into a disc.
- Add the Filling: Make a small, shallow well in the center of the rice disc. Place about 1-2 teaspoons of the tuna-mayo filling into the well. Be careful not to overfill, or it might leak.
- Cover and Shape: Gently scoop a bit more rice (about ¼ cup) on top of the filling to cover it completely. Now, bring your hands together, using your non-dominant hand as a base and your dominant hand to gently press and rotate the rice into a triangle shape. Aim for a gentle but firm press—you want it to hold its shape when lifted, but not be densely packed or squished. Keep dipping your hands in water and re-salting as needed to prevent sticking.
- Wrap with Nori (Right Before Eating): To keep the nori crisp, do not wrap your onigiri with it until you are ready to eat. Store the nori strips separately in an airtight container. When it’s mealtime, simply press a strip of nori onto the bottom or sides of your onigiri.
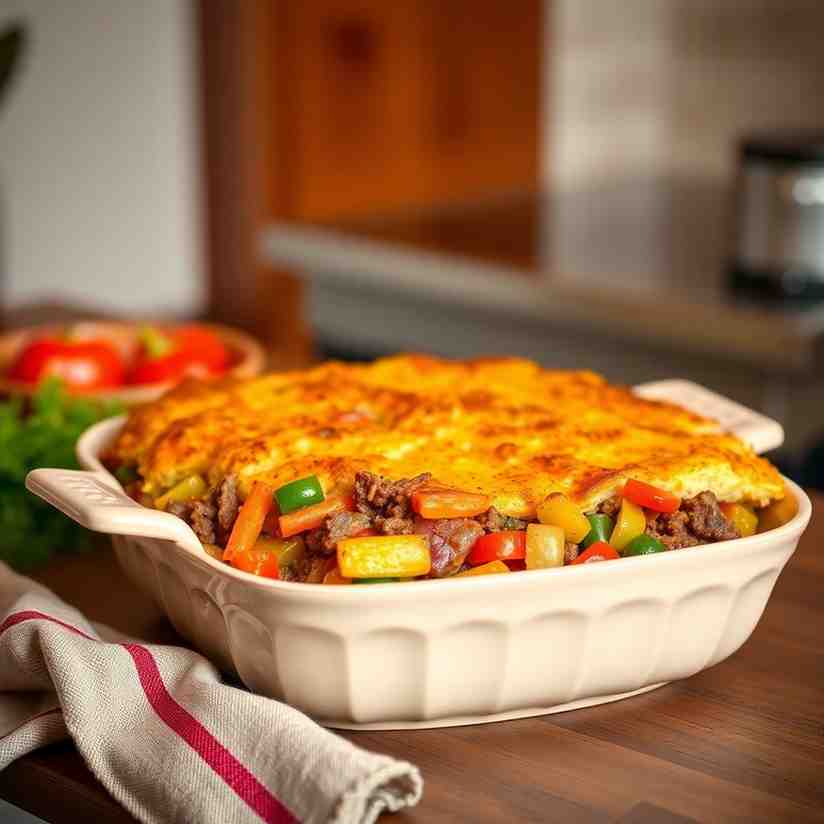
You may also like


Hey there! I’m just someone who seriously loves good food and believes that cooking doesn’t have to be complicated to be amazing. Whether it’s a quick weeknight dinner or a cozy weekend meal, I’m all about sharing easy, tasty recipes that actually work.


