
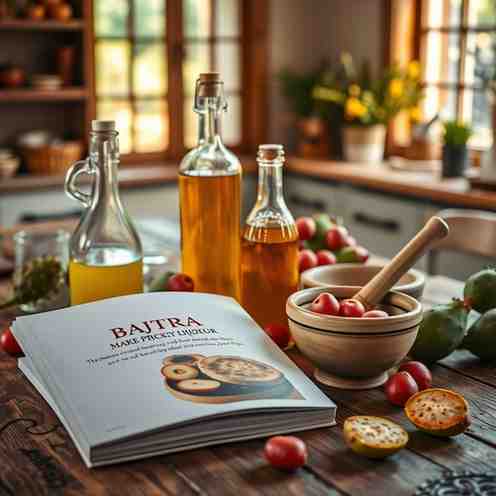
Bajtra - Make Prickly Pear Liqueur & Syrup at Home
Bajtra - Make Prickly Pear Liqueur & Syrup at Home
- Serves: 750 People
- Prepare Time: 30 minutes
- Cooking Time: 15 minutes
- Calories: -
- Difficulty: Medium
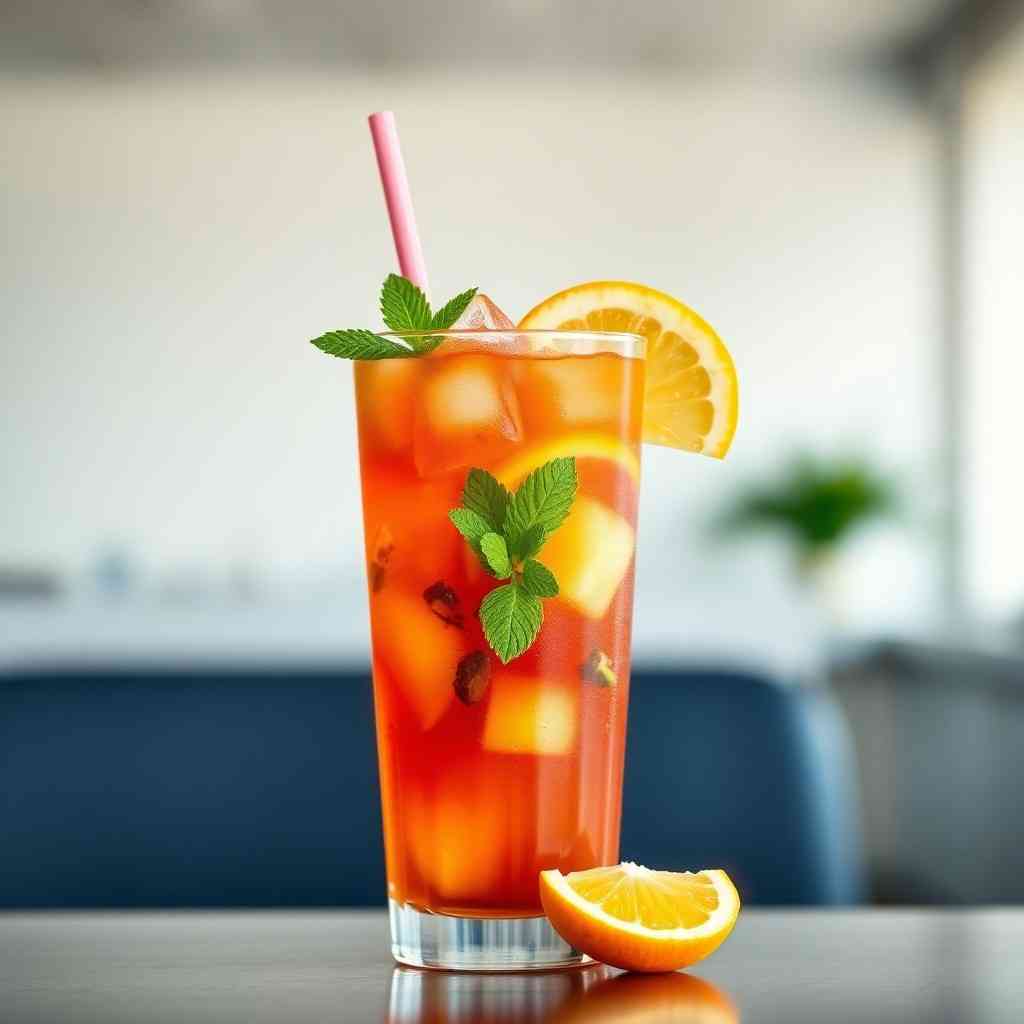
Ever dreamt of bottling sunshine? Well, get ready to infuse some vibrant color and incredible flavor into your home bar with homemade prickly pear liqueur, affectionately known as Bajtra! This isn't just any liqueur; it's a little taste of vacation in a glass, boasting a stunning hue, an irresistible aroma, and a flavor that’ll transport you straight to the sunny Mediterranean.
But let's be real, making liqueur at home can sometimes feel a bit… opaque. Many recipes out there skip over the crucial details, leaving you with questions about safety, sweetness, and that dreaded cloudy finish. That's where this guide shines! We’re diving deep into the art of crafting a superior Bajtra, focusing on safe prickly pear fruit prep, a foolproof sweetness strategy, and crystal-clear results. You'll learn how to handle those tricky prickly pear cactus fruit without drama, master your prickly pear simple syrup for the perfect balance, and achieve a beautiful clarity that rivals any store-bought bottle. Get ready to impress your friends and yourself with a homemade prickly pear juice infusion that's truly next level!
Ingredients
Directions
- Prep the Prickly Pear Fruit SafelyThis is the most crucial step for a no-drama experience.
- Gear Up: Put on sturdy kitchen gloves or use tongs to handle the prickly pear fruit. Those tiny hair-like thorns (glochids) are no joke!
- Rinse & Scrub: Under cool running water, gently scrub the entire surface of each prickly pear cactus fruit with a stiff brush or vegetable scrubber. This helps remove most glochids.
- Trim & Peel: Carefully trim off both ends of the fruit. Then, make a shallow lengthwise slit through the skin (not too deep into the flesh). Using your gloved hands or tongs, peel away the skin. It should come off relatively easily once slit.
- Cut into Chunks: Once peeled, cut the prickly pear fruit flesh into 1-inch chunks.
- Optional Juice Assist: For a quicker flavor extraction, lightly crush a small portion of the fruit chunks (about 1/4 of them) with a fork or muddler. This exposes more flesh without pureeing, which can lead to cloudiness.
- Start the Infusion (Day 1)
- Combine Ingredients: Place the prepared prickly pear fruit chunks, vodka (and optional brandy), orange juice and peel (if using), lemon juice, vanilla bean (or vanilla sugar), and optional cinnamon stick and cloves into a large, clean glass jar with a tight-fitting lid. Using a jar rather than a bowl helps prevent evaporation and contamination, ensuring a cleaner infusion.
- Seal & Store: Seal the jar tightly. Give it a good shake to mix everything. Store the jar in a cool, dark place, like a pantry or cupboard.
- The First 48 Hours (The Only Time You Stir!)
- Initial Stirring: For the first two days, give the jar a gentle shake or stir once or twice. This helps to fully dissolve any vanilla sugar you might have used and ensures all the prickly pear flavor and other aromatics are evenly distributed in the alcohol.
- Hands Off for Clarity: After the initial 48 hours, resist the urge to stir or shake the jar. Leaving it undisturbed allows any fine particles to settle, which is key for achieving a clear liqueur later on.
- Infuse Until It Tastes Right (Timeline + Checkpoints)
- Minimum Infusion Time: Let your Bajtra infuse for a minimum of 2 weeks.
- Realistic Best Window: The ideal infusion time is typically between 3 to 4 weeks. This allows the prickly pear juice and other flavors to fully develop without becoming too strong or bitter.
- Checkpoints:
- Color: The liquid should develop a beautiful, deep red or magenta color.
- Aroma: You should smell a distinct, sweet, fruity prickly pear flavor with hints of citrus and vanilla.
- Flavor Strength: Carefully taste a tiny amount (a drop on a spoon) to assess its strength. It should taste strongly of prickly pear fruit, but not overwhelmingly alcoholic. If it tastes "hot" or too alcoholic, it likely needs more time to mellow or will need more sweetening later.
- Strain (and How to Keep It Clear)This step is crucial for clarity! Do not rush it.
- First Strain (Coarse): Pour the entire contents of the jar through a fine-mesh strainer set over a large bowl. Discard the solids. This removes the large fruit pieces and spices.
- Second Strain (Fine): Line your fine-mesh strainer with 2-3 layers of cheesecloth. Pour the strained liquid through this setup. The cheesecloth will catch finer particles.
- Optional Coffee-Filter Polish (For Crystal-Clear Results): For an absolutely brilliant, crystal-clear liqueur, line a funnel with a coffee filter (paper filters are best). Place the funnel in the neck of a clean bottle or jar. Slowly pour the liquid through the coffee filter. This process can be very slow, so be patient! You may need to change filters if they become clogged.
- Sweeten with Syrup (This is Where Most Recipes Fail!)Achieving the perfect sweetness is an art, and this step is where many recipes fall short by not giving you control.
- Make a Simple Syrup: In a small saucepan, combine 1 cup granulated sugar and 1 cup water. Heat over medium heat, stirring until the sugar is completely dissolved. Let it cool completely. This is your basic prickly pear simple syrup base.
- Prickly Pear Simple Syrup Tie-in (Boost that Flavor!): If you want an even more intense prickly pear flavor in your syrup, you can replace up to half of the water in your simple syrup recipe with a small amount of the strained prickly pear juice from your liqueur batch. Just make sure it's strained well!Add Syrup Slowly, Taste As You Go: Begin by adding about 1/2 cup of the cooled simple syrup to your strained liqueur. Stir well, then taste.
- Adjust to Your Liking: Add more syrup, 1-2 tablespoons at a time, tasting after each addition, until you reach your desired sweetness. Remember, you can always add more, but you can't take it away! A good starting point is usually 1/2 to 1 cup of syrup for a 750ml batch of infused spirit.
- Bottle + Rest
- Bottle Up: Using a clean funnel, carefully transfer your finished Bajtra into clean, sterile glass bottles with tight-fitting caps or corks.
- Rest & Mellow: While tempting to enjoy immediately, Bajtra truly benefits from a rest period. Store the bottled liqueur in a cool, dark place for at least 1-2 weeks (or even a month!). This "mellowing" time allows the flavors to fully integrate and smooth out, resulting in a more harmonious and delicious liqueur.
Bajtra - Make Prickly Pear Liqueur & Syrup at Home
- Serves: 750 People
- Prepare Time: 30 minutes
- Cooking Time: 15 minutes
- Calories: -
- Difficulty: Medium
Ever dreamt of bottling sunshine? Well, get ready to infuse some vibrant color and incredible flavor into your home bar with homemade prickly pear liqueur, affectionately known as Bajtra! This isn't just any liqueur; it's a little taste of vacation in a glass, boasting a stunning hue, an irresistible aroma, and a flavor that’ll transport you straight to the sunny Mediterranean.
But let's be real, making liqueur at home can sometimes feel a bit… opaque. Many recipes out there skip over the crucial details, leaving you with questions about safety, sweetness, and that dreaded cloudy finish. That's where this guide shines! We’re diving deep into the art of crafting a superior Bajtra, focusing on safe prickly pear fruit prep, a foolproof sweetness strategy, and crystal-clear results. You'll learn how to handle those tricky prickly pear cactus fruit without drama, master your prickly pear simple syrup for the perfect balance, and achieve a beautiful clarity that rivals any store-bought bottle. Get ready to impress your friends and yourself with a homemade prickly pear juice infusion that's truly next level!
Ingredients
Directions
- Prep the Prickly Pear Fruit SafelyThis is the most crucial step for a no-drama experience.
- Gear Up: Put on sturdy kitchen gloves or use tongs to handle the prickly pear fruit. Those tiny hair-like thorns (glochids) are no joke!
- Rinse & Scrub: Under cool running water, gently scrub the entire surface of each prickly pear cactus fruit with a stiff brush or vegetable scrubber. This helps remove most glochids.
- Trim & Peel: Carefully trim off both ends of the fruit. Then, make a shallow lengthwise slit through the skin (not too deep into the flesh). Using your gloved hands or tongs, peel away the skin. It should come off relatively easily once slit.
- Cut into Chunks: Once peeled, cut the prickly pear fruit flesh into 1-inch chunks.
- Optional Juice Assist: For a quicker flavor extraction, lightly crush a small portion of the fruit chunks (about 1/4 of them) with a fork or muddler. This exposes more flesh without pureeing, which can lead to cloudiness.
- Start the Infusion (Day 1)
- Combine Ingredients: Place the prepared prickly pear fruit chunks, vodka (and optional brandy), orange juice and peel (if using), lemon juice, vanilla bean (or vanilla sugar), and optional cinnamon stick and cloves into a large, clean glass jar with a tight-fitting lid. Using a jar rather than a bowl helps prevent evaporation and contamination, ensuring a cleaner infusion.
- Seal & Store: Seal the jar tightly. Give it a good shake to mix everything. Store the jar in a cool, dark place, like a pantry or cupboard.
- The First 48 Hours (The Only Time You Stir!)
- Initial Stirring: For the first two days, give the jar a gentle shake or stir once or twice. This helps to fully dissolve any vanilla sugar you might have used and ensures all the prickly pear flavor and other aromatics are evenly distributed in the alcohol.
- Hands Off for Clarity: After the initial 48 hours, resist the urge to stir or shake the jar. Leaving it undisturbed allows any fine particles to settle, which is key for achieving a clear liqueur later on.
- Infuse Until It Tastes Right (Timeline + Checkpoints)
- Minimum Infusion Time: Let your Bajtra infuse for a minimum of 2 weeks.
- Realistic Best Window: The ideal infusion time is typically between 3 to 4 weeks. This allows the prickly pear juice and other flavors to fully develop without becoming too strong or bitter.
- Checkpoints:
- Color: The liquid should develop a beautiful, deep red or magenta color.
- Aroma: You should smell a distinct, sweet, fruity prickly pear flavor with hints of citrus and vanilla.
- Flavor Strength: Carefully taste a tiny amount (a drop on a spoon) to assess its strength. It should taste strongly of prickly pear fruit, but not overwhelmingly alcoholic. If it tastes "hot" or too alcoholic, it likely needs more time to mellow or will need more sweetening later.
- Strain (and How to Keep It Clear)This step is crucial for clarity! Do not rush it.
- First Strain (Coarse): Pour the entire contents of the jar through a fine-mesh strainer set over a large bowl. Discard the solids. This removes the large fruit pieces and spices.
- Second Strain (Fine): Line your fine-mesh strainer with 2-3 layers of cheesecloth. Pour the strained liquid through this setup. The cheesecloth will catch finer particles.
- Optional Coffee-Filter Polish (For Crystal-Clear Results): For an absolutely brilliant, crystal-clear liqueur, line a funnel with a coffee filter (paper filters are best). Place the funnel in the neck of a clean bottle or jar. Slowly pour the liquid through the coffee filter. This process can be very slow, so be patient! You may need to change filters if they become clogged.
- Sweeten with Syrup (This is Where Most Recipes Fail!)Achieving the perfect sweetness is an art, and this step is where many recipes fall short by not giving you control.
- Make a Simple Syrup: In a small saucepan, combine 1 cup granulated sugar and 1 cup water. Heat over medium heat, stirring until the sugar is completely dissolved. Let it cool completely. This is your basic prickly pear simple syrup base.
- Prickly Pear Simple Syrup Tie-in (Boost that Flavor!): If you want an even more intense prickly pear flavor in your syrup, you can replace up to half of the water in your simple syrup recipe with a small amount of the strained prickly pear juice from your liqueur batch. Just make sure it's strained well!Add Syrup Slowly, Taste As You Go: Begin by adding about 1/2 cup of the cooled simple syrup to your strained liqueur. Stir well, then taste.
- Adjust to Your Liking: Add more syrup, 1-2 tablespoons at a time, tasting after each addition, until you reach your desired sweetness. Remember, you can always add more, but you can't take it away! A good starting point is usually 1/2 to 1 cup of syrup for a 750ml batch of infused spirit.
- Bottle + Rest
- Bottle Up: Using a clean funnel, carefully transfer your finished Bajtra into clean, sterile glass bottles with tight-fitting caps or corks.
- Rest & Mellow: While tempting to enjoy immediately, Bajtra truly benefits from a rest period. Store the bottled liqueur in a cool, dark place for at least 1-2 weeks (or even a month!). This "mellowing" time allows the flavors to fully integrate and smooth out, resulting in a more harmonious and delicious liqueur.
You may also like

Hey there! I’m just someone who seriously loves good food and believes that cooking doesn’t have to be complicated to be amazing. Whether it’s a quick weeknight dinner or a cozy weekend meal, I’m all about sharing easy, tasty recipes that actually work.


