
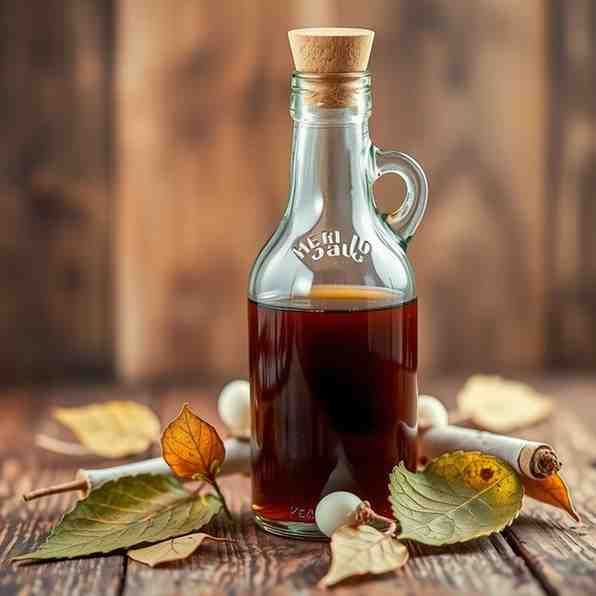
Homemade Birch Syrup
Homemade Birch Syrup
- Serves: 1 People
- Prepare Time: 30 minutes
- Cooking Time: 8-20+ hours
- Calories: -
- Difficulty: Medium
Ever wondered what it's like to tap into nature's sweet secrets? While maple syrup gets all the fame, there's a rarer, equally enchanting treat waiting to be discovered: birch syrup. Imagine a flavor that dances between rich caramel and subtle woodsy notes, a unique taste that sets it apart. But here's the kicker: making birch syrup is a labor of love. You need way more sap to produce a single bottle compared to maple, making it a truly special, artisanal product.
In this guide, we're diving deep into the world of pure, home made syrup from birch trees, with a special nod to the time-honored traditions found on the Isle of Man. We'll give you one clear, definitive method for making it at home, explore its delicious uses in both sweet and savory dishes, and even break down its nutritional info. Whether you're dreaming of drizzling it over pancakes or using it as a glaze for your next meal, you're in for a treat. Let's get tapping!
Ingredients
Directions
- Filter the Sap: As soon as you collect your birch sap, give it a good filter. Use a fine-mesh strainer, cheesecloth, or even a clean coffee filter to remove any bits of bark, bugs, or other debris. Cleanliness is key!
- Start the Boil: Pour your filtered sap into a large, wide stainless steel or enamel pot. The wider the pot, the more surface area for evaporation, which speeds up the process. Get it on a strong heat source, ideally outdoors or in a very well-ventilated area, as a lot of steam will be produced.
- Maintain a Steady Boil: Keep that sap boiling steadily. If you're working with a large volume of sap or doing multiple collection runs, you can keep topping up your boiling pot with fresh sap as the water evaporates. This helps concentrate the sugars gradually.
- Move to a Smaller Pot for Finishing: This is a crucial step to prevent scorching! Once your sap volume has reduced significantly (it'll start to look a bit like weak tea), transfer it to a smaller pot. This makes it easier to manage the heat and prevents the thin layer of syrup at the bottom of a large pot from burning.
- Finish Gently: Now comes the delicate part. Continue to boil the sap, but at a lower, more controlled heat. Keep a close eye on it, as the concentration happens much faster now. You're aiming for a true syrup thickness.
- Filter (Hot): Once your syrup reaches the desired consistency, remove it from the heat. While it's still hot, filter it again through a clean coffee filter or a specialized syrup filter. This step removes any "sugar sand" (mineral sediment) that might have formed during the boiling process, leaving you with clear, pure syrup.
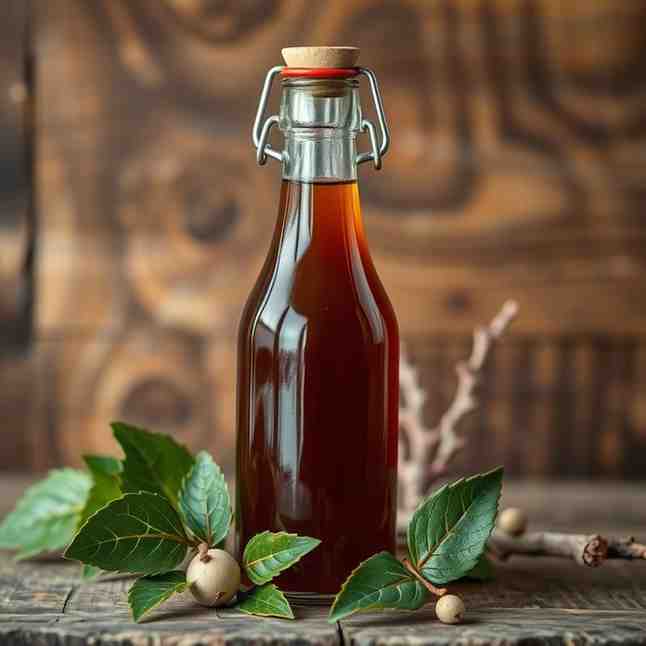
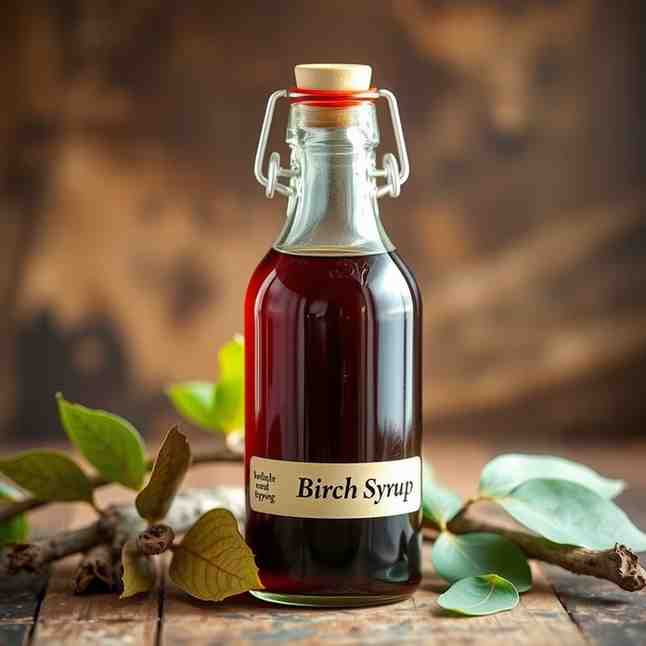
- Bottle Safely: Carefully pour your hot, filtered syrup into sterilized jars or bottles. Fill them almost to the top, then cap them tightly. As the syrup cools, it will create a vacuum seal. Store sealed jars in a cool, dark place or the fridge. Once opened, always keep birch syrup in the refrigerator.
- “Done” Tests (How to tell your syrup is perfect):
- Spoon/Plate Test: Dip a clean spoon into the hot syrup, then lift it and let the syrup drip off. If it "sheets" off the spoon in a continuous stream rather than dripping in separate drops, it's getting close. For the plate test, put a drop of hot syrup on a cold plate and tilt it; if it holds its shape and doesn't run too quickly, it's ready.
- Visual Change + Viscosity: As it gets closer to syrup, the liquid will change from clear to a golden or amber hue. It will also visibly thicken and coat the back of a spoon.
- Optional Measurable Check: For the pros, a hydrometer or refractometer can give you an exact Brix reading. Birch syrup is typically finished at around 66-67 Brix, similar to maple syrup. This ensures proper thickness and shelf stability.
Homemade Birch Syrup
- Serves: 1 People
- Prepare Time: 30 minutes
- Cooking Time: 8-20+ hours
- Calories: -
- Difficulty: Medium
Ever wondered what it's like to tap into nature's sweet secrets? While maple syrup gets all the fame, there's a rarer, equally enchanting treat waiting to be discovered: birch syrup. Imagine a flavor that dances between rich caramel and subtle woodsy notes, a unique taste that sets it apart. But here's the kicker: making birch syrup is a labor of love. You need way more sap to produce a single bottle compared to maple, making it a truly special, artisanal product.
In this guide, we're diving deep into the world of pure, home made syrup from birch trees, with a special nod to the time-honored traditions found on the Isle of Man. We'll give you one clear, definitive method for making it at home, explore its delicious uses in both sweet and savory dishes, and even break down its nutritional info. Whether you're dreaming of drizzling it over pancakes or using it as a glaze for your next meal, you're in for a treat. Let's get tapping!
Ingredients
Directions
- Filter the Sap: As soon as you collect your birch sap, give it a good filter. Use a fine-mesh strainer, cheesecloth, or even a clean coffee filter to remove any bits of bark, bugs, or other debris. Cleanliness is key!
- Start the Boil: Pour your filtered sap into a large, wide stainless steel or enamel pot. The wider the pot, the more surface area for evaporation, which speeds up the process. Get it on a strong heat source, ideally outdoors or in a very well-ventilated area, as a lot of steam will be produced.
- Maintain a Steady Boil: Keep that sap boiling steadily. If you're working with a large volume of sap or doing multiple collection runs, you can keep topping up your boiling pot with fresh sap as the water evaporates. This helps concentrate the sugars gradually.
- Move to a Smaller Pot for Finishing: This is a crucial step to prevent scorching! Once your sap volume has reduced significantly (it'll start to look a bit like weak tea), transfer it to a smaller pot. This makes it easier to manage the heat and prevents the thin layer of syrup at the bottom of a large pot from burning.
- Finish Gently: Now comes the delicate part. Continue to boil the sap, but at a lower, more controlled heat. Keep a close eye on it, as the concentration happens much faster now. You're aiming for a true syrup thickness.
- Filter (Hot): Once your syrup reaches the desired consistency, remove it from the heat. While it's still hot, filter it again through a clean coffee filter or a specialized syrup filter. This step removes any "sugar sand" (mineral sediment) that might have formed during the boiling process, leaving you with clear, pure syrup.
- Bottle Safely: Carefully pour your hot, filtered syrup into sterilized jars or bottles. Fill them almost to the top, then cap them tightly. As the syrup cools, it will create a vacuum seal. Store sealed jars in a cool, dark place or the fridge. Once opened, always keep birch syrup in the refrigerator.
- “Done” Tests (How to tell your syrup is perfect):
- Spoon/Plate Test: Dip a clean spoon into the hot syrup, then lift it and let the syrup drip off. If it "sheets" off the spoon in a continuous stream rather than dripping in separate drops, it's getting close. For the plate test, put a drop of hot syrup on a cold plate and tilt it; if it holds its shape and doesn't run too quickly, it's ready.
- Visual Change + Viscosity: As it gets closer to syrup, the liquid will change from clear to a golden or amber hue. It will also visibly thicken and coat the back of a spoon.
- Optional Measurable Check: For the pros, a hydrometer or refractometer can give you an exact Brix reading. Birch syrup is typically finished at around 66-67 Brix, similar to maple syrup. This ensures proper thickness and shelf stability.
You may also like


Hey there! I’m just someone who seriously loves good food and believes that cooking doesn’t have to be complicated to be amazing. Whether it’s a quick weeknight dinner or a cozy weekend meal, I’m all about sharing easy, tasty recipes that actually work.


