
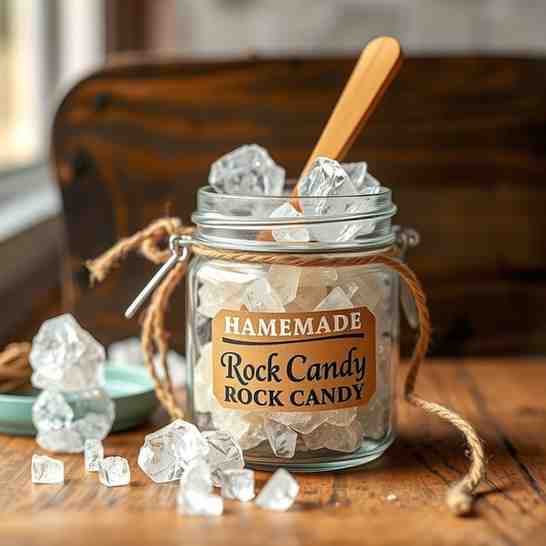
Homemade Rock Candy - Sweet Sugar Crystals DIY
Homemade Rock Candy - Sweet Sugar Crystals DIY
- Serves: 4 People
- Prepare Time: 20 minutes
- Cooking Time: 10-15 minut
- Calories: -
- Difficulty: Easy
Ever wondered how those beautiful, shimmering sugar crystals form? You're in the right place! Making your own homemade rock candy is a super fun and surprisingly easy science experiment you can eat. This rock candy recipe guides you through creating stunning sugar crystals right in your kitchen. While the active prep and cook time is only about 20 minutes, the real magic—the crystal growing—takes a bit longer, typically 3 to 7 days. But trust us, the wait is worth it for these sweet, sparkling treats! It's a fantastic DIY candy project for all ages, just remember to be careful with hot sugar.
Ingredients
Directions
- Prep Your Jar and “Seed” the Stick
- Start by washing your clean glass jar (a mason jar works perfectly!) thoroughly with soap and hot water. Rinse it well and let it air dry completely. This ensures no impurities interfere with crystal growth.
- Next, prepare your skewer or cotton string. Dip it in water, then roll it generously in granulated sugar. Allow this "seeded" skewer or string to dry completely. These tiny sugar crystals will act as the starting points for your rock candy to grow!
- Once dry, use a clothespin or binder clip to suspend the seeded skewer in the center of your jar. Make sure it's not touching the sides or the bottom.
- Make the Sugar Solution
- In a medium saucepan, combine the water and granulated sugar.
- Place the saucepan over medium heat and stir constantly. Keep stirring until the sugar is completely dissolved and the liquid appears clear. Don't worry about boiling it vigorously; you just need to ensure all sugar crystals are gone.
- Bring the solution to a brief, gentle boil to ensure maximum saturation. You're aiming for a super-saturated solution, not a hard-crack candy stage, so avoid overcooking.
- Cool Slightly + Add Flavor/Color
- Carefully remove the saucepan from the heat. Let the sugar solution sit for a few minutes to cool down slightly. This helps prevent the jar from cracking and ensures flavors/colors aren't scorched.
- If you're adding flavor or color, now's the time! Stir in a tiny splash of your chosen extract (like vanilla or peppermint) or a few drops of food coloring. Remember, a little goes a long way!
- Pour and Set Up Crystal Growth
- Safety First! Before pouring, gently warm your clean glass jar. You can do this by rinsing it with hot tap water (then quickly drying) or placing it near the warm saucepan. This prevents the hot sugar solution from shocking and potentially cracking a cold jar.
- Carefully pour the warm sugar solution into your pre-warmed jar.
- Re-insert your seeded skewer or string, ensuring it hangs freely in the center, not touching any sides or the bottom. Clip it securely in place.
- Find a quiet spot in your home with a consistent room temperature. Place the jar there, undisturbed, and let the magic begin!
- Wait (and What You Should See)
- Day 1: You might start to see tiny, almost invisible crystals forming on your seeded stick.
- Day 2–3: Visible growth will become apparent, with small crystals clustering together.
- Day 4–7: Your crystals will continue to grow larger and more defined, becoming beautiful rock candy! The longer you wait (up to about a week), the bigger your crystals will get, until the sugar solution is "used up."
- Harvest and Dry
- Once your rock candy has reached your desired size, carefully lift the skewer or string out of the jar.
- Let the excess sugar solution drip off back into the jar.
- Place your freshly harvested rock candy on a piece of parchment paper or a wire rack to dry completely.
- If any crystals have formed on the sides or bottom of the jar, you can gently break them off and save them for another use, or just discard them.
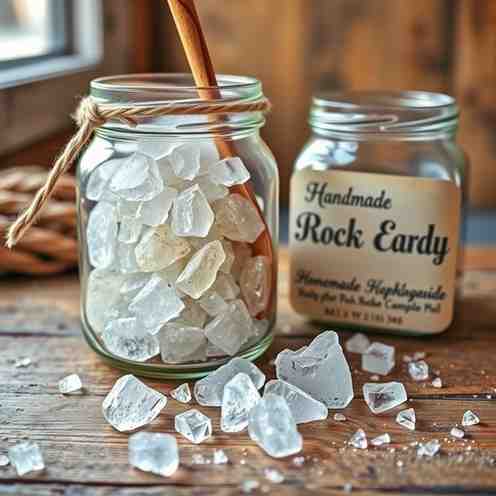
You may also like


Hey there! I’m just someone who seriously loves good food and believes that cooking doesn’t have to be complicated to be amazing. Whether it’s a quick weeknight dinner or a cozy weekend meal, I’m all about sharing easy, tasty recipes that actually work.


