
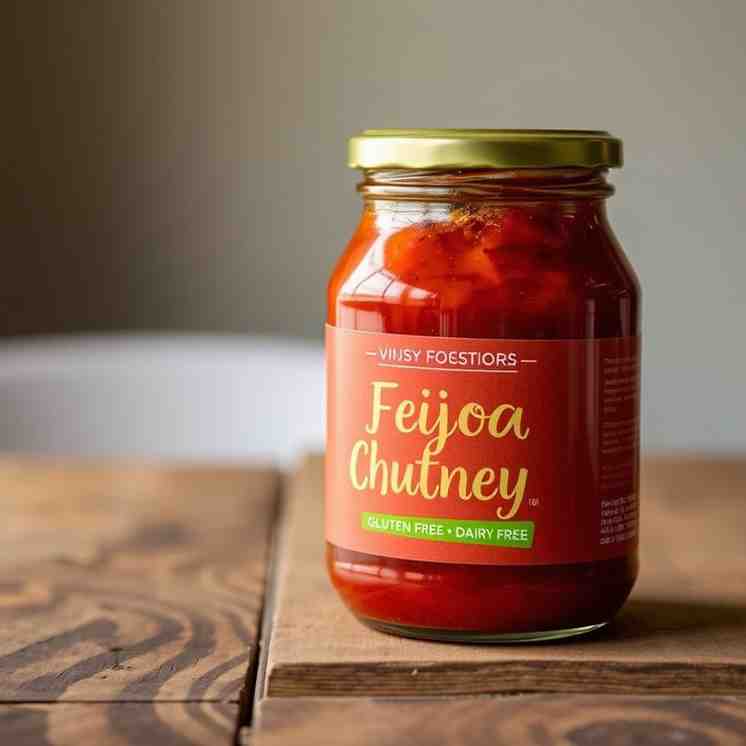
Spicy Feijoa Chutney - Gluten-Free Dairy-Free Delight
Spicy Feijoa Chutney - Gluten-Free Dairy-Free Delight
- Serves: 4 People
- Prepare Time: 25 minutes
- Cooking Time: 3 hours 30
- Calories: -
- Difficulty: Easy
Hey there, fellow foodies! Are you on the hunt for delicious, versatile, and naturally gluten free dairy free recipes that truly impress? Look no further! While feijoas might be a hidden gem for some, their unique tangy-sweet flavor is simply irresistible, especially when transformed into a vibrant chutney. This isn't just any old condiment; our Spicy Feijoa Chutney is a total game-changer, perfect for jazzing up your cheese board, pairing with roasted meats, or even gifting to friends. What’s even better? It’s naturally free from common allergens, making it a fantastic option for those seeking dairy free soy free recipes or even gluten free dairy free egg free recipes. Get ready to dive into the delightful world of feijoas and create a pantry staple that’s bursting with flavor and goodness!
Ingredients
Directions
- Prep Your Feijoas First things first, get your feijoas ready. Give them a good wash, then simply cut off the little flower tip and any stem ends. There's no need to peel them unless you prefer a super smooth chutney – the skin softens beautifully during cooking and adds to the flavor and texture! Once trimmed, dice them into chunky pieces.
- Chop & Gather Next, tackle your apples and onions. Chop the apples into similar-sized dice as your feijoas, and finely chop your brown onions. While you're at it, measure out all your spices – having everything ready to go makes the cooking process smooth and enjoyable.
- Simmer Down, Now! Grab a large, heavy-bottomed pot or Dutch oven. Toss in all your prepared feijoas, diced apples, chopped onions, brown sugar, white wine vinegar, lemon zest and juice, mustard seeds, ground ginger, Chinese five spice, minced chilies, and salt. Give everything a good stir to combine. Bring the mixture to a gentle boil over medium heat, stirring occasionally to dissolve the sugar. Once it's bubbling, reduce the heat to a low simmer.
- The Long & Slow Cook Now comes the patient part! Let your chutney simmer uncovered for a good 3 to 4 hours. You'll want to stir it occasionally, especially as it thickens, to prevent it from sticking to the bottom of the pot. The goal is for the feijoas and apples to break down, and the liquid to reduce significantly, creating a thick, jam-like consistency. It should look rich and glossy.
- Test for Perfection To check if your chutney is ready, spoon a small amount onto a cold plate and let it sit for a minute. Then, draw a spoon through it. If it leaves a clear path and doesn't flood back immediately, it's done! If it's still too watery, keep simmering.
- Jar It Up! While your chutney is simmering, sterilize your jars and lids. You can do this by washing them thoroughly in hot soapy water, rinsing well, then placing them in an oven at 120°C (250°F) for 10-15 minutes, or running them through a hot cycle in your dishwasher. Carefully ladle the hot chutney into the hot, sterilized jars, filling them almost to the brim. Seal them tightly with their lids. As the chutney cools, the lids should create a vacuum seal.
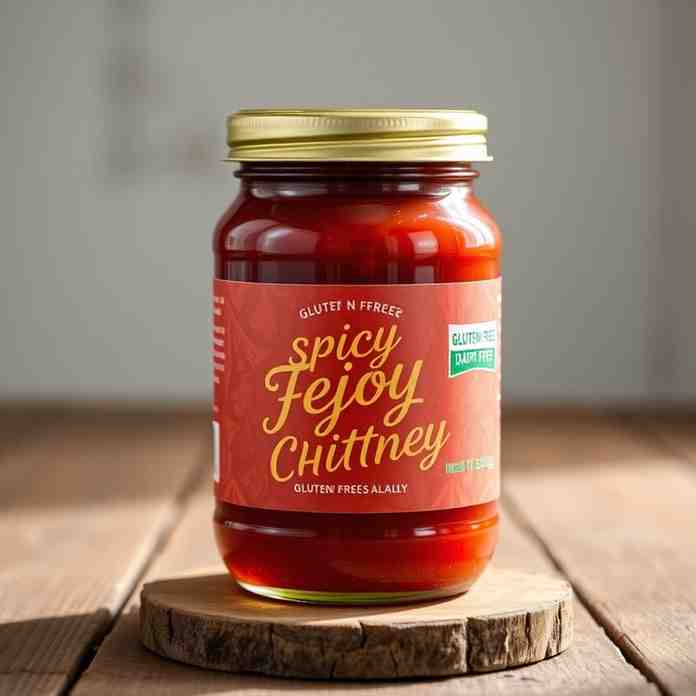
Spicy Feijoa Chutney - Gluten-Free Dairy-Free Delight

- Serves: 4 People
- Prepare Time: 25 minutes
- Cooking Time: 3 hours 30
- Calories: -
- Difficulty: Easy
Hey there, fellow foodies! Are you on the hunt for delicious, versatile, and naturally gluten free dairy free recipes that truly impress? Look no further! While feijoas might be a hidden gem for some, their unique tangy-sweet flavor is simply irresistible, especially when transformed into a vibrant chutney. This isn't just any old condiment; our Spicy Feijoa Chutney is a total game-changer, perfect for jazzing up your cheese board, pairing with roasted meats, or even gifting to friends. What’s even better? It’s naturally free from common allergens, making it a fantastic option for those seeking dairy free soy free recipes or even gluten free dairy free egg free recipes. Get ready to dive into the delightful world of feijoas and create a pantry staple that’s bursting with flavor and goodness!
Ingredients
Directions
- Prep Your Feijoas First things first, get your feijoas ready. Give them a good wash, then simply cut off the little flower tip and any stem ends. There's no need to peel them unless you prefer a super smooth chutney – the skin softens beautifully during cooking and adds to the flavor and texture! Once trimmed, dice them into chunky pieces.
- Chop & Gather Next, tackle your apples and onions. Chop the apples into similar-sized dice as your feijoas, and finely chop your brown onions. While you're at it, measure out all your spices – having everything ready to go makes the cooking process smooth and enjoyable.
- Simmer Down, Now! Grab a large, heavy-bottomed pot or Dutch oven. Toss in all your prepared feijoas, diced apples, chopped onions, brown sugar, white wine vinegar, lemon zest and juice, mustard seeds, ground ginger, Chinese five spice, minced chilies, and salt. Give everything a good stir to combine. Bring the mixture to a gentle boil over medium heat, stirring occasionally to dissolve the sugar. Once it's bubbling, reduce the heat to a low simmer.
- The Long & Slow Cook Now comes the patient part! Let your chutney simmer uncovered for a good 3 to 4 hours. You'll want to stir it occasionally, especially as it thickens, to prevent it from sticking to the bottom of the pot. The goal is for the feijoas and apples to break down, and the liquid to reduce significantly, creating a thick, jam-like consistency. It should look rich and glossy.
- Test for Perfection To check if your chutney is ready, spoon a small amount onto a cold plate and let it sit for a minute. Then, draw a spoon through it. If it leaves a clear path and doesn't flood back immediately, it's done! If it's still too watery, keep simmering.
- Jar It Up! While your chutney is simmering, sterilize your jars and lids. You can do this by washing them thoroughly in hot soapy water, rinsing well, then placing them in an oven at 120°C (250°F) for 10-15 minutes, or running them through a hot cycle in your dishwasher. Carefully ladle the hot chutney into the hot, sterilized jars, filling them almost to the brim. Seal them tightly with their lids. As the chutney cools, the lids should create a vacuum seal.
You may also like


Hey there! I’m just someone who seriously loves good food and believes that cooking doesn’t have to be complicated to be amazing. Whether it’s a quick weeknight dinner or a cozy weekend meal, I’m all about sharing easy, tasty recipes that actually work.


