
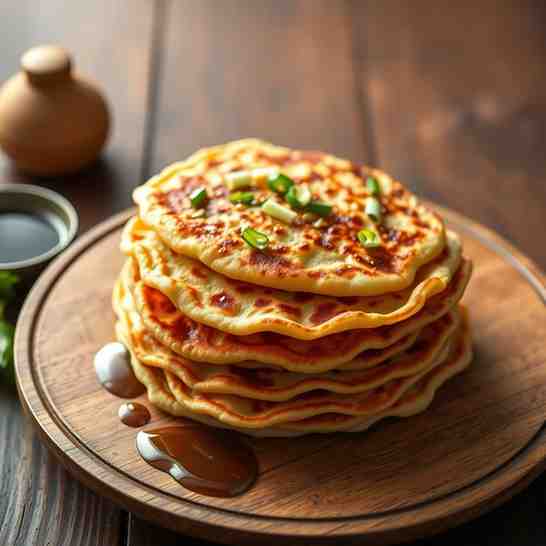
Crispy Chinese Scallion Pancakes
Crispy Chinese Scallion Pancakes
- Serves: 6 People
- Prepare Time: 45 minutes
- Cooking Time: 30 minutes
- Calories: -
- Difficulty: Medium
Ever craved that incredibly satisfying crunch and chew of a perfectly made scallion pancake? You know, the kind you grab from a street vendor in China, where every bite is a symphony of crispy layers and aromatic green onions? Well, get ready, because we're diving deep into making authentic Chinese food right in your own kitchen! This isn't just any recipe; it's your definitive guide to Chinese Scallion Pancakes (Cong You Bing, 葱油饼) – crispy, flaky, and absolutely foolproof. Whether you're a seasoned chef or just starting to learn to cook recipes from scratch, this guide will walk you through every step. Forget confusing variations; we're focusing on one clear, reliable method that guarantees those irresistible layers. Plus, these beauties are perfect for Chinese meal prep and can even be adapted for delicious vegan Chinese food!
Ingredients
Directions
- Mix and Rest the Hot-Water Dough
- In a large mixing bowl, combine the 2 cups of all-purpose flour and 1 teaspoon of kosher or sea salt. Give it a quick whisk.
- Gradually drizzle the hot water into the flour mixture, stirring constantly with chopsticks or a fork until shaggy clumps form. The hot water helps tenderize the dough, giving it that characteristic chew.
- Add the cooler water and continue mixing until the dough just comes together.
- Turn the dough out onto a lightly floured surface and knead briefly for about 3-5 minutes until it's mostly smooth. It should be soft and slightly tacky, but not sticky. Avoid over-kneading, as this can make the pancakes tough.
- Form the dough into a ball, lightly oil it, and place it back in the bowl. Cover tightly with plastic wrap or a damp cloth and let it rest at room temperature for 20-30 minutes. This rest time is crucial; it allows the gluten to relax, making the dough much easier to roll and more tender when cooked.
- Make the Scallion Oil Paste
- While the dough rests, prepare your oil paste. In a small bowl, whisk together the 2 tablespoons of all-purpose flour, 3 tablespoons of neutral oil, and ¼ teaspoon of kosher or sea salt until you have a smooth, lump-free paste. This paste is your secret weapon for creating those distinct, flaky layers, as it prevents the dough from sticking to itself and promotes separation during cooking.
- Cut the Scallions the Right Way
- Wash and trim your scallions. For thicker stalks, halve them lengthwise before slicing. Then, thinly slice the scallions into small half-moon pieces. Smaller pieces are less likely to tear the delicate dough when you roll it, ensuring better lamination and even distribution of flavor.
- Portion, Roll & Fill
- Once your dough has rested, divide it into 6-8 equal balls. Keep any dough balls you're not actively working with covered to prevent them from drying out.
- On a lightly floured surface, take one dough ball and roll it out into a very thin rectangle, roughly 8x12 inches (20x30 cm) and about ⅛ inch (3 mm) thick. Aim for transparency; you should almost be able to see through it.
- Spread a thin, even layer of your scallion oil paste over the entire dough rectangle, leaving a small border (about ¼ inch) around the edges.
- Generously scatter about 1-2 tablespoons of the finely chopped scallions over the oil paste. For easier rolling, try arranging them in a loose "L" shape rather than covering the whole rectangle.
- Coil for Layers
- Starting from one long side, tightly roll the dough rectangle into a log, pressing out any air bubbles as you go. A tight roll is key for developing many layers.
- Once you have a log, coil it like a snail or a cinnamon roll, tucking the end underneath.
- Place the coiled dough on a plate, cover it, and let it rest for another 10-15 minutes. This second rest allows the gluten to relax again, making the coils easier to flatten without resistance or tearing.
- Flatten the Coils
- Take one rested coil. Gently press it down with your hand to flatten it slightly.
- Using your rolling pin, roll the coil out into a round pancake, about 7-8 inches (18-20 cm) in diameter and still fairly thin, around ⅛ inch (3 mm) thick. Don't worry if a few scallions poke through or small air bubbles burst; simply patch them up with your fingers and keep rolling.
- Pan-Fry to Crispy & Flaky
- Heat a heavy skillet (cast iron or a good non-stick pan) over medium-high heat. Add just enough neutral oil to create a thin film across the bottom. You'll know it's ready when you drop a tiny piece of scallion in, and it immediately sizzles.
- Carefully place one pancake into the hot skillet. Cook it covered for about 2-3 minutes per side. Covering helps steam the interior, ensuring the dough cooks through and becomes tender.
- After the initial covered cooking, remove the lid and continue to cook for another 2-4 minutes per side, or until both sides are deep golden brown with crispy, darker spots. The pancake should sound crisp when you tap it.
- For extra layers, you can try the "slam" technique (be careful!): once the pancake is cooked and crispy, gently "slam" it onto a cutting board or clean surface a few times with a spatula or your hand. This helps separate the layers even further.
- Transfer the cooked pancake to a wire rack or cutting board to rest briefly while you cook the remaining pancakes. This prevents the bottom from getting soggy and maintains its crispness.
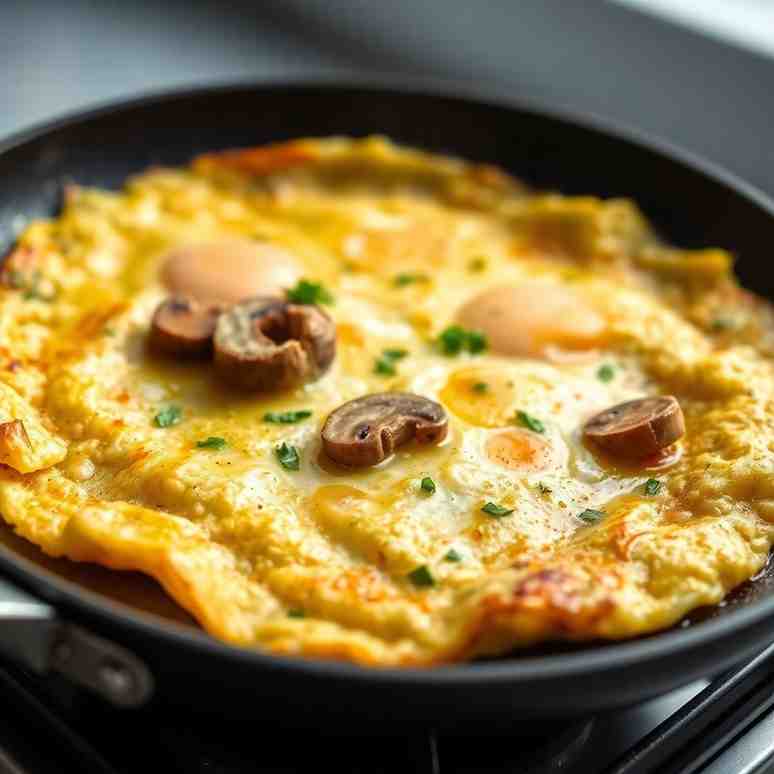
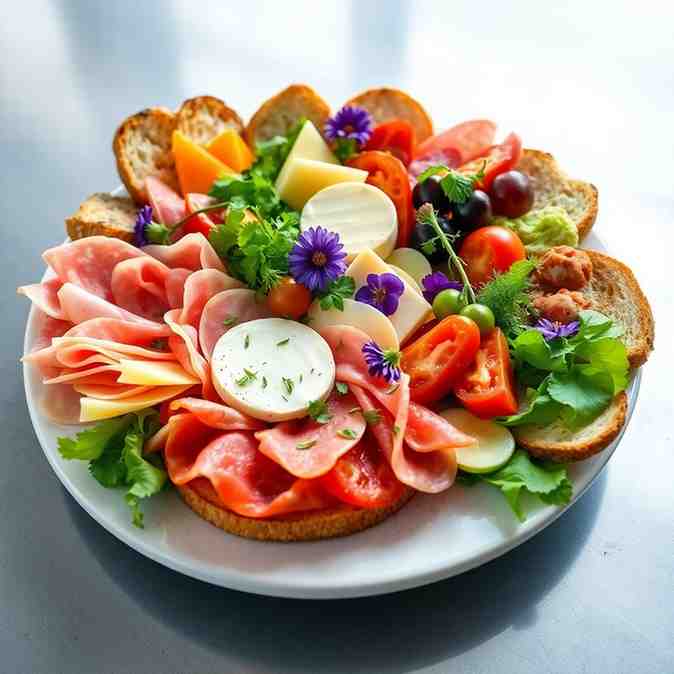
You may also like


Hey there! I’m just someone who seriously loves good food and believes that cooking doesn’t have to be complicated to be amazing. Whether it’s a quick weeknight dinner or a cozy weekend meal, I’m all about sharing easy, tasty recipes that actually work.


