
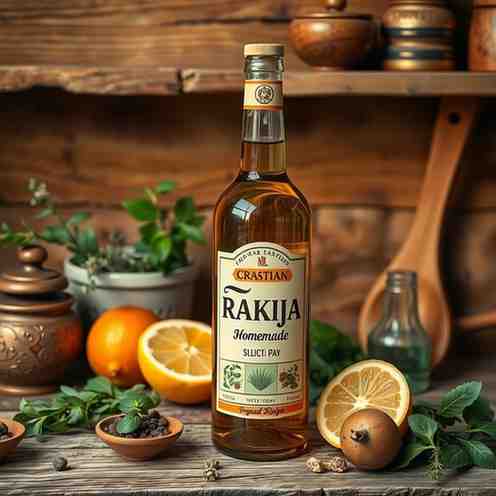
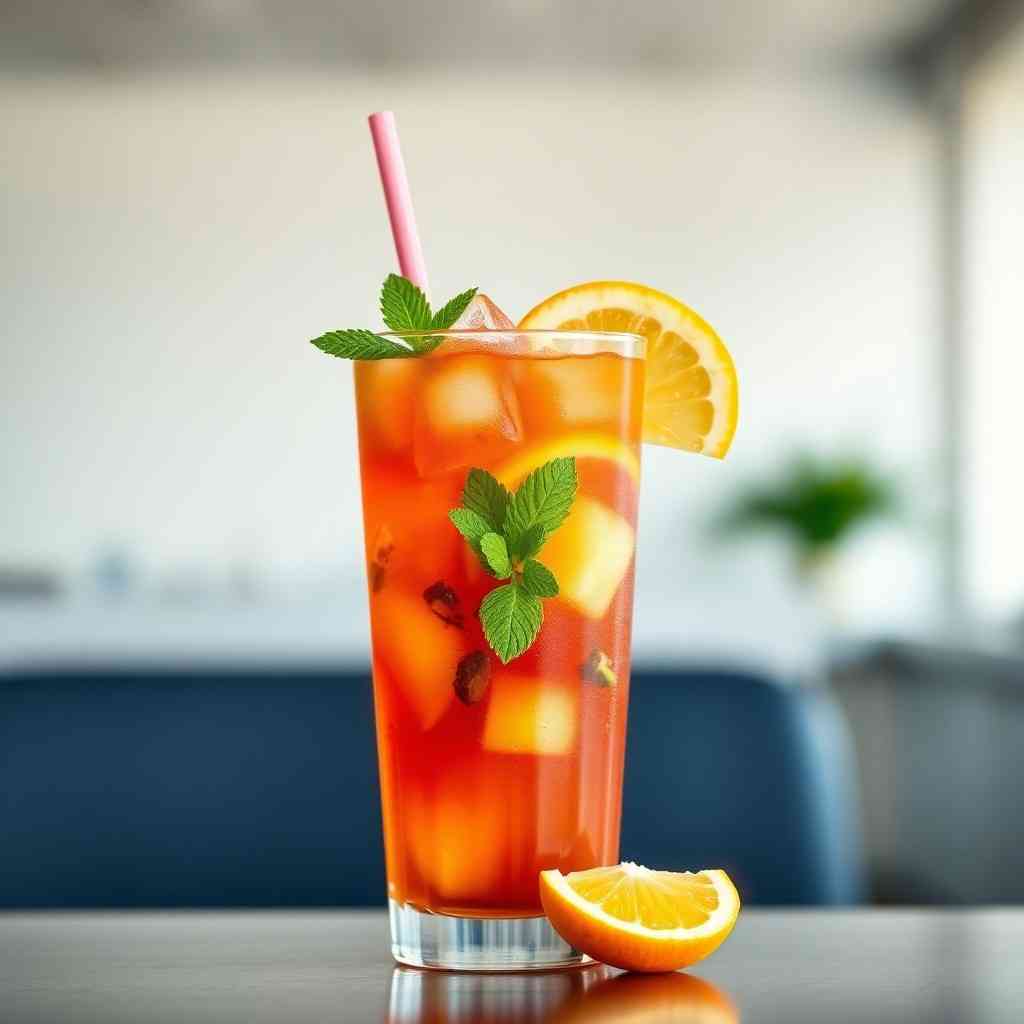
Croatian Rakija - Homemade Recipe
Croatian Rakija - Homemade Recipe
- Serves: 1 People
- Prepare Time: 2-3 hours (
- Cooking Time: 4-6 hours (
- Calories: -
- Difficulty: Hard
Welcome, fellow spirit enthusiasts, to the heart of Croatian tradition! If you've ever dreamed of crafting your own potent, aromatic fruit brandy, you're in the right place. Today, we're diving deep into the world of authentic Croatian Rakija, a beloved spirit that's more than just a drink—it's a symbol of hospitality, celebration, and centuries of heritage. From the sun-drenched orchards to the quiet hum of the still, making homemade Rakija is a rewarding journey that connects you directly to Croatian culture.
This comprehensive guide will walk you through every step of creating your very own traditional Rakija recipe. Whether you're a curious beginner or an experienced distiller looking for an authentic Croatian Rakija recipe, we’ll demystify the process, from selecting the best fruits to understanding the nuances of distillation and aging. Get ready to learn how to make Rakija at home and discover the true essence of this incredible spirit!
Ingredients
Directions
- Preparing the Fruit
- Wash and Sort: Thoroughly wash your chosen fruit to remove any dirt, pesticides, or debris. Discard any bruised, moldy, or unripe pieces, as these can impart off-flavors.
- Pit and Crush: For stone fruits like plums, peaches, or cherries, it's crucial to remove the pits. Pits can release cyanide compounds during fermentation and distillation, which are toxic. For apples, pears, or grapes, simply remove stems and any large seeds.
- Crush the Fruit: Using a fruit crusher, a sturdy potato masher, or even clean hands, crush the fruit into a pulp. The goal is to break the skins and expose the sugars, creating a "mash." Don't pulverize it into a liquid; a chunky consistency is ideal. The type of fruit you choose significantly impacts the final flavor. Plums offer a rich, deep fruitiness, while apples can yield a lighter, crisper spirit.
- Fermentation
- Combine and Hydrate: Transfer your crushed fruit mash into the clean fermentation vessel. Add the water and sugar. Stir well until the sugar is fully dissolved.
- Add Yeast: Rehydrate your yeast according to package instructions (usually in a small amount of warm water) and then add it to the fruit mash. Stir gently to distribute the yeast evenly.
- Seal and Store: Securely seal the fermentation vessel with its lid and attach an airlock. Fill the airlock with water or a sanitizing solution. This allows CO2 to escape without oxygen entering, which could spoil your batch.
- Ferment: Place the vessel in a warm, dark place, ideally between 65-75°F (18-24°C). Fermentation usually takes 1-2 weeks. You'll see bubbling in the airlock, indicating active fermentation.
- Monitor with Hydrometer: Use your hydrometer to measure the specific gravity daily. Fermentation is complete when the specific gravity reaches 1.000 or below, and bubbling in the airlock stops or significantly slows down.
- Troubleshooting Fermentation Stalls: If fermentation stops prematurely (high specific gravity, no bubbling), check the temperature. It might be too cold or too hot. Gently stir the mash to rouse the yeast. If still stalled, you might need to add more yeast or a yeast nutrient. Ensure your vessel is airtight and free from contamination.
- Distillation
- Prepare the Mash: Once fermentation is complete, the "wash" (fermented mash) is ready for distillation. You might want to strain out larger fruit solids to prevent scorching in the still, though some traditionalists leave them in.
- Load the Still: Carefully transfer the fermented wash into your distillation apparatus. Do not overfill; leave adequate headspace.
- Heat Gradually: Begin heating the still slowly and steadily. The goal is to bring the temperature up to where alcohol starts to vaporize (around 173°F / 78°C). Use your thermometer to monitor the vapor temperature.
- Collect the Distillate – Heads, Hearts, and Tails: This is the most critical step in your Rakija distillation guide.
- Heads: The first few milliliters (usually about 50-100ml per 10 liters of wash) that come off are the "heads." These contain highly volatile compounds like methanol and acetone, which are toxic and have an unpleasant smell (like nail polish remover). DISCARD THE HEADS. They are not for consumption.
- Hearts: After the heads, the "hearts" begin to flow. This is your pure Rakija! It will have a clean, pleasant aroma and taste. Collect the hearts in a separate vessel. The temperature will remain relatively stable during this phase. This is the good stuff, your homemade Rakija distillation product.
- Tails: As distillation continues, the temperature will start to rise again, and the alcohol content of the distillate will drop significantly. The "tails" contain heavier, less desirable compounds that can give your Rakija a cloudy appearance and harsh taste. Stop collecting the hearts when the alcohol content drops below your desired level (e.g., 40-50% ABV) or when the aroma becomes less pleasant.
- Maintaining Proper Temperature: Consistent, slow heating is key. Fluctuations can lead to poor separation of heads, hearts, and tails. Aim for a steady drip of distillate, not a stream.
- Aging the Rakija
- Dilution (Optional): Your freshly distilled Rakija (the hearts) will likely be quite strong, often 60-80% ABV. You can dilute it with distilled water to your desired drinking strength, typically 40-50% ABV (80-100 proof).
- Aging Vessel: Pour your Rakija into oak barrels or clean glass bottles. Oak barrels impart color, aroma, and flavor, mellowing the spirit beautifully over time. If using glass, you can add a small piece of toasted oak chip (food-grade) to mimic barrel aging.
- Aging Recommendations: Store your Rakija in a cool, dark place. While you can drink it immediately, aging for a minimum of 3 months significantly improves flavor and smoothness. Many traditional Rakijas are aged for a year or more.
- Troubleshooting Bad Aging Flavors: Ensure your aging vessels are clean and sanitized. If using oak, make sure it's properly prepared (toasted, not raw). Off-flavors can sometimes arise from poor cuts during distillation (too much heads or tails), which aging cannot fully fix. If an unpleasant flavor develops, it might be due to contamination during storage or an issue with the initial distillation.
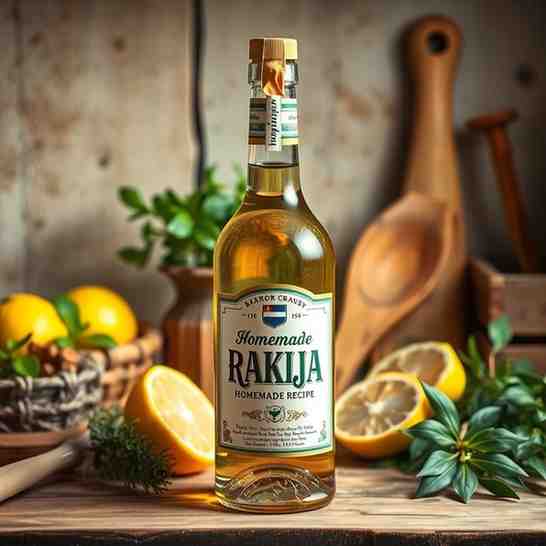
You may also like

Hey there! I’m just someone who seriously loves good food and believes that cooking doesn’t have to be complicated to be amazing. Whether it’s a quick weeknight dinner or a cozy weekend meal, I’m all about sharing easy, tasty recipes that actually work.


