
Canelé - Perfect Beeswax Molds
Canelé - Perfect Beeswax Molds
- Serves: 12 People
- Prepare Time: 25 minutes
- Cooking Time: 60-75 minut
- Calories: -
- Difficulty: Easy
Welcome to the captivating world of Canelés de Bordeaux – a truly iconic French pastry that's as delightful to eat as it is satisfying to master! If you've ever dreamt of recreating that perfect golden-brown, caramelized crust and tender, custardy interior at home, you're in the right place. This guide isn't just a recipe; it's your definitive journey into understanding the precise techniques and the magic behind these fluted wonders. We'll dive deep into why every step matters, from the essential 48-hour batter rest to the crucial role of beeswax for canele molds in achieving that unmistakable crunch and shine. Forget dry, bready imitations; we're here to help you bake canelés that taste like they've come straight from a Parisian pâtisserie. Get ready to transform simple ingredients into an extraordinary treat that will impress even the most discerning palates.
Ingredients
Directions
- Make the batter (Day 1)
- Warm Milk & Butter: In a medium saucepan, gently heat the whole milk, unsalted butter, and vanilla extract (or vanilla bean pod and scraped seeds) over medium-low heat until the butter is melted and the milk is warm to the touch (about 180°F / 82°C). Do not bring to a hard boil. Remove from heat, stir, and if using a vanilla bean pod, remove it.
- Mix Dry Ingredients: In a large bowl, whisk together the granulated sugar, all-purpose flour, and a pinch of salt.
- Combine Eggs: In a separate small bowl, gently whisk the whole egg and egg yolks until just combined. Avoid incorporating too much air; we want a smooth custard, not a fluffy one.
- Temper & Combine: Gradually pour about half of the warm milk mixture into the egg mixture, whisking constantly to temper the eggs. This prevents them from scrambling. Then, pour the tempered egg mixture back into the remaining milk mixture in the saucepan, whisking until smooth.
- Add Rum: Stir in the dark rum.
- Strain: Pour the entire batter through a fine-mesh strainer into a clean bowl or pitcher. This removes any lumps, bits of cooked egg, or vanilla bean remnants, ensuring a perfectly smooth batter.
- Rest: Cover the bowl tightly with plastic wrap, ensuring the wrap touches the surface of the batter to prevent a skin from forming. Refrigerate for a minimum of 24 hours, ideally 48 hours. This rest period is crucial for the flour to fully hydrate and for the flavors to meld, leading to a superior texture and crust.
- Rest the batter (Day 1–3)
- Optimal Rest: The batter needs at least 24 hours to rest in the refrigerator, but 48 hours is truly best for the deepest flavor development and the most consistent crust.
- Before Use: When ready to bake, remove the batter from the fridge. Give it a very gentle whisk to recombine any separated ingredients, but be careful not to create foam or incorporate air. The batter should be cold when it goes into the molds.
- Coat the molds (Bake day)
- Melt Coating: In a small saucepan or microwave-safe bowl, melt the food-grade beeswax for canele molds with the clarified butter (or ghee) over low heat or in short microwave bursts until fully liquid and combined.
- Coat Molds: Place your canelé molds (copper is ideal, but tin/aluminum work) on a wire rack set over a baking sheet. Carefully pour the melted beeswax mixture into each mold, filling it completely. Immediately pour the mixture back into the saucepan, allowing excess to drain for 5-10 seconds.
- Drain & Chill: Invert the molds onto the wire rack. The thin coating of wax will set quickly. For best results, chill the coated molds in the refrigerator or freezer for 10-15 minutes until the wax is firm.
- "Correct Coating" Cues: The molds should have a very thin, even, translucent coating. If it's too thick, gently reheat the molds in a warm oven for a minute and drain again. A proper coating is key to the canelé's signature shine and non-stick properties.
- Bake (Bake day)
- Preheat Strategy: Place a heavy-duty baking sheet (or a baking steel/stone if you have one) on the middle rack of your oven. Preheat the oven to a blazing 475°F (245°C) for at least 30-45 minutes to ensure the sheet pan and oven are thoroughly hot. This initial high heat is critical for developing the dark, crisp crust.
- Fill Molds: Remove the cold, coated molds from the fridge. Gently whisk the rested batter one last time to ensure no separation. Fill each mold to about 1 cm (½ inch) from the top. Do not overfill.
- High-Heat Start: Carefully place the filled molds onto the preheated baking sheet in the oven. Bake at 475°F (245°C) for 15 minutes.
- Lower Heat & Finish: After 15 minutes, reduce the oven temperature to 375°F (190°C) without opening the door. Continue baking for another 45-60 minutes, or until the canelés are a very dark, mahogany brown.
- Mid-bake Checkpoints:
- Rise/Settle: Canelés will often "mushroom" or rise significantly above the mold during the high-heat phase. This is normal. They should settle back down as they continue to bake. If they rise excessively and don't settle, you can gently tap the baking sheet or briefly open the oven door to release steam, but avoid doing this too often.
- Doneness Color: Don't be afraid of the dark color! A pale canelé means a soft crust. Aim for a deep, almost burnt-looking brown, which indicates a perfectly caramelized, crunchy shell.
- Prevent Pale Tops: If you notice the tops are paler than the sides, you can carefully invert the canelés in their molds for the last 10-15 minutes of baking to ensure even browning.
- Unmold + cool
- Unmold While Hot: As soon as they come out of the oven, immediately invert the molds onto a wire cooling rack. The canelés should slip out easily due to the beeswax coating. Unmolding while hot prevents them from steaming and softening their crust inside the molds.
- Cool on Rack: Allow the canelés to cool completely on the wire rack. This allows air circulation on all sides, helping to maintain their crisp shell.
- What Success Looks Like
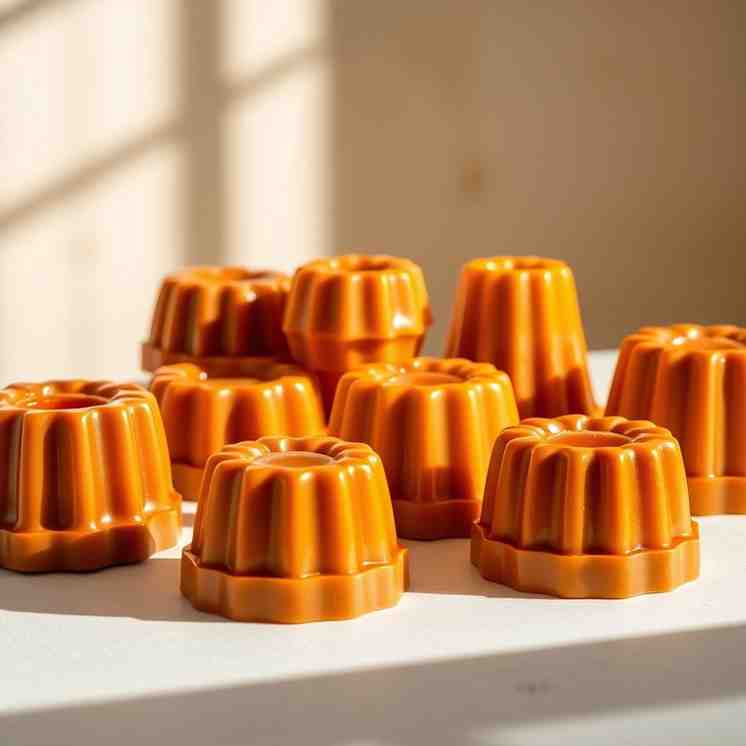
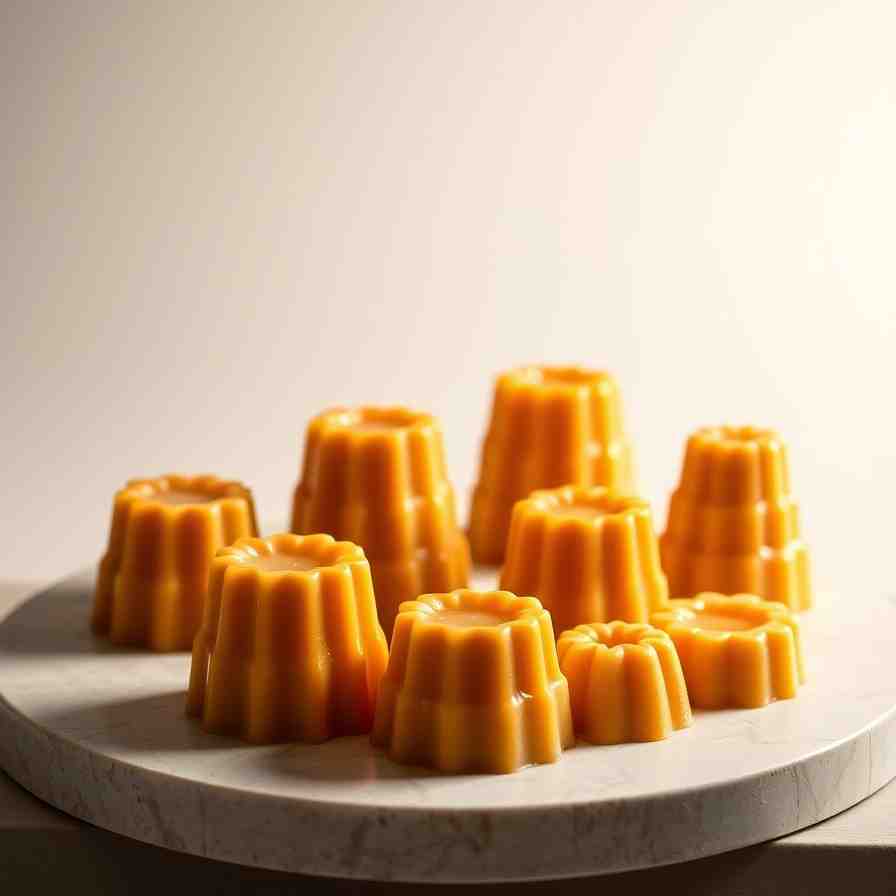
- Shell: A truly authentic canelé boasts a dark, glossy, and crackly caramelized shell that shatters beautifully with each bite.
- Inside: The interior should be moist, custardy, and tender, with an open, slightly chewy texture – never bready or dry. The distinct aroma of rum and vanilla should be present.
Canelé - Perfect Beeswax Molds
- Serves: 12 People
- Prepare Time: 25 minutes
- Cooking Time: 60-75 minut
- Calories: -
- Difficulty: Easy
Welcome to the captivating world of Canelés de Bordeaux – a truly iconic French pastry that's as delightful to eat as it is satisfying to master! If you've ever dreamt of recreating that perfect golden-brown, caramelized crust and tender, custardy interior at home, you're in the right place. This guide isn't just a recipe; it's your definitive journey into understanding the precise techniques and the magic behind these fluted wonders. We'll dive deep into why every step matters, from the essential 48-hour batter rest to the crucial role of beeswax for canele molds in achieving that unmistakable crunch and shine. Forget dry, bready imitations; we're here to help you bake canelés that taste like they've come straight from a Parisian pâtisserie. Get ready to transform simple ingredients into an extraordinary treat that will impress even the most discerning palates.
Ingredients
Directions
- Make the batter (Day 1)
- Warm Milk & Butter: In a medium saucepan, gently heat the whole milk, unsalted butter, and vanilla extract (or vanilla bean pod and scraped seeds) over medium-low heat until the butter is melted and the milk is warm to the touch (about 180°F / 82°C). Do not bring to a hard boil. Remove from heat, stir, and if using a vanilla bean pod, remove it.
- Mix Dry Ingredients: In a large bowl, whisk together the granulated sugar, all-purpose flour, and a pinch of salt.
- Combine Eggs: In a separate small bowl, gently whisk the whole egg and egg yolks until just combined. Avoid incorporating too much air; we want a smooth custard, not a fluffy one.
- Temper & Combine: Gradually pour about half of the warm milk mixture into the egg mixture, whisking constantly to temper the eggs. This prevents them from scrambling. Then, pour the tempered egg mixture back into the remaining milk mixture in the saucepan, whisking until smooth.
- Add Rum: Stir in the dark rum.
- Strain: Pour the entire batter through a fine-mesh strainer into a clean bowl or pitcher. This removes any lumps, bits of cooked egg, or vanilla bean remnants, ensuring a perfectly smooth batter.
- Rest: Cover the bowl tightly with plastic wrap, ensuring the wrap touches the surface of the batter to prevent a skin from forming. Refrigerate for a minimum of 24 hours, ideally 48 hours. This rest period is crucial for the flour to fully hydrate and for the flavors to meld, leading to a superior texture and crust.
- Rest the batter (Day 1–3)
- Optimal Rest: The batter needs at least 24 hours to rest in the refrigerator, but 48 hours is truly best for the deepest flavor development and the most consistent crust.
- Before Use: When ready to bake, remove the batter from the fridge. Give it a very gentle whisk to recombine any separated ingredients, but be careful not to create foam or incorporate air. The batter should be cold when it goes into the molds.
- Coat the molds (Bake day)
- Melt Coating: In a small saucepan or microwave-safe bowl, melt the food-grade beeswax for canele molds with the clarified butter (or ghee) over low heat or in short microwave bursts until fully liquid and combined.
- Coat Molds: Place your canelé molds (copper is ideal, but tin/aluminum work) on a wire rack set over a baking sheet. Carefully pour the melted beeswax mixture into each mold, filling it completely. Immediately pour the mixture back into the saucepan, allowing excess to drain for 5-10 seconds.
- Drain & Chill: Invert the molds onto the wire rack. The thin coating of wax will set quickly. For best results, chill the coated molds in the refrigerator or freezer for 10-15 minutes until the wax is firm.
- "Correct Coating" Cues: The molds should have a very thin, even, translucent coating. If it's too thick, gently reheat the molds in a warm oven for a minute and drain again. A proper coating is key to the canelé's signature shine and non-stick properties.
- Bake (Bake day)
- Preheat Strategy: Place a heavy-duty baking sheet (or a baking steel/stone if you have one) on the middle rack of your oven. Preheat the oven to a blazing 475°F (245°C) for at least 30-45 minutes to ensure the sheet pan and oven are thoroughly hot. This initial high heat is critical for developing the dark, crisp crust.
- Fill Molds: Remove the cold, coated molds from the fridge. Gently whisk the rested batter one last time to ensure no separation. Fill each mold to about 1 cm (½ inch) from the top. Do not overfill.
- High-Heat Start: Carefully place the filled molds onto the preheated baking sheet in the oven. Bake at 475°F (245°C) for 15 minutes.
- Lower Heat & Finish: After 15 minutes, reduce the oven temperature to 375°F (190°C) without opening the door. Continue baking for another 45-60 minutes, or until the canelés are a very dark, mahogany brown.
- Mid-bake Checkpoints:
- Rise/Settle: Canelés will often "mushroom" or rise significantly above the mold during the high-heat phase. This is normal. They should settle back down as they continue to bake. If they rise excessively and don't settle, you can gently tap the baking sheet or briefly open the oven door to release steam, but avoid doing this too often.
- Doneness Color: Don't be afraid of the dark color! A pale canelé means a soft crust. Aim for a deep, almost burnt-looking brown, which indicates a perfectly caramelized, crunchy shell.
- Prevent Pale Tops: If you notice the tops are paler than the sides, you can carefully invert the canelés in their molds for the last 10-15 minutes of baking to ensure even browning.
- Unmold + cool
- Unmold While Hot: As soon as they come out of the oven, immediately invert the molds onto a wire cooling rack. The canelés should slip out easily due to the beeswax coating. Unmolding while hot prevents them from steaming and softening their crust inside the molds.
- Cool on Rack: Allow the canelés to cool completely on the wire rack. This allows air circulation on all sides, helping to maintain their crisp shell.
- What Success Looks Like
- Shell: A truly authentic canelé boasts a dark, glossy, and crackly caramelized shell that shatters beautifully with each bite.
- Inside: The interior should be moist, custardy, and tender, with an open, slightly chewy texture – never bready or dry. The distinct aroma of rum and vanilla should be present.
You may also like


Hey there! I’m just someone who seriously loves good food and believes that cooking doesn’t have to be complicated to be amazing. Whether it’s a quick weeknight dinner or a cozy weekend meal, I’m all about sharing easy, tasty recipes that actually work.


