 | CulinaryCreationss alt=")
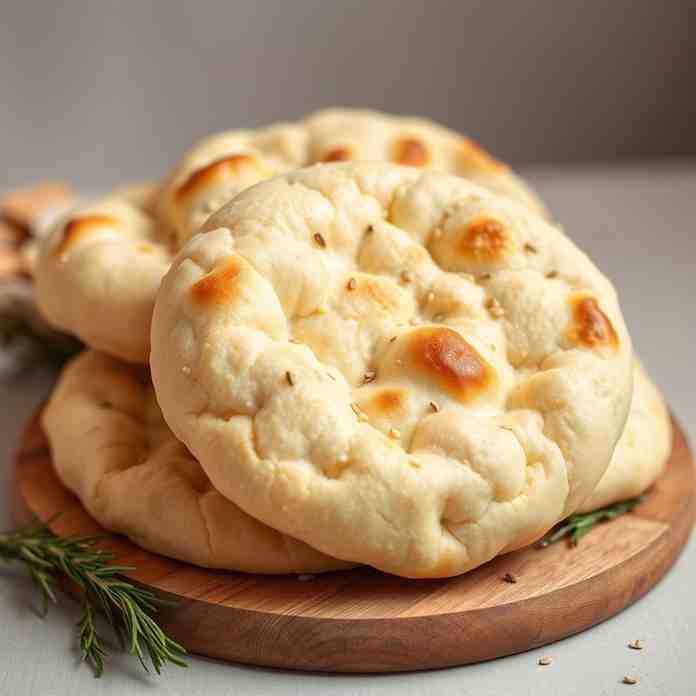
Bake the Best Homemade Pita Bread (Soft & Puffy)
Bake the Best Homemade Pita Bread (Soft & Puffy)
- Serves: 8 People
- Prepare Time: 25 minutes
- Cooking Time: 20 minutes
- Calories: -
- Difficulty: Easy
Forget tough, dry store-bought pita! Get ready to bake the best pita bread right in your own kitchen – soft, fluffy, and with those perfect, stuffable pockets you dream of. This isn't just another bread recipe; it's your new go-to for fresh baked bread that will impress everyone, from seasoned chefs to beginner bakers.
We'll walk you through every step to achieve those beautiful, puffy pockets at home. This recipe is specifically for pocket pita – the kind you can slice open and fill with all your favorite goodies. Whether you've tried making pita before and it never quite puffed, or you're a complete novice, this guide is designed for you. Get ready for a delicious journey into the world of Mediterranean diet bread that tastes incredible with just bread and olive oil.
This recipe makes true pocket pita, meaning it will puff up dramatically in the oven, creating an air pocket inside that's perfect for stuffing. Don't worry if it collapses a bit after baking; that's completely normal and desired for a pliable, foldable pita. Just a quick note: this is different from the thicker, non-pocket "Greek souvlaki pita" often used for wraps. This is all about the puff!
Ingredients
Directions
- Activate the Yeast (if using active dry): In a large mixing bowl, combine the warm water (105-115°F), granulated sugar, and yeast. Stir gently and let it sit for 5-10 minutes.
- Look for: A foamy top or active bubbles forming on the surface – this means your yeast is alive and ready! (If using instant yeast, you can often skip this step and add it directly with the flour, but activating it ensures it's good to go.)
- Mix the Dough: Add the flour, salt, and olive oil to the yeast mixture. Mix with a wooden spoon or your hands until a shaggy dough forms.
- Look for: A mixture that holds together, with no dry pockets of flour remaining in the bowl.
- Knead the Dough: Turn the dough out onto a lightly floured surface. Knead for 7-10 minutes. If using a stand mixer with a dough hook, knead for 5-7 minutes on medium-low speed.
- Look for: A smooth, elastic dough that springs back when gently poked. It should be slightly tacky but not sticky.
- First Rise: Lightly grease the mixing bowl with a little olive oil. Place the dough ball in the bowl, turning once to coat. Cover the bowl tightly with plastic wrap or a damp kitchen towel. Let it rise in a warm place for 1 to 1 ½ hours, or until doubled in size.
- Look for: The dough to be visibly doubled and airy, indicating a successful rise.
- Divide and Rest: Gently punch down the dough to release the air. Transfer it to a lightly floured surface and divide it into 8 equal pieces. Roll each piece into a smooth ball. Cover the dough balls loosely with a damp cloth and let them rest for 15-20 minutes.
- Why this matters: This resting period is crucial as it relaxes the gluten, making the dough much easier to roll out without it springing back.
- Roll Evenly: On a lightly floured surface, roll each dough ball into a thin 6-7 inch circle, about ⅛ inch thick. Aim for an even thickness across the entire circle, avoiding thick edges.
- Thickness target: About the thickness of a few stacked quarters.
- How to prevent spring-back: If the dough resists rolling, cover it and let it rest for another 5-10 minutes before trying again.
- Bake on a Fully Preheat Surface: Place a heavy baking surface (like a cast iron pan, baking steel, or an upside-down baking sheet) in your oven and preheat to 475°F (245°C) for at least 30 minutes, ideally 45-60 minutes. The surface must be screaming hot. Carefully transfer one or two pita circles directly onto the hot surface. Bake for 2-4 minutes per side.
- Bake time cues: The pita should puff up dramatically within 30-60 seconds. Bake until it's light golden with minimal browning, then flip and bake for another 1-2 minutes on the second side.
- Steam/Stack to Keep Soft: As each pita finishes baking, immediately transfer it to a plate and cover it with a clean kitchen towel. Stack the baked pitas on top of each other under the towel.
- Why this matters: The residual steam trapped under the towel keeps the pitas soft and pliable, preventing them from becoming dry or brittle.
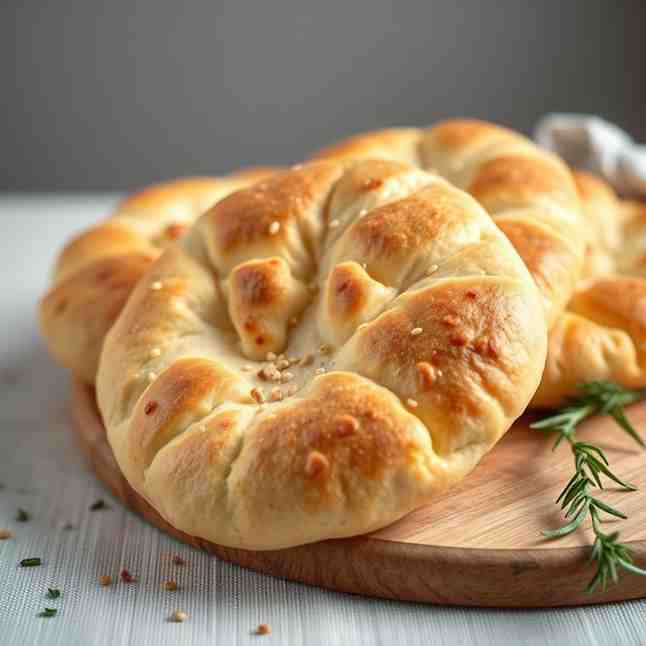
Bake the Best Homemade Pita Bread (Soft & Puffy)
.jpg)
- Serves: 8 People
- Prepare Time: 25 minutes
- Cooking Time: 20 minutes
- Calories: -
- Difficulty: Easy
Forget tough, dry store-bought pita! Get ready to bake the best pita bread right in your own kitchen – soft, fluffy, and with those perfect, stuffable pockets you dream of. This isn't just another bread recipe; it's your new go-to for fresh baked bread that will impress everyone, from seasoned chefs to beginner bakers.
We'll walk you through every step to achieve those beautiful, puffy pockets at home. This recipe is specifically for pocket pita – the kind you can slice open and fill with all your favorite goodies. Whether you've tried making pita before and it never quite puffed, or you're a complete novice, this guide is designed for you. Get ready for a delicious journey into the world of Mediterranean diet bread that tastes incredible with just bread and olive oil.
This recipe makes true pocket pita, meaning it will puff up dramatically in the oven, creating an air pocket inside that's perfect for stuffing. Don't worry if it collapses a bit after baking; that's completely normal and desired for a pliable, foldable pita. Just a quick note: this is different from the thicker, non-pocket "Greek souvlaki pita" often used for wraps. This is all about the puff!
Ingredients
Directions
- Activate the Yeast (if using active dry): In a large mixing bowl, combine the warm water (105-115°F), granulated sugar, and yeast. Stir gently and let it sit for 5-10 minutes.
- Look for: A foamy top or active bubbles forming on the surface – this means your yeast is alive and ready! (If using instant yeast, you can often skip this step and add it directly with the flour, but activating it ensures it's good to go.)
- Mix the Dough: Add the flour, salt, and olive oil to the yeast mixture. Mix with a wooden spoon or your hands until a shaggy dough forms.
- Look for: A mixture that holds together, with no dry pockets of flour remaining in the bowl.
- Knead the Dough: Turn the dough out onto a lightly floured surface. Knead for 7-10 minutes. If using a stand mixer with a dough hook, knead for 5-7 minutes on medium-low speed.
- Look for: A smooth, elastic dough that springs back when gently poked. It should be slightly tacky but not sticky.
- First Rise: Lightly grease the mixing bowl with a little olive oil. Place the dough ball in the bowl, turning once to coat. Cover the bowl tightly with plastic wrap or a damp kitchen towel. Let it rise in a warm place for 1 to 1 ½ hours, or until doubled in size.
- Look for: The dough to be visibly doubled and airy, indicating a successful rise.
- Divide and Rest: Gently punch down the dough to release the air. Transfer it to a lightly floured surface and divide it into 8 equal pieces. Roll each piece into a smooth ball. Cover the dough balls loosely with a damp cloth and let them rest for 15-20 minutes.
- Why this matters: This resting period is crucial as it relaxes the gluten, making the dough much easier to roll out without it springing back.
- Roll Evenly: On a lightly floured surface, roll each dough ball into a thin 6-7 inch circle, about ⅛ inch thick. Aim for an even thickness across the entire circle, avoiding thick edges.
- Thickness target: About the thickness of a few stacked quarters.
- How to prevent spring-back: If the dough resists rolling, cover it and let it rest for another 5-10 minutes before trying again.
- Bake on a Fully Preheat Surface: Place a heavy baking surface (like a cast iron pan, baking steel, or an upside-down baking sheet) in your oven and preheat to 475°F (245°C) for at least 30 minutes, ideally 45-60 minutes. The surface must be screaming hot. Carefully transfer one or two pita circles directly onto the hot surface. Bake for 2-4 minutes per side.
- Bake time cues: The pita should puff up dramatically within 30-60 seconds. Bake until it's light golden with minimal browning, then flip and bake for another 1-2 minutes on the second side.
- Steam/Stack to Keep Soft: As each pita finishes baking, immediately transfer it to a plate and cover it with a clean kitchen towel. Stack the baked pitas on top of each other under the towel.
- Why this matters: The residual steam trapped under the towel keeps the pitas soft and pliable, preventing them from becoming dry or brittle.
You may also like


Hey there! I’m just someone who seriously loves good food and believes that cooking doesn’t have to be complicated to be amazing. Whether it’s a quick weeknight dinner or a cozy weekend meal, I’m all about sharing easy, tasty recipes that actually work.


