
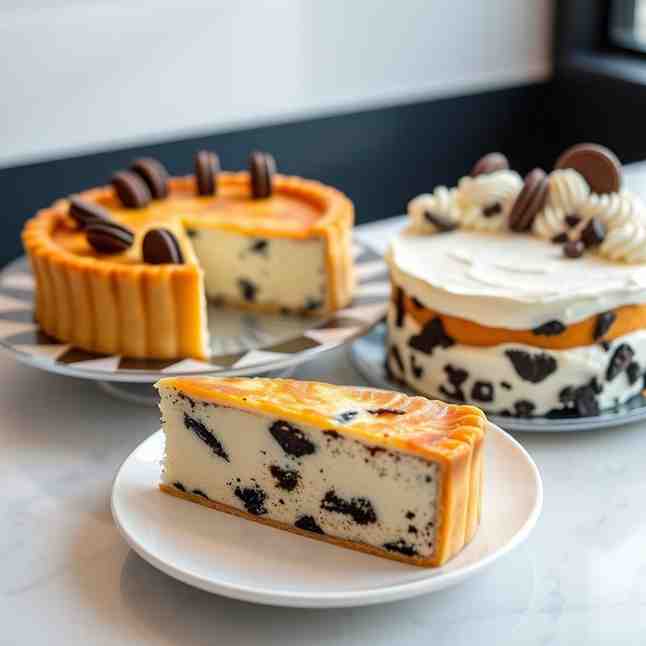
Canarian Tarta de Queso - Next Cookies & Cream Cheese Cake
Canarian Tarta de Queso - Next Cookies & Cream Cheese Cake
- Serves: 8 People
- Prepare Time: 20 minutes
- Cooking Time: 45-55 minut
- Calories: -
- Difficulty: Easy
Welcome to the world of Canarian Tarta de Queso, a dessert that will absolutely steal your heart! Imagine a cheesecake with a beautifully caramelized, almost "burnt" top, giving way to an incredibly creamy, custardy center. The best part? There’s no fussy crust to worry about, and definitely no tricky water bath needed. This isn't your typical cookies and cream cheese cake; it's a rustic, elegant, and surprisingly simple Spanish classic that's perfect for any occasion.
You'll quickly fall in love with this burnt Basque cheesecake because:
It uses just 5-ish basic ingredients, making it an ideal beginner baking project.
It's incredibly beginner-friendly, designed to look wonderfully rustic, so perfection isn't the goal.
The rich, tangy flavor is balanced by that sweet, caramelized crust.
It’s a fantastic way to explore grain free recipes if you opt for a gluten-free thickener.
It’s a showstopper dessert without any of the stress!
This "tarta de queso" (which simply means "cheesecake" in Spanish) is a beloved Spanish dessert, gaining international fame through the iconic La Viña restaurant in San Sebastián. If you've been searching for "tarta de queso" in Canarian searches, this high-heat, crustless style is precisely the iconic Spanish cheesecake people mean. It’s a delightful departure from other types of cheesecake, offering a unique texture and flavor profile that’s simply irresistible.
Ingredients
Directions
- Prep the oven + pan: Preheat your oven to a blazing 400°F (200°C) with a rack positioned in the upper-middle. Grab a 9-inch springform pan (one with tall sides, at least 3 inches high) and line it with two sheets of parchment paper. To make it easier, crumple the parchment paper first, then dampen it slightly under the tap, wring it out, and smooth it into the pan. This helps it conform to the pan's shape and ensures it rises high enough (at least 2-3 inches above the rim) to contain the cheesecake as it bakes. Place the lined springform pan on a sturdy baking sheet to catch any potential drips and make transfer easier.
- Make the batter (smooth, not whipped): In a large mixing bowl, using an electric mixer (handheld or stand mixer with paddle attachment) or a whisk, beat the softened cream cheese and sugar together on medium speed until completely smooth and creamy, about 2-3 minutes. Scrape down the sides of the bowl often. Don't incorporate too much air; we're aiming for smooth, not whipped. Add the eggs one at a time, mixing well after each addition until just combined. Next, pour in the heavy cream, vanilla extract (if using), and salt (if using), mixing until just incorporated. Finally, sprinkle in the flour (or chosen thickener) and mix on low speed until no lumps remain. Be careful not to overmix at this stage, as too much air can cause cracking. If your batter looks lumpy, strain it through a fine-mesh sieve into the prepared pan for an extra smooth result.
- Bake hot for the burnt top: Pour the smooth batter into your prepared springform pan. Carefully transfer the baking sheet with the cheesecake to the preheated oven. Bake for 45-55 minutes. What you're watching for is a deep, dark caramel-brown top – it should look truly "burnt" in spots, almost black, and the edges will be deeply set and puffed. The center should still have a significant jiggle. If the top is browning too quickly before the center seems set enough, you can loosely tent it with aluminum foil for the last 10-15 minutes. If, by the end of the baking time, the top isn't dark enough, you can quickly broil it for 1-2 minutes, watching it very closely to prevent actual burning.
- Cool + chill (the texture sets here): Once baked, remove the cheesecake from the oven. It will be very puffy and jiggly. Let it cool on the baking sheet at room temperature for at least 1-2 hours. As it cools, it will deflate significantly – this is normal! Once it has reached room temperature, transfer the cheesecake (still in the pan) to the refrigerator and chill for a minimum of 4 hours, or preferably overnight. This chilling time is absolutely crucial for the cheesecake to fully set and achieve its characteristic creamy, custardy texture.
- Serve (best texture + clean slices): To serve, carefully remove the springform pan sides and peel away the parchment paper. For the best texture, let the cheesecake sit at room temperature for about 30 minutes before slicing. Use a sharp knife, wiping it clean with a damp cloth after each slice for the cleanest cuts.
Canarian Tarta de Queso - Next Cookies & Cream Cheese Cake
- Serves: 8 People
- Prepare Time: 20 minutes
- Cooking Time: 45-55 minut
- Calories: -
- Difficulty: Easy
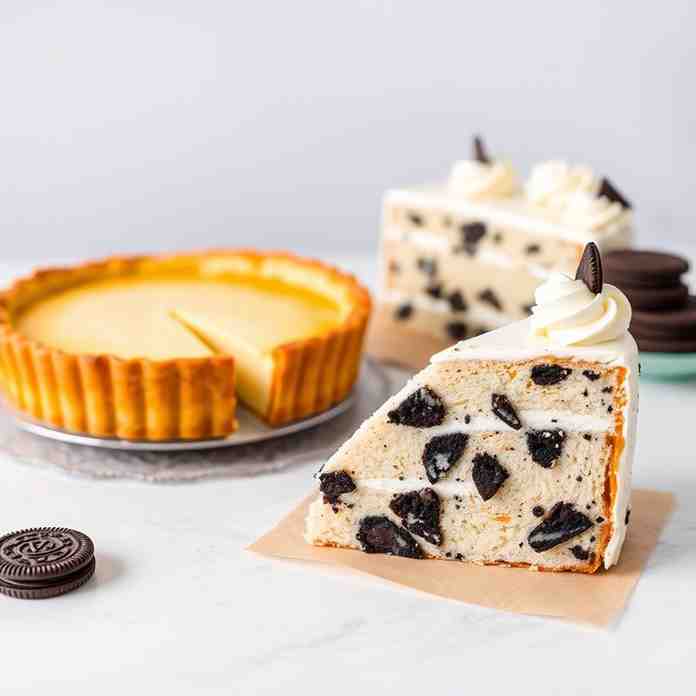
Welcome to the world of Canarian Tarta de Queso, a dessert that will absolutely steal your heart! Imagine a cheesecake with a beautifully caramelized, almost "burnt" top, giving way to an incredibly creamy, custardy center. The best part? There’s no fussy crust to worry about, and definitely no tricky water bath needed. This isn't your typical cookies and cream cheese cake; it's a rustic, elegant, and surprisingly simple Spanish classic that's perfect for any occasion.
You'll quickly fall in love with this burnt Basque cheesecake because:
It uses just 5-ish basic ingredients, making it an ideal beginner baking project.
It's incredibly beginner-friendly, designed to look wonderfully rustic, so perfection isn't the goal.
The rich, tangy flavor is balanced by that sweet, caramelized crust.
It’s a fantastic way to explore grain free recipes if you opt for a gluten-free thickener.
It’s a showstopper dessert without any of the stress!
This "tarta de queso" (which simply means "cheesecake" in Spanish) is a beloved Spanish dessert, gaining international fame through the iconic La Viña restaurant in San Sebastián. If you've been searching for "tarta de queso" in Canarian searches, this high-heat, crustless style is precisely the iconic Spanish cheesecake people mean. It’s a delightful departure from other types of cheesecake, offering a unique texture and flavor profile that’s simply irresistible.
Ingredients
Directions
- Prep the oven + pan: Preheat your oven to a blazing 400°F (200°C) with a rack positioned in the upper-middle. Grab a 9-inch springform pan (one with tall sides, at least 3 inches high) and line it with two sheets of parchment paper. To make it easier, crumple the parchment paper first, then dampen it slightly under the tap, wring it out, and smooth it into the pan. This helps it conform to the pan's shape and ensures it rises high enough (at least 2-3 inches above the rim) to contain the cheesecake as it bakes. Place the lined springform pan on a sturdy baking sheet to catch any potential drips and make transfer easier.
- Make the batter (smooth, not whipped): In a large mixing bowl, using an electric mixer (handheld or stand mixer with paddle attachment) or a whisk, beat the softened cream cheese and sugar together on medium speed until completely smooth and creamy, about 2-3 minutes. Scrape down the sides of the bowl often. Don't incorporate too much air; we're aiming for smooth, not whipped. Add the eggs one at a time, mixing well after each addition until just combined. Next, pour in the heavy cream, vanilla extract (if using), and salt (if using), mixing until just incorporated. Finally, sprinkle in the flour (or chosen thickener) and mix on low speed until no lumps remain. Be careful not to overmix at this stage, as too much air can cause cracking. If your batter looks lumpy, strain it through a fine-mesh sieve into the prepared pan for an extra smooth result.
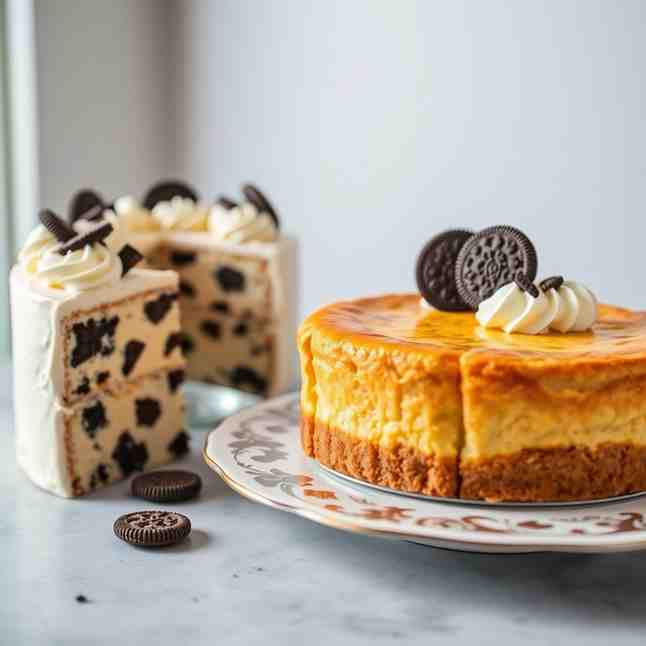
- Bake hot for the burnt top: Pour the smooth batter into your prepared springform pan. Carefully transfer the baking sheet with the cheesecake to the preheated oven. Bake for 45-55 minutes. What you're watching for is a deep, dark caramel-brown top – it should look truly "burnt" in spots, almost black, and the edges will be deeply set and puffed. The center should still have a significant jiggle. If the top is browning too quickly before the center seems set enough, you can loosely tent it with aluminum foil for the last 10-15 minutes. If, by the end of the baking time, the top isn't dark enough, you can quickly broil it for 1-2 minutes, watching it very closely to prevent actual burning.
- Cool + chill (the texture sets here): Once baked, remove the cheesecake from the oven. It will be very puffy and jiggly. Let it cool on the baking sheet at room temperature for at least 1-2 hours. As it cools, it will deflate significantly – this is normal! Once it has reached room temperature, transfer the cheesecake (still in the pan) to the refrigerator and chill for a minimum of 4 hours, or preferably overnight. This chilling time is absolutely crucial for the cheesecake to fully set and achieve its characteristic creamy, custardy texture.
- Serve (best texture + clean slices): To serve, carefully remove the springform pan sides and peel away the parchment paper. For the best texture, let the cheesecake sit at room temperature for about 30 minutes before slicing. Use a sharp knife, wiping it clean with a damp cloth after each slice for the cleanest cuts.
You may also like


Hey there! I’m just someone who seriously loves good food and believes that cooking doesn’t have to be complicated to be amazing. Whether it’s a quick weeknight dinner or a cozy weekend meal, I’m all about sharing easy, tasty recipes that actually work.


