
Crispy Medhu Vada - Easy Snack Recipes to Make at Home
Crispy Medhu Vada - Easy Snack Recipes to Make at Home


- Serves: 4 People
- Prepare Time: 15 minutes
- Cooking Time: 25 minutes
- Calories: -
- Difficulty: Medium
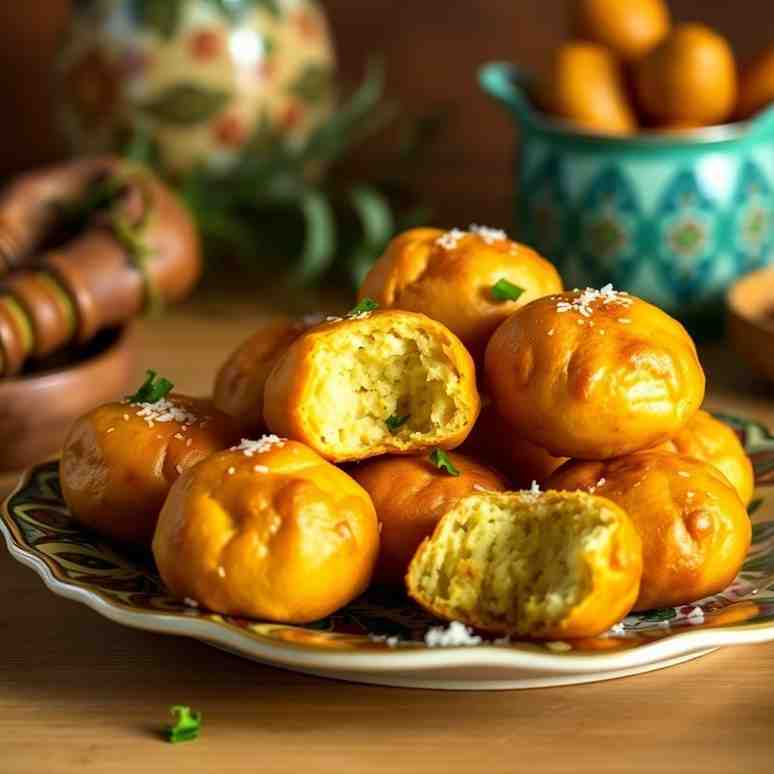
Craving a taste of South India right in your kitchen? Get ready to make the most incredible Crispy Medhu Vada! These traditional, donut-shaped lentil fritters, made from urad dal, are a beloved easy snack recipe to make at home. We're talking about an irresistible combination: an ultra-crispy outside that gives way to a wonderfully fluffy, soft inside. You might know them by other names like medu vada, medhu vadai, ulundu vadai, or uzhunnu vada, but no matter what you call them, the result is pure deliciousness. Don't worry if you're new to Indian cooking or deep-frying – you don't need fancy restaurant equipment! We’ll walk you through every single step, from soaking the lentils to perfecting that golden crunch, and even help you fix common mistakes along the way. Get ready to impress yourself and your family with these homemade yummy snacks to make at home!
Ingredients
Directions
- Soak and Prep the LentilsThoroughly rinse the urad dal and raw rice together under cold running water until the water runs completely clear. This removes any impurities and excess starch. Place the rinsed dal and rice in a large bowl, cover with plenty of fresh water, and let them soak for about 4 to 5 hours. This soaking time is crucial for soft grinding and a fluffy batter. Once soaked, drain the dal and rice completely using a colander. Make sure there’s no excess water clinging to the lentils, as this can ruin the batter's consistency.
- Grind a Thick, Fluffy BatterTransfer the drained dal and rice to a blender (or wet grinder, if you have one). Begin grinding in short bursts, scraping down the sides of the blender jar as needed. The key is to add very little ice-cold water – only 1-2 teaspoons at a time – just enough to keep the blades moving and ensure a smooth paste. Using ice-cold water helps keep the batter cool and prevents it from getting too hot, which can affect the texture. Continue grinding until the batter is smooth, pale, and thick. It should fall in soft clumps, not pour like pancake batter. If using a wet grinder, you'll naturally use less water and it will grind faster, but the goal is the same thick, airy consistency.
- Aerate and Season the BatterScoop the ground batter into a large mixing bowl. Now, it's time to aerate! Using your hand, vigorously beat the batter for 30 to 60 seconds. This incorporates air, making the vadas lighter and fluffier. To check if it’s ready, perform a float test: drop a small spoonful of batter into a bowl of water. If it floats to the top, it's sufficiently aerated. If it sinks, beat it for another 30 seconds and test again. Once aerated, gently fold in the salt, chopped green chilies, grated ginger, chopped curry leaves, crushed black peppercorns (if using), chopped onion or shallots (if using), and asafoetida (if using). Mix gently to combine without deflating the airy batter.
- Heat the Oil for Deep FryingPour 2-3 inches of neutral oil into a deep, heavy pot or kadai. Place it over medium heat. Use an instant-read thermometer to heat the oil to about 340–360°F (170–182°C). If you don't have a thermometer, you can test the oil by dropping a tiny piece of batter into it; it should sizzle immediately and float to the surface within a few seconds. Ensure the oil isn't smoking (too hot) or barely bubbling (too cool). Always be cautious when working with hot oil – ensure no water drips into it, and never fill your pot more than halfway with oil.
- Shape the Medhu VadasKeep a small bowl of water nearby to dampen your hands frequently.
- Classic Method (with hole): Lightly dampen your hands. Scoop a small, lemon-sized ball of batter into your palm. Gently flatten it slightly, then use your thumb to poke a hole in the center. Carefully slide the shaped vada into the hot oil.
- Beginner-Friendly Option (mini fritters): If the donut shape feels intimidating, simply drop small scoops of batter directly from a spoon or your fingers into the hot oil. They'll be mini fritters, but just as delicious!
- Fry Until Golden and CrispFry a few vadas at a time, making sure not to overcrowd the pot, which can lower the oil temperature and lead to soggy vadas. Turn them once or twice with a slotted spoon or spider to ensure even cooking. They will take approximately 4-6 minutes per batch, depending on their size and oil temperature. Look for a pale to deep golden-brown color, and you'll notice the bubbles around them reducing as they cook. A finished vada will also feel lighter when lifted. For your first batch, break one open to check for doneness inside and adjust your oil temperature or frying time as needed.
- Drain and Keep Them CrispyOnce golden and crisp, remove the fried vadas from the oil using a slotted spoon. Transfer them to a wire rack placed over a baking tray. This allows excess oil to drip off and air to circulate, keeping them crispier than if they were placed directly on paper towels. If you're making a large batch for a party, you can keep the finished vadas warm and crisp in a 200°F (90–95°C) oven until serving time.
Crispy Medhu Vada - Easy Snack Recipes to Make at Home

- Serves: 4 People
- Prepare Time: 15 minutes
- Cooking Time: 25 minutes
- Calories: -
- Difficulty: Medium
Craving a taste of South India right in your kitchen? Get ready to make the most incredible Crispy Medhu Vada! These traditional, donut-shaped lentil fritters, made from urad dal, are a beloved easy snack recipe to make at home. We're talking about an irresistible combination: an ultra-crispy outside that gives way to a wonderfully fluffy, soft inside. You might know them by other names like medu vada, medhu vadai, ulundu vadai, or uzhunnu vada, but no matter what you call them, the result is pure deliciousness. Don't worry if you're new to Indian cooking or deep-frying – you don't need fancy restaurant equipment! We’ll walk you through every single step, from soaking the lentils to perfecting that golden crunch, and even help you fix common mistakes along the way. Get ready to impress yourself and your family with these homemade yummy snacks to make at home!
Ingredients
Directions
- Soak and Prep the LentilsThoroughly rinse the urad dal and raw rice together under cold running water until the water runs completely clear. This removes any impurities and excess starch. Place the rinsed dal and rice in a large bowl, cover with plenty of fresh water, and let them soak for about 4 to 5 hours. This soaking time is crucial for soft grinding and a fluffy batter. Once soaked, drain the dal and rice completely using a colander. Make sure there’s no excess water clinging to the lentils, as this can ruin the batter's consistency.
- Grind a Thick, Fluffy BatterTransfer the drained dal and rice to a blender (or wet grinder, if you have one). Begin grinding in short bursts, scraping down the sides of the blender jar as needed. The key is to add very little ice-cold water – only 1-2 teaspoons at a time – just enough to keep the blades moving and ensure a smooth paste. Using ice-cold water helps keep the batter cool and prevents it from getting too hot, which can affect the texture. Continue grinding until the batter is smooth, pale, and thick. It should fall in soft clumps, not pour like pancake batter. If using a wet grinder, you'll naturally use less water and it will grind faster, but the goal is the same thick, airy consistency.
- Aerate and Season the BatterScoop the ground batter into a large mixing bowl. Now, it's time to aerate! Using your hand, vigorously beat the batter for 30 to 60 seconds. This incorporates air, making the vadas lighter and fluffier. To check if it’s ready, perform a float test: drop a small spoonful of batter into a bowl of water. If it floats to the top, it's sufficiently aerated. If it sinks, beat it for another 30 seconds and test again. Once aerated, gently fold in the salt, chopped green chilies, grated ginger, chopped curry leaves, crushed black peppercorns (if using), chopped onion or shallots (if using), and asafoetida (if using). Mix gently to combine without deflating the airy batter.
- Heat the Oil for Deep FryingPour 2-3 inches of neutral oil into a deep, heavy pot or kadai. Place it over medium heat. Use an instant-read thermometer to heat the oil to about 340–360°F (170–182°C). If you don't have a thermometer, you can test the oil by dropping a tiny piece of batter into it; it should sizzle immediately and float to the surface within a few seconds. Ensure the oil isn't smoking (too hot) or barely bubbling (too cool). Always be cautious when working with hot oil – ensure no water drips into it, and never fill your pot more than halfway with oil.
- Shape the Medhu VadasKeep a small bowl of water nearby to dampen your hands frequently.
- Classic Method (with hole): Lightly dampen your hands. Scoop a small, lemon-sized ball of batter into your palm. Gently flatten it slightly, then use your thumb to poke a hole in the center. Carefully slide the shaped vada into the hot oil.
- Beginner-Friendly Option (mini fritters): If the donut shape feels intimidating, simply drop small scoops of batter directly from a spoon or your fingers into the hot oil. They'll be mini fritters, but just as delicious!
- Fry Until Golden and CrispFry a few vadas at a time, making sure not to overcrowd the pot, which can lower the oil temperature and lead to soggy vadas. Turn them once or twice with a slotted spoon or spider to ensure even cooking. They will take approximately 4-6 minutes per batch, depending on their size and oil temperature. Look for a pale to deep golden-brown color, and you'll notice the bubbles around them reducing as they cook. A finished vada will also feel lighter when lifted. For your first batch, break one open to check for doneness inside and adjust your oil temperature or frying time as needed.
- Drain and Keep Them CrispyOnce golden and crisp, remove the fried vadas from the oil using a slotted spoon. Transfer them to a wire rack placed over a baking tray. This allows excess oil to drip off and air to circulate, keeping them crispier than if they were placed directly on paper towels. If you're making a large batch for a party, you can keep the finished vadas warm and crisp in a 200°F (90–95°C) oven until serving time.
You may also like


Hey there! I’m just someone who seriously loves good food and believes that cooking doesn’t have to be complicated to be amazing. Whether it’s a quick weeknight dinner or a cozy weekend meal, I’m all about sharing easy, tasty recipes that actually work.


