
Easy Basic Loaf Bread Recipe
Easy Basic Loaf Bread Recipe
- Serves: 12 People
- Prepare Time: 25 minutes
- Cooking Time: 35 minutes
- Calories: -
- Difficulty: Easy
Welcome to the wonderful world of homemade bread! If you've ever dreamed of baking your own basic bread recipe but felt intimidated, you're in the right place. This easy basic bread recipe for a soft, sliceable white loaf is designed specifically for beginners, proving that making delicious bread from scratch isn't just for seasoned bakers. Get ready to fill your kitchen with that irresistible aroma and enjoy the incredible satisfaction of pulling a warm, golden loaf from your oven.
There's nothing quite like fresh, homemade bread, and this recipe makes it incredibly approachable:
Only basic pantry ingredients – no milk, eggs, or special flours needed. You likely have everything on hand right now!
Perfect for first-time bread makers whether you prefer to knead by hand or with a stand mixer.
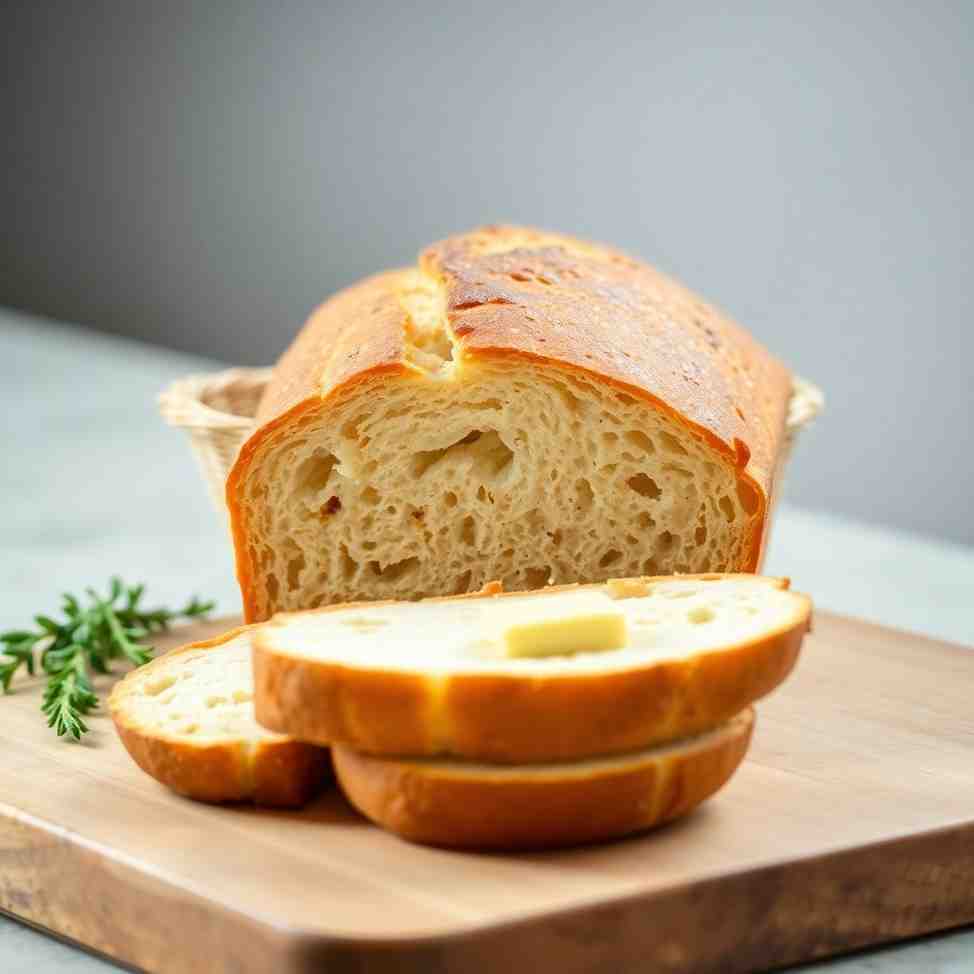
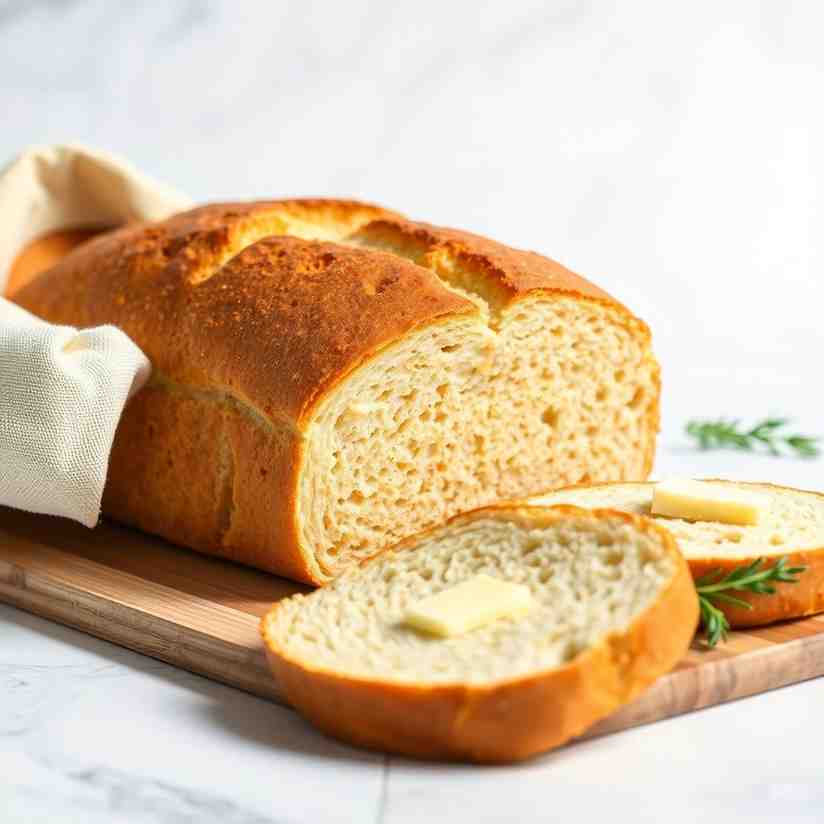
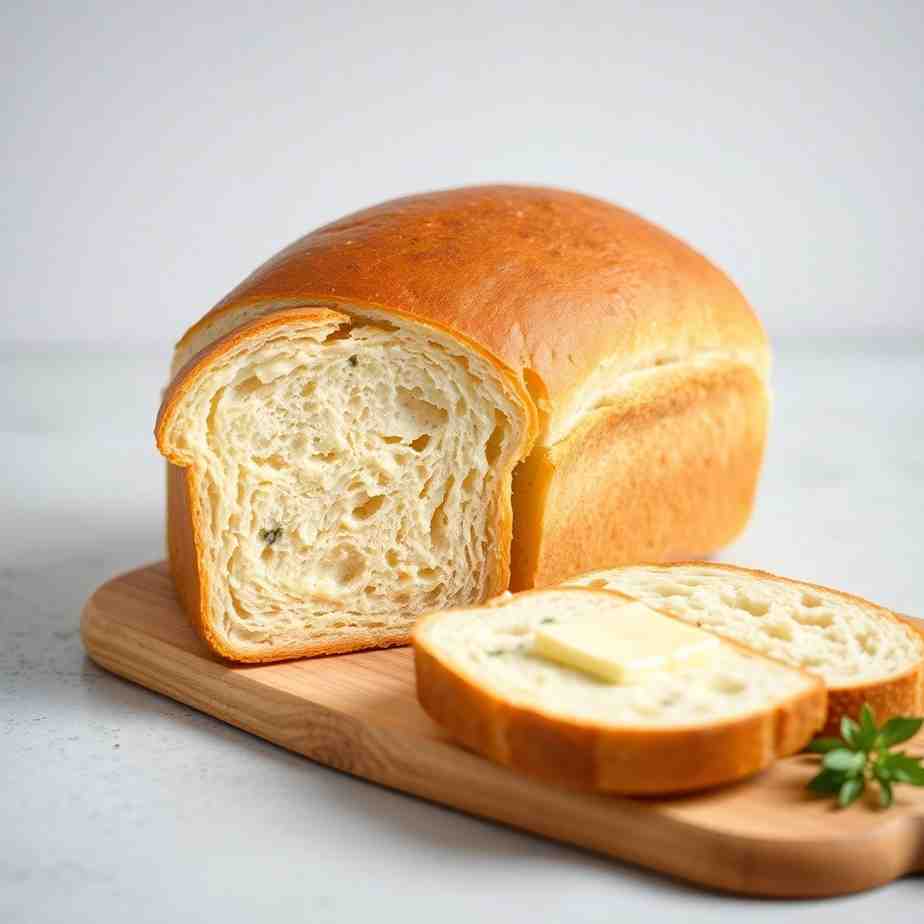
Soft, sliceable loaf that's ideal for sandwiches, toast, or simply slathered with butter.
Make-and-freeze friendly so you can bake once and enjoy fresh bread all week long.
Before we dive into the full recipe, here’s a quick overview of the essential steps that make up every great loaf:
1. Activate the yeast: This crucial first step ensures your yeast is alive and ready to make your bread rise. You'll know it's healthy when it forms a foamy, creamy layer on top of the warm water.
2. Build the dough: Gradually add flour until your dough comes together. The key is to achieve a soft, slightly sticky texture not dry and stiff.
3. Let it rise: This is where the magic happens! Your dough will "double in size," becoming rounded and puffy. We'll give you visual cues and typical time ranges so you know exactly what to look for.
4. Shape, rise again, and bake: Learn how to shape your dough into a tight, beautiful loaf, let it proof a second time in the pan, and then bake it to golden perfection. We'll show you how to check for doneness, including that satisfying hollow sound when tapped.
Ingredients
Directions
- Proof the Yeast In a large mixing bowl, stir together the warm water, yeast, and a pinch of the sugar (about 1 teaspoon). Let it sit undisturbed for 5-10 minutes. You're looking for a foamy cap to form on the surface, indicating the yeast is active and healthy. It should also have a mild, yeasty smell.
- Mini callout: If nothing happens and no foam appears, your water might have been too cold or too hot, or your yeast might be old. Stop and grab fresh yeast!
- Mix the Dough Once your yeast is proofed, add the remaining sugar, oil, and 2 cups of the flour to the bowl. Stir well with a wooden spoon or spatula until a thick batter forms. Gradually add the remaining flour, about ½ cup at a time, mixing until the dough starts to pull away from the sides of the bowl.
- Feel cue: The dough should be soft and slightly tacky, but it shouldn't glue itself to your clean finger. Add more flour, 1 tablespoon at a time, if it's too sticky.
- Knead Until Smooth and Springy Turn the dough out onto a lightly floured surface. Knead by hand for 5-8 minutes, or use a stand mixer with a dough hook on medium-low speed for 4-5 minutes.
- Sensory description: As you knead, the dough will transform from shaggy to smooth, elastic, and springy. It should spring back slowly when gently poked.
- Optional mini "windowpane test": Gently stretch a small piece of dough. If you can stretch it thin enough to see light through it without tearing, it's ready!
- First Rise (Let the Dough Double) Lightly oil a clean bowl. Place the kneaded dough in the bowl, turning it once to coat all sides with oil. Cover the bowl tightly with plastic wrap or a clean kitchen towel. Let it rise in a warm spot (like a slightly warm oven that's turned off, or a sunny windowsill) until it has doubled in size.
- Visual cues: The dough should look rounded and puffy, and a fingertip dent should stay visible when poked. This typically takes 1 to 1.5 hours in a warm kitchen, or up to 2 hours in a cooler environment.
- Shape the Loaf Once doubled, gently punch down the dough to release the air. Turn it out onto a lightly floured surface. Gently press the dough into a rectangle about the width of your loaf pan. Starting from one of the short sides, tightly roll up the dough into a log. Pinch the seam closed firmly and tuck the ends under if needed to create a smooth, taut surface. Place the shaped loaf seam-side down into a lightly greased 9x5-inch loaf pan.
- Second Rise (Proof in the Pan) Cover the loaf pan lightly with plastic wrap or a kitchen towel. Let it rise again in a warm spot until the dough crowns about 1 inch above the rim of the pan. This usually takes 30-45 minutes.
- Warning about over-proofing: Keep an eye on it! If the dough starts to spill over the edges or wrinkle, it’s gone too far. An over-proofed loaf might collapse in the oven.
- Bake the Bread While the loaf is on its second rise, preheat your oven to 375°F (190°C). Position an oven rack in the middle. Once the loaf has risen sufficiently, bake for 30-40 minutes.
- Visual cues: The top should be a deep, golden brown. When you tap the bottom of the loaf, it should sound hollow. For ultimate certainty, an instant-read thermometer inserted into the center of the loaf should read 200-210°F (93-99°C).
- Immediately remove the bread from the pan and place it on a wire rack to cool. If desired, brush the top with melted butter for a softer crust and extra flavor.
- Cool, Slice, and ServeAllow the bread to cool on the wire rack for at least 15-20 minutes before slicing. This is important because the steam inside the loaf continues to cook the crumb, resulting in a better texture. Slicing too early can lead to a gummy interior. Once cooled, slice to your desired thickness and enjoy! It's perfect for sandwiches, toast, or alongside your favorite meal.
Easy Basic Loaf Bread Recipe
- Serves: 12 People
- Prepare Time: 25 minutes
- Cooking Time: 35 minutes
- Calories: -
- Difficulty: Easy
Welcome to the wonderful world of homemade bread! If you've ever dreamed of baking your own basic bread recipe but felt intimidated, you're in the right place. This easy basic bread recipe for a soft, sliceable white loaf is designed specifically for beginners, proving that making delicious bread from scratch isn't just for seasoned bakers. Get ready to fill your kitchen with that irresistible aroma and enjoy the incredible satisfaction of pulling a warm, golden loaf from your oven.
There's nothing quite like fresh, homemade bread, and this recipe makes it incredibly approachable:
Only basic pantry ingredients – no milk, eggs, or special flours needed. You likely have everything on hand right now!
Perfect for first-time bread makers whether you prefer to knead by hand or with a stand mixer.
Soft, sliceable loaf that's ideal for sandwiches, toast, or simply slathered with butter.
Make-and-freeze friendly so you can bake once and enjoy fresh bread all week long.
Before we dive into the full recipe, here’s a quick overview of the essential steps that make up every great loaf:
1. Activate the yeast: This crucial first step ensures your yeast is alive and ready to make your bread rise. You'll know it's healthy when it forms a foamy, creamy layer on top of the warm water.
2. Build the dough: Gradually add flour until your dough comes together. The key is to achieve a soft, slightly sticky texture not dry and stiff.
3. Let it rise: This is where the magic happens! Your dough will "double in size," becoming rounded and puffy. We'll give you visual cues and typical time ranges so you know exactly what to look for.
4. Shape, rise again, and bake: Learn how to shape your dough into a tight, beautiful loaf, let it proof a second time in the pan, and then bake it to golden perfection. We'll show you how to check for doneness, including that satisfying hollow sound when tapped.
Ingredients
Directions
- Proof the Yeast In a large mixing bowl, stir together the warm water, yeast, and a pinch of the sugar (about 1 teaspoon). Let it sit undisturbed for 5-10 minutes. You're looking for a foamy cap to form on the surface, indicating the yeast is active and healthy. It should also have a mild, yeasty smell.
- Mini callout: If nothing happens and no foam appears, your water might have been too cold or too hot, or your yeast might be old. Stop and grab fresh yeast!
- Mix the Dough Once your yeast is proofed, add the remaining sugar, oil, and 2 cups of the flour to the bowl. Stir well with a wooden spoon or spatula until a thick batter forms. Gradually add the remaining flour, about ½ cup at a time, mixing until the dough starts to pull away from the sides of the bowl.
- Feel cue: The dough should be soft and slightly tacky, but it shouldn't glue itself to your clean finger. Add more flour, 1 tablespoon at a time, if it's too sticky.
- Knead Until Smooth and Springy Turn the dough out onto a lightly floured surface. Knead by hand for 5-8 minutes, or use a stand mixer with a dough hook on medium-low speed for 4-5 minutes.
- Sensory description: As you knead, the dough will transform from shaggy to smooth, elastic, and springy. It should spring back slowly when gently poked.
- Optional mini "windowpane test": Gently stretch a small piece of dough. If you can stretch it thin enough to see light through it without tearing, it's ready!
- First Rise (Let the Dough Double) Lightly oil a clean bowl. Place the kneaded dough in the bowl, turning it once to coat all sides with oil. Cover the bowl tightly with plastic wrap or a clean kitchen towel. Let it rise in a warm spot (like a slightly warm oven that's turned off, or a sunny windowsill) until it has doubled in size.
- Visual cues: The dough should look rounded and puffy, and a fingertip dent should stay visible when poked. This typically takes 1 to 1.5 hours in a warm kitchen, or up to 2 hours in a cooler environment.
- Shape the Loaf Once doubled, gently punch down the dough to release the air. Turn it out onto a lightly floured surface. Gently press the dough into a rectangle about the width of your loaf pan. Starting from one of the short sides, tightly roll up the dough into a log. Pinch the seam closed firmly and tuck the ends under if needed to create a smooth, taut surface. Place the shaped loaf seam-side down into a lightly greased 9x5-inch loaf pan.
- Second Rise (Proof in the Pan) Cover the loaf pan lightly with plastic wrap or a kitchen towel. Let it rise again in a warm spot until the dough crowns about 1 inch above the rim of the pan. This usually takes 30-45 minutes.
- Warning about over-proofing: Keep an eye on it! If the dough starts to spill over the edges or wrinkle, it’s gone too far. An over-proofed loaf might collapse in the oven.
- Bake the Bread While the loaf is on its second rise, preheat your oven to 375°F (190°C). Position an oven rack in the middle. Once the loaf has risen sufficiently, bake for 30-40 minutes.
- Visual cues: The top should be a deep, golden brown. When you tap the bottom of the loaf, it should sound hollow. For ultimate certainty, an instant-read thermometer inserted into the center of the loaf should read 200-210°F (93-99°C).
- Immediately remove the bread from the pan and place it on a wire rack to cool. If desired, brush the top with melted butter for a softer crust and extra flavor.
- Cool, Slice, and ServeAllow the bread to cool on the wire rack for at least 15-20 minutes before slicing. This is important because the steam inside the loaf continues to cook the crumb, resulting in a better texture. Slicing too early can lead to a gummy interior. Once cooled, slice to your desired thickness and enjoy! It's perfect for sandwiches, toast, or alongside your favorite meal.
The following nutritional values are per serving (one piece of cake) Calories ~180-220 per serving (1 slice) Carbohydrates ~35-40g per serving Protein ~6-8g per serving Fat ~2-4g per serving Making homemade bread should be a joyful experience, not a chore! While this recipe is designed to be simple with basic tools, a few smart additions can make the process even quicker and smoother, especially if you're baking regularly. Problem: Kneading dough by hand can be a real workout, taking 8-10 minutes of continuous effort. For beginners, it's also hard to tell if you've kneaded enough. Problem: Measuring flour and other dry ingredients by volume (cups) can be notoriously inaccurate due to varying compaction. Too much flour leads to dry, stiff dough; too little makes it sticky and hard to handle. Problem: Active dry yeast often requires a proofing step—mixing it with warm water and sugar to "activate" it before adding to the rest of the ingredients. This adds an extra 5-10 minutes and a moment of anxiety wondering if your yeast is still alive. Click any ingredient for detailed nutritional information:Recipe Nutritional Values
Additional Information
Recipe Success Tips
Common Problems & Troubleshooting (Beginner Troubleshooting)
Ingredient Substitutions & Simple Variations
Storing at Room Temperature
Refrigerating & Freezing the Loaf
Make-Ahead Options (Same Recipe)
Frequently Asked Questions
Recommended Kitchen Tools
Stand Mixer with Dough Hook
Agitate: This can lead to tired arms, inconsistent dough development, and potentially a dense loaf if the gluten isn't properly formed.
Solution: A stand mixer fitted with a dough hook does all the heavy lifting for you! It kneads the dough perfectly in just 4-5 minutes, ensuring optimal gluten development with minimal effort on your part.Digital Kitchen Scale
Agitate: Inaccurate measurements are a common cause of bread-making frustrations, leading to inconsistent results and wasted ingredients.
Solution: A digital kitchen scale measures ingredients by weight (grams or ounces), providing precise and repeatable results every single time. This ensures your dough has the perfect hydration for a soft, airy crumb.Instant Yeast
Agitate: Waiting for your yeast to foam can be a drag, and if it doesn't, you have to start all over again.
Solution: Instant yeast is designed to be added directly to your dry ingredients without prior proofing. This shaves off a step and some waiting time, getting you to the kneading stage faster. Just make sure your water is still warm enough!Calories per Ingredient
Resources & References
You may also like


Hey there! I’m just someone who seriously loves good food and believes that cooking doesn’t have to be complicated to be amazing. Whether it’s a quick weeknight dinner or a cozy weekend meal, I’m all about sharing easy, tasty recipes that actually work.


