
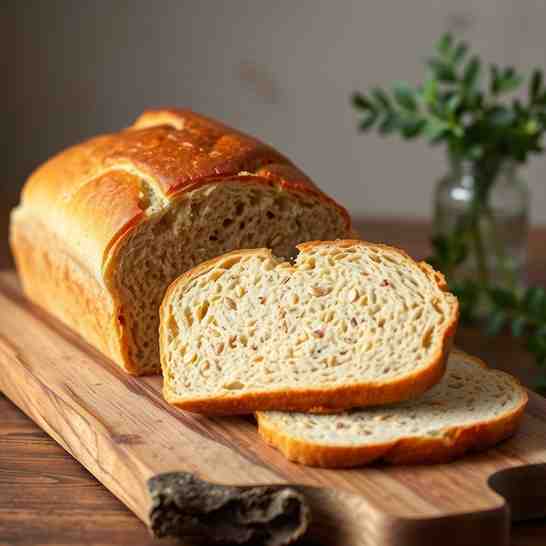
Easy Millet Flour Bread - Soft, Gluten-Free & Delicious Loaf
Easy Millet Flour Bread - Soft, Gluten-Free & Delicious Loaf
- Serves: 12 People
- Prepare Time: 20 minutes
- Cooking Time: 85 minutes
- Calories: -
- Difficulty: Easy
Are you ready to dive into the wonderful world of `millet flour bread`? If you're looking for a soft, delicious, and naturally gluten-free loaf, you've come to the right place! This `easy millet bread` recipe is designed for everyone, from `cooking for beginners` to seasoned bakers. Forget complicated techniques; we’re going to show you how to `make your own bread` with `millet flour` that's perfect for sandwiches, toast, or just enjoying plain. This isn't just another `recipe for the bread`; it's the definitive guide to creating a beautiful, wholesome loaf using `simple recipes using flour`. Get ready to enjoy the nutty goodness of millet in every slice!
Ingredients
Directions
- Equipment You'll Need:
- 9×5-inch metal loaf pan: This standard size is perfect for our recipe.
- Large mixing bowl: You'll need plenty of space to get everything combined.
- Whisk and sturdy spoon: Essential for mixing. A hand mixer with dough hooks is optional but can make things a bit easier.
- Kitchen scale (recommended) and measuring cups: A scale is best for accuracy, especially in gluten-free baking, but cups work too.
- Parchment paper & cooking spray: Helps your loaf release easily from the pan.
- Instant-read thermometer (helpful but optional): Great for checking if your bread is perfectly baked, but not a must-have for beginners.
- Let's Get Baking!
- Mix the Psyllium GelIn your large mixing bowl, combine the whole psyllium husk with the warm water, vinegar, and oil. Give it a good whisk. You’ll notice it starts to thicken quickly into a thick gel, similar to the consistency of applesauce. Let this mixture sit for about 5-10 minutes to fully hydrate. This step is crucial for the bread's structure!
- Mix the Dry IngredientsWhile the psyllium gel is doing its thing, grab a separate bowl. Add the millet flour, sugar, salt, yeast, and baking powder. Use your whisk to combine everything thoroughly, making sure to break up any flour clumps. Accurate measuring here helps ensure the best results.
- Bring the Dough TogetherNow, pour the psyllium gel mixture directly into the bowl with your dry ingredients. Using your sturdy spoon (or a hand mixer), mix everything together until there are no dry pockets of flour left. The dough will be quite thick, like a very thick batter or a soft, sticky dough that’s spreadable, not kneadable like traditional wheat dough. It will be sticky, but resist the urge to add more flour!
- Pan, Smooth, and ProofLine your 9×5-inch loaf pan with parchment paper, leaving an overhang on the long sides to help lift the bread out later, then give it a light spray with cooking spray. Transfer your sticky dough into the prepared pan. Use a wet spatula or wet hands to gently spread and smooth the top of the dough evenly. Cover the pan loosely with plastic wrap or a damp kitchen towel and let it rise in a warm, draft-free spot. It should rise until it's just below the rim of the pan, typically taking about 60-90 minutes, depending on your kitchen's warmth.
- Bake the LoafWhile your bread is proofing, preheat your oven to the specified temperature (usually around 375°F or 190°C). Once the oven is hot and your bread has risen, carefully place the loaf pan into the preheated oven. Bake for a range of time, typically 75–90 minutes. You'll know it's done when the internal temperature reaches around 200-210°F (93-99°C), the crust is golden brown, and if you tap the bottom of the loaf (carefully, with an oven mitt!), it sounds hollow.
- Cool and SliceThis step is super important, so don't skip it! Once baked, remove the loaf from the oven and immediately take it out of the pan using the parchment paper overhang. Transfer it to a wire rack and let it cool completely before you even think about slicing it. This can take 1-2 hours. Cooling fully prevents the bread from becoming gummy. Once cool, slice it with a serrated knife for perfect sandwiches or thicker slices for toast.
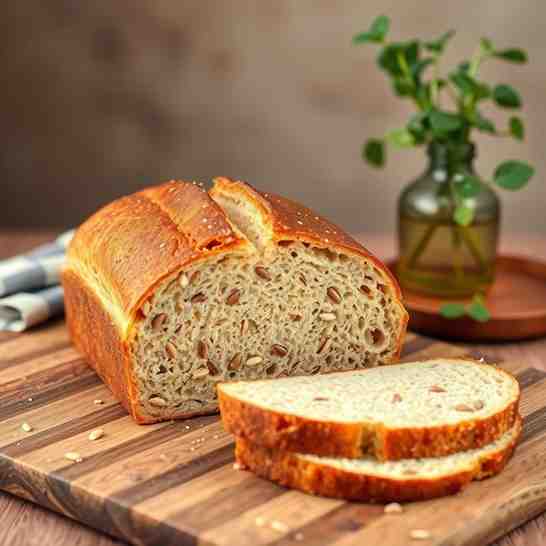
You may also like


Hey there! I’m just someone who seriously loves good food and believes that cooking doesn’t have to be complicated to be amazing. Whether it’s a quick weeknight dinner or a cozy weekend meal, I’m all about sharing easy, tasty recipes that actually work.


