
Homemade Gira - Easy Fermented Probiotic Drink
Homemade Gira - Easy Fermented Probiotic Drink

- Serves: 8 People
- Prepare Time: 15 minutes
- Cooking Time: 1 hour (Ste
- Calories: -
- Difficulty: Easy
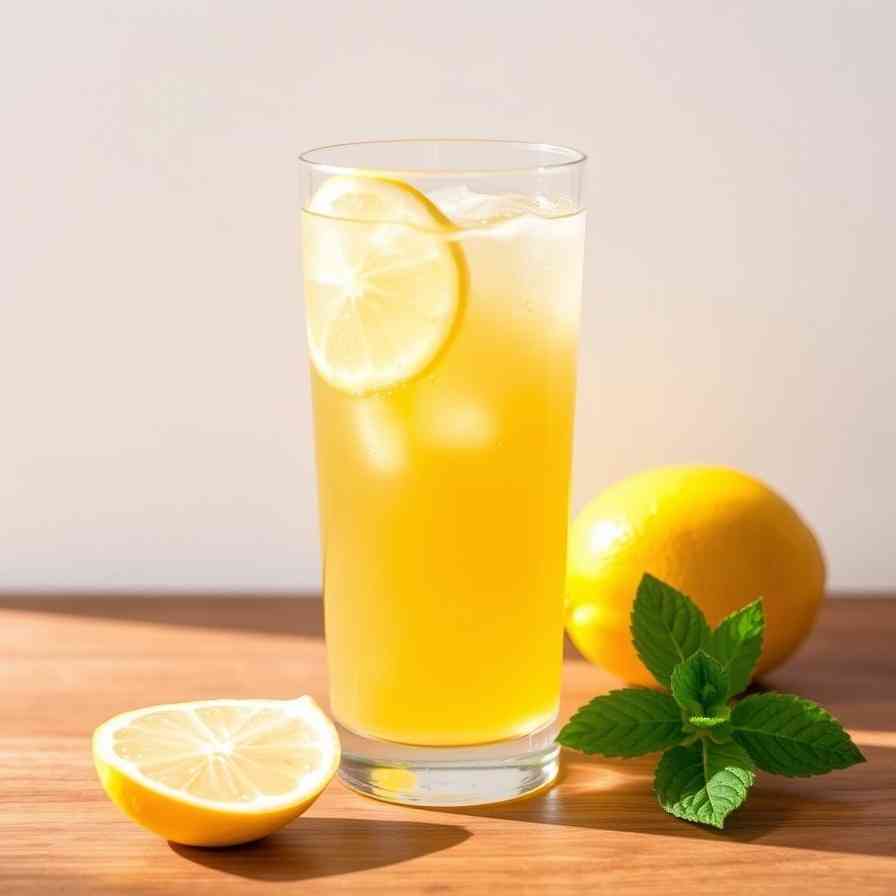
Ever wished you could whip up a delicious, healthy drink that’s also great for your gut? Meet Gira! This traditional Lithuanian fermented probiotic drink is like a refreshing, slightly bubbly hug for your insides. Forget those sugary sodas or complicated kombuchas – Gira is a simple, homemade healthy energy drink that’s been enjoyed for centuries. If you're looking for healthy drink recipes that truly help digestion and boost your immune system, you've hit the jackpot. This isn't just another recipe; it's the definitive guide to making authentic Lithuanian Gira, a healthy refreshing drink that’s good for gut health, low in sugar, and absolutely delicious. Get ready to promote gut health and enjoy a truly unique beverage!
Ingredients
Directions
- Prepare Your Bread (Toast & Dry): Preheat your oven to 300°F (150°C). Cut your stale dark rye bread into 1-inch cubes. Spread them in a single layer on a baking sheet and toast for 20-30 minutes, or until deeply golden brown and very dry, but not burnt. This step adds color and flavor to your Gira. Let cool completely.
- Steep the Bread: Place the toasted bread cubes into your large pot. Bring 2 liters of spring or filtered water to a boil, then immediately pour the hot water over the bread. Cover the pot and let it steep for at least 1 hour, or up to 2 hours, allowing the bread to infuse its flavor and color into the water. The longer it steeps, the stronger the bread flavor.
- Add Sugar & Cool: After steeping, remove the bread cubes (you can gently press them against the side of the pot with a spoon to extract more liquid, then discard). Stir in the granulated sugar (or honey) until it completely dissolves. Now, this is crucial: you must let the liquid cool down to lukewarm, ideally between 85-95°F (29-35°C). Use your kitchen thermometer to check. If it's too hot, it will kill your yeast!
- Starter/Yeast Addition: Once the liquid is cooled to the correct temperature, sprinkle the 1/4 teaspoon of active dry yeast over the surface. If using optional raisins or caraway seeds, add them now. Stir gently to combine.
- Primary Fermentation: Pour the mixture into your clean fermentation jar. Cover the jar loosely with its lid or a piece of cheesecloth secured with a rubber band. This allows air exchange while keeping contaminants out. Place the jar in a warm spot (ideally 70-75°F / 21-24°C) away from direct sunlight. Let it ferment for 1-3 days. You'll start to see small bubbles rising, a slight foam on top, and a yeasty, bread-like aroma. This is a sign of healthy fermentation!
- Strain & Bottle: Once primary fermentation is complete (see "How to Tell When It’s Done" below for details), carefully strain the Gira through a fine-mesh strainer or several layers of cheesecloth into a clean bowl or pitcher. Discard any remaining solids. Using a funnel, pour the strained Gira into your clean, tight-sealing bottles, leaving about an inch of headspace at the top of each bottle.
- Secondary Ferment (Optional for Fizz): If you desire a fizzy Gira, cap your bottles tightly and let them sit at room temperature for another 12-48 hours. This secondary fermentation builds carbonation. Be cautious: "burp" the bottles by briefly opening and re-sealing them once or twice a day to release excess pressure and prevent explosions.
- Chill & Enjoy: Once your Gira has reached your desired level of fizz (or if you skipped secondary fermentation), transfer the bottles to the refrigerator. Chilling will slow down fermentation significantly and make the Gira wonderfully refreshing.
Homemade Gira - Easy Fermented Probiotic Drink
- Serves: 8 People
- Prepare Time: 15 minutes
- Cooking Time: 1 hour (Ste
- Calories: -
- Difficulty: Easy
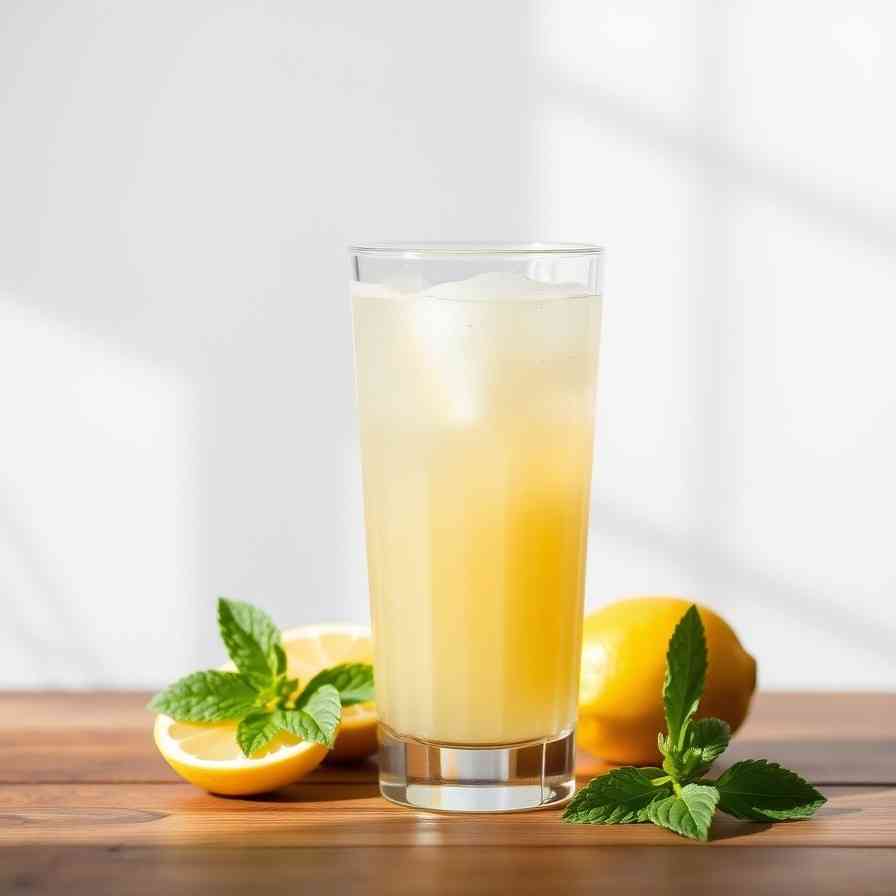
Ever wished you could whip up a delicious, healthy drink that’s also great for your gut? Meet Gira! This traditional Lithuanian fermented probiotic drink is like a refreshing, slightly bubbly hug for your insides. Forget those sugary sodas or complicated kombuchas – Gira is a simple, homemade healthy energy drink that’s been enjoyed for centuries. If you're looking for healthy drink recipes that truly help digestion and boost your immune system, you've hit the jackpot. This isn't just another recipe; it's the definitive guide to making authentic Lithuanian Gira, a healthy refreshing drink that’s good for gut health, low in sugar, and absolutely delicious. Get ready to promote gut health and enjoy a truly unique beverage!
Ingredients
Directions
- Prepare Your Bread (Toast & Dry): Preheat your oven to 300°F (150°C). Cut your stale dark rye bread into 1-inch cubes. Spread them in a single layer on a baking sheet and toast for 20-30 minutes, or until deeply golden brown and very dry, but not burnt. This step adds color and flavor to your Gira. Let cool completely.
- Steep the Bread: Place the toasted bread cubes into your large pot. Bring 2 liters of spring or filtered water to a boil, then immediately pour the hot water over the bread. Cover the pot and let it steep for at least 1 hour, or up to 2 hours, allowing the bread to infuse its flavor and color into the water. The longer it steeps, the stronger the bread flavor.
- Add Sugar & Cool: After steeping, remove the bread cubes (you can gently press them against the side of the pot with a spoon to extract more liquid, then discard). Stir in the granulated sugar (or honey) until it completely dissolves. Now, this is crucial: you must let the liquid cool down to lukewarm, ideally between 85-95°F (29-35°C). Use your kitchen thermometer to check. If it's too hot, it will kill your yeast!
- Starter/Yeast Addition: Once the liquid is cooled to the correct temperature, sprinkle the 1/4 teaspoon of active dry yeast over the surface. If using optional raisins or caraway seeds, add them now. Stir gently to combine.
- Primary Fermentation: Pour the mixture into your clean fermentation jar. Cover the jar loosely with its lid or a piece of cheesecloth secured with a rubber band. This allows air exchange while keeping contaminants out. Place the jar in a warm spot (ideally 70-75°F / 21-24°C) away from direct sunlight. Let it ferment for 1-3 days. You'll start to see small bubbles rising, a slight foam on top, and a yeasty, bread-like aroma. This is a sign of healthy fermentation!
- Strain & Bottle: Once primary fermentation is complete (see "How to Tell When It’s Done" below for details), carefully strain the Gira through a fine-mesh strainer or several layers of cheesecloth into a clean bowl or pitcher. Discard any remaining solids. Using a funnel, pour the strained Gira into your clean, tight-sealing bottles, leaving about an inch of headspace at the top of each bottle.
- Secondary Ferment (Optional for Fizz): If you desire a fizzy Gira, cap your bottles tightly and let them sit at room temperature for another 12-48 hours. This secondary fermentation builds carbonation. Be cautious: "burp" the bottles by briefly opening and re-sealing them once or twice a day to release excess pressure and prevent explosions.
- Chill & Enjoy: Once your Gira has reached your desired level of fizz (or if you skipped secondary fermentation), transfer the bottles to the refrigerator. Chilling will slow down fermentation significantly and make the Gira wonderfully refreshing.
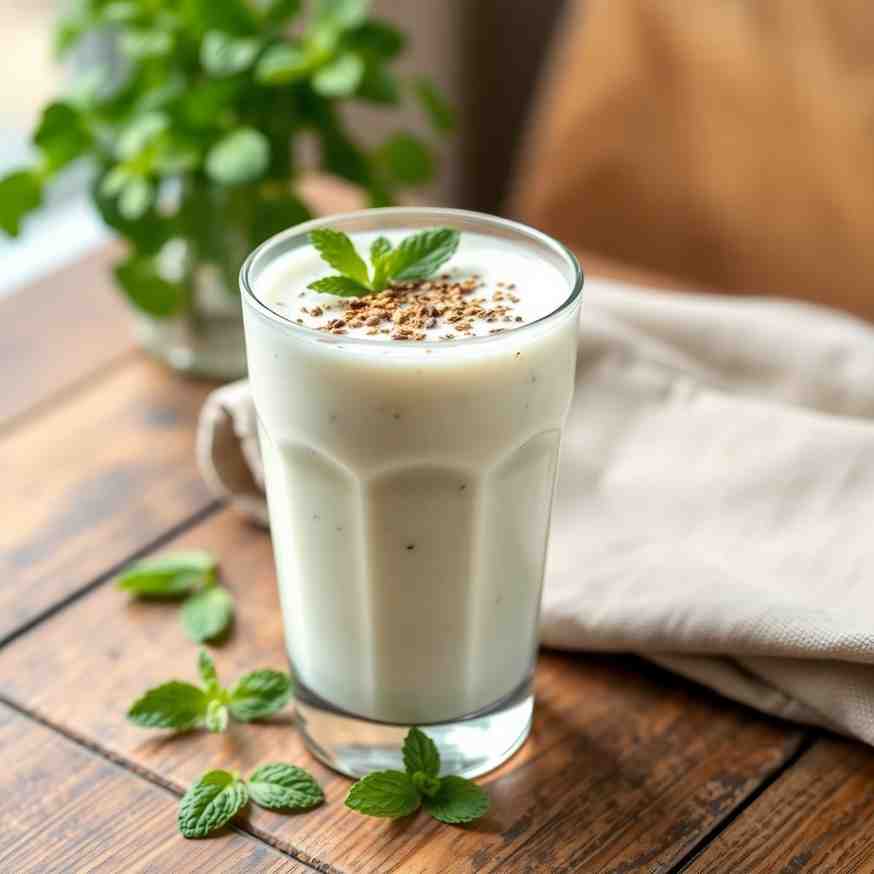
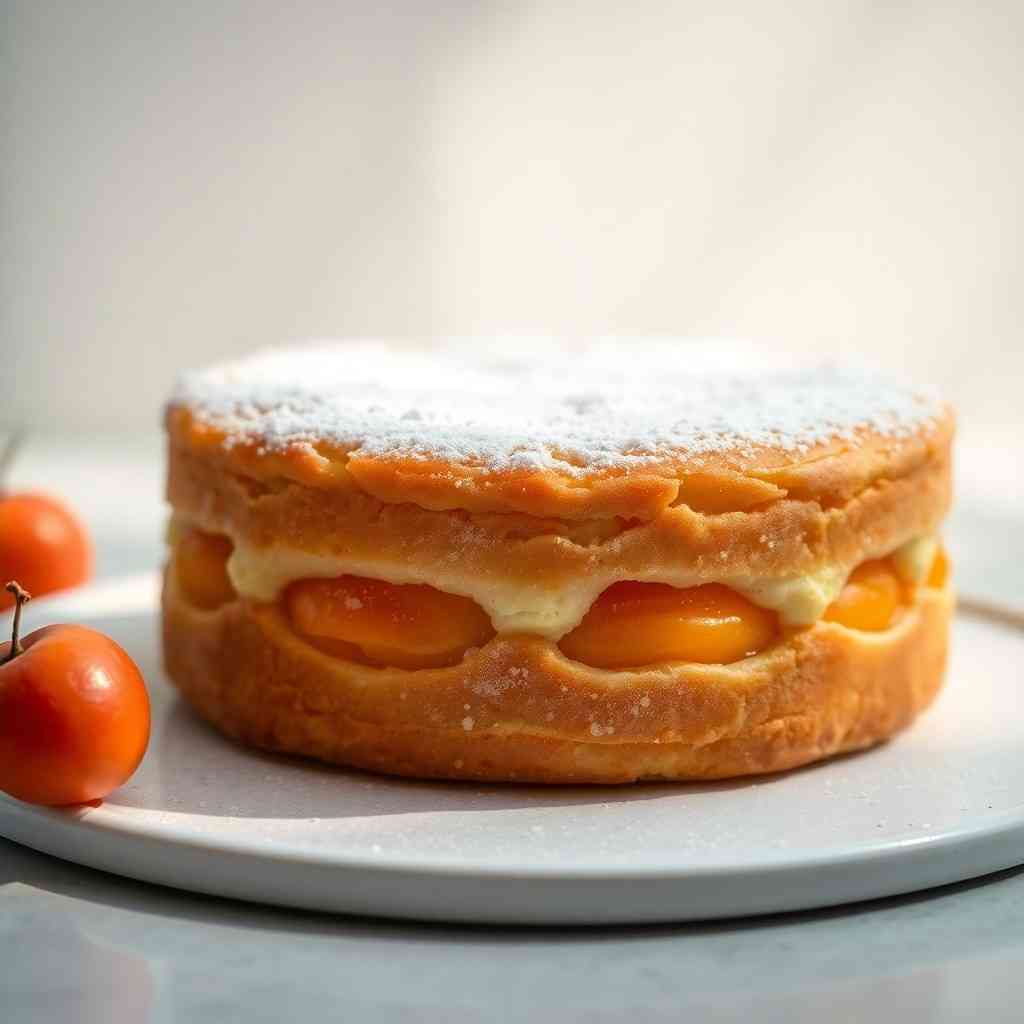
You may also like


Hey there! I’m just someone who seriously loves good food and believes that cooking doesn’t have to be complicated to be amazing. Whether it’s a quick weeknight dinner or a cozy weekend meal, I’m all about sharing easy, tasty recipes that actually work.


