Homemade Kumis - Fermented Milk Drink Recipe
Homemade Kumis - Fermented Milk Drink Recipe

- Serves: 6 People
- Prepare Time: 20 minutes
- Cooking Time: 10 minutes
- Calories: -
- Difficulty: Medium
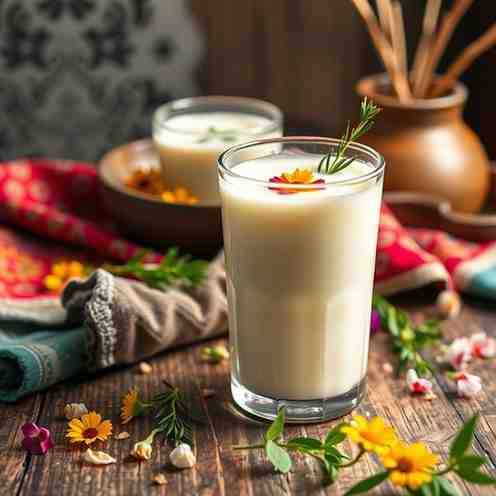
Ever wondered if there’s a way to enjoy milk that’s a little easier on your tummy, or perhaps a bit more exciting than your usual glass? Get ready to dive into the world of fermented milk drinks with our homemade Kumis (Airag-Style Fermented Milk) recipe! This tangy, lightly fizzy beverage is inspired by the traditional Central Asian drink, offering a unique flavor and potential digestive benefits. If you're fermentation-curious and looking for a delicious, gut-friendly alternative to plain milk, you've found your next kitchen adventure.
So, what exactly is a fermented milk drink? In simple terms, it's milk that has been transformed by beneficial microbes. These tiny helpers consume the sugars in milk, producing lactic acid, which gives the drink its characteristic tang and makes it easier for some people to digest. While you might be familiar with common fermented dairy like yogurt or kefir, Kumis offers a distinct profile – often thinner, more effervescent, and with a unique yeasty note that sets it apart. It’s a fascinating way to explore the diverse flavors and benefits of milk and probiotics.
Traditionally, "airag" or Kumis is a staple in Central Asian nomadic cultures, made from mare's milk and churned or stirred over long periods. Our recipe is a home-kitchen adaptation designed for accessibility, using cow's milk and common equipment, so you can experience a taste of this ancient tradition right from your own countertop. Ready to whip up your own batch of this delicious fermented milk beverage? Let's get started!
Ingredients
Directions
- Sanitize + Set Up Cleanliness is next to deliciousness! Ensure all your equipment (jar, lid, whisk, thermometer) is sparkling clean. You can sanitize by running them through a dishwasher on a hot cycle, boiling them for 5-10 minutes, or rinsing with a food-grade sanitizer solution. This prevents unwanted bacteria from spoiling your Kumis.
- Heat the Milk (and why) Pour your milk into a clean saucepan. Heat the milk gently over medium heat until it reaches 180°F (82°C). Hold it at this temperature for 10 minutes, stirring occasionally to prevent scorching. Heating helps to kill any competing bacteria in the milk and denatures proteins, which can contribute to a smoother texture and better environment for your starter. Once heated, remove from heat and let the milk cool down to between 70-75°F (21-24°C). This cooling target is crucial; if the milk is too hot, it will kill your delicate starter cultures!
- Inoculate Once your milk has cooled to the target temperature, add your starter culture. If using kefir grains, place them directly into the milk. If using a powdered culture, sprinkle it over the milk and let it sit for a minute or two to rehydrate, then whisk gently until fully dissolved and no clumps remain. A smooth mixture ensures the cultures are evenly distributed and can get to work efficiently.
- First Fermentation Cover your jar loosely with a lid or a breathable cloth secured with a rubber band. Place the jar in a spot with a consistent temperature between 70-75°F (21-24°C). This is the ideal range for your cultures to thrive. Let it ferment for 24-48 hours. During this time, you'll need to stir or gently shake the jar every 6-8 hours. Agitation is key for this style of fermented milk beverage; it helps distribute the cultures, prevents separation, and encourages the yeast to produce a gentle fizz.
- Optional Short Bottle Phase for Light Fizz (still the same recipe) After 24-48 hours, your Kumis should be tangy and slightly thickened. If you want more fizz, this is where the optional sugar comes in. Stir in 1-2 teaspoons of sugar, then carefully pour the Kumis into carbonation-rated bottles, leaving about an inch of headspace. Seal the bottles tightly and leave them at room temperature for an additional 4-12 hours. Check for carbonation by gently opening a bottle over a sink after a few hours—you should hear a soft hiss. Be careful not to over-carbonated; too much pressure can cause bottles to burst. "Burp" the bottles by opening and re-sealing them if the fizz seems too strong.
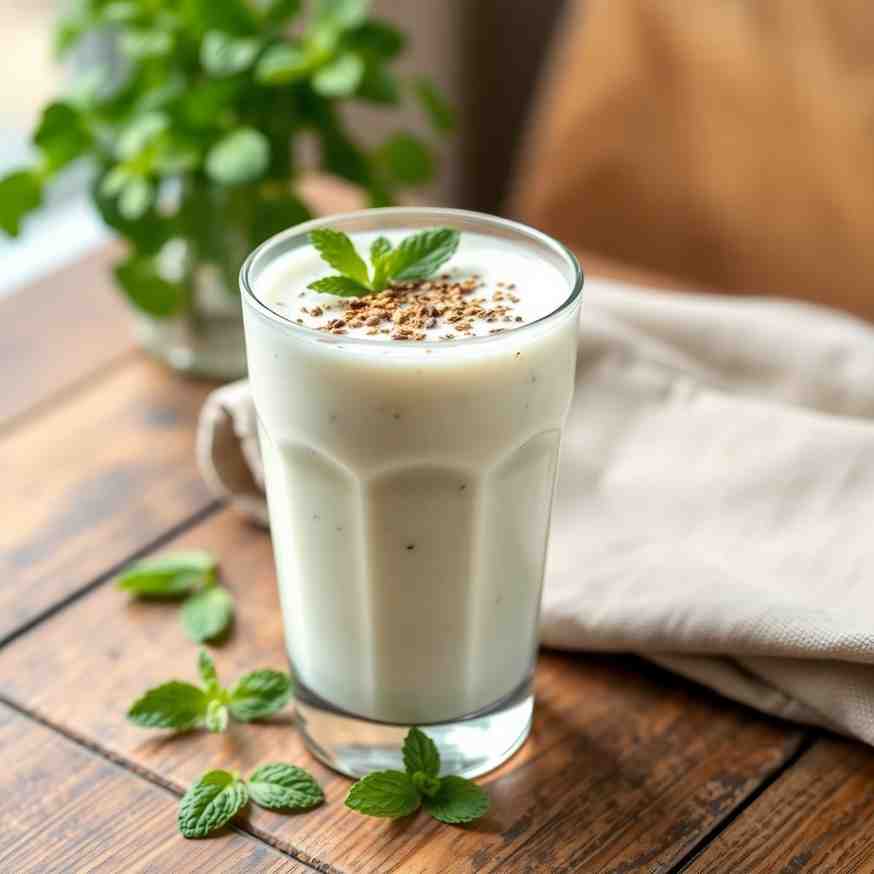
- Chill + Serve Once your Kumis has reached your desired fizz level (or after the initial fermentation if you skipped bottling), transfer it to the refrigerator. Chilling is important as it slows down the fermentation process significantly, preventing it from becoming too sour or overly carbonated. Before serving, give the bottle or jar a good shake or stir to reincorporate any settled solids. Pour yourself a glass of this refreshing fermented milk drink and enjoy!
Homemade Kumis - Fermented Milk Drink Recipe

- Serves: 6 People
- Prepare Time: 20 minutes
- Cooking Time: 10 minutes
- Calories: -
- Difficulty: Medium
Ever wondered if there’s a way to enjoy milk that’s a little easier on your tummy, or perhaps a bit more exciting than your usual glass? Get ready to dive into the world of fermented milk drinks with our homemade Kumis (Airag-Style Fermented Milk) recipe! This tangy, lightly fizzy beverage is inspired by the traditional Central Asian drink, offering a unique flavor and potential digestive benefits. If you're fermentation-curious and looking for a delicious, gut-friendly alternative to plain milk, you've found your next kitchen adventure.
So, what exactly is a fermented milk drink? In simple terms, it's milk that has been transformed by beneficial microbes. These tiny helpers consume the sugars in milk, producing lactic acid, which gives the drink its characteristic tang and makes it easier for some people to digest. While you might be familiar with common fermented dairy like yogurt or kefir, Kumis offers a distinct profile – often thinner, more effervescent, and with a unique yeasty note that sets it apart. It’s a fascinating way to explore the diverse flavors and benefits of milk and probiotics.
Traditionally, "airag" or Kumis is a staple in Central Asian nomadic cultures, made from mare's milk and churned or stirred over long periods. Our recipe is a home-kitchen adaptation designed for accessibility, using cow's milk and common equipment, so you can experience a taste of this ancient tradition right from your own countertop. Ready to whip up your own batch of this delicious fermented milk beverage? Let's get started!
Ingredients
Directions
- Sanitize + Set Up Cleanliness is next to deliciousness! Ensure all your equipment (jar, lid, whisk, thermometer) is sparkling clean. You can sanitize by running them through a dishwasher on a hot cycle, boiling them for 5-10 minutes, or rinsing with a food-grade sanitizer solution. This prevents unwanted bacteria from spoiling your Kumis.
- Heat the Milk (and why) Pour your milk into a clean saucepan. Heat the milk gently over medium heat until it reaches 180°F (82°C). Hold it at this temperature for 10 minutes, stirring occasionally to prevent scorching. Heating helps to kill any competing bacteria in the milk and denatures proteins, which can contribute to a smoother texture and better environment for your starter. Once heated, remove from heat and let the milk cool down to between 70-75°F (21-24°C). This cooling target is crucial; if the milk is too hot, it will kill your delicate starter cultures!
- Inoculate Once your milk has cooled to the target temperature, add your starter culture. If using kefir grains, place them directly into the milk. If using a powdered culture, sprinkle it over the milk and let it sit for a minute or two to rehydrate, then whisk gently until fully dissolved and no clumps remain. A smooth mixture ensures the cultures are evenly distributed and can get to work efficiently.
- First Fermentation Cover your jar loosely with a lid or a breathable cloth secured with a rubber band. Place the jar in a spot with a consistent temperature between 70-75°F (21-24°C). This is the ideal range for your cultures to thrive. Let it ferment for 24-48 hours. During this time, you'll need to stir or gently shake the jar every 6-8 hours. Agitation is key for this style of fermented milk beverage; it helps distribute the cultures, prevents separation, and encourages the yeast to produce a gentle fizz.
- Optional Short Bottle Phase for Light Fizz (still the same recipe) After 24-48 hours, your Kumis should be tangy and slightly thickened. If you want more fizz, this is where the optional sugar comes in. Stir in 1-2 teaspoons of sugar, then carefully pour the Kumis into carbonation-rated bottles, leaving about an inch of headspace. Seal the bottles tightly and leave them at room temperature for an additional 4-12 hours. Check for carbonation by gently opening a bottle over a sink after a few hours—you should hear a soft hiss. Be careful not to over-carbonated; too much pressure can cause bottles to burst. "Burp" the bottles by opening and re-sealing them if the fizz seems too strong.
- Chill + Serve Once your Kumis has reached your desired fizz level (or after the initial fermentation if you skipped bottling), transfer it to the refrigerator. Chilling is important as it slows down the fermentation process significantly, preventing it from becoming too sour or overly carbonated. Before serving, give the bottle or jar a good shake or stir to reincorporate any settled solids. Pour yourself a glass of this refreshing fermented milk drink and enjoy!
You may also like


Hey there! I’m just someone who seriously loves good food and believes that cooking doesn’t have to be complicated to be amazing. Whether it’s a quick weeknight dinner or a cozy weekend meal, I’m all about sharing easy, tasty recipes that actually work.