
Make Limoncello - Best Lemon Alcohol Drink Recipe
Make Limoncello - Best Lemon Alcohol Drink Recipe
- Serves: 20 People
- Prepare Time: 15 minutes
- Cooking Time: 10 minutes
- Calories: -
- Difficulty: Easy
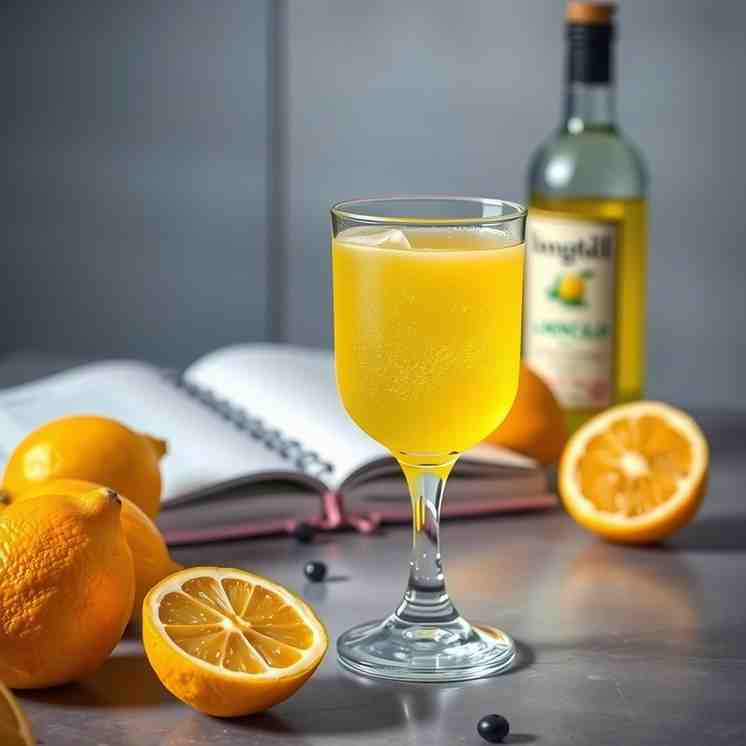
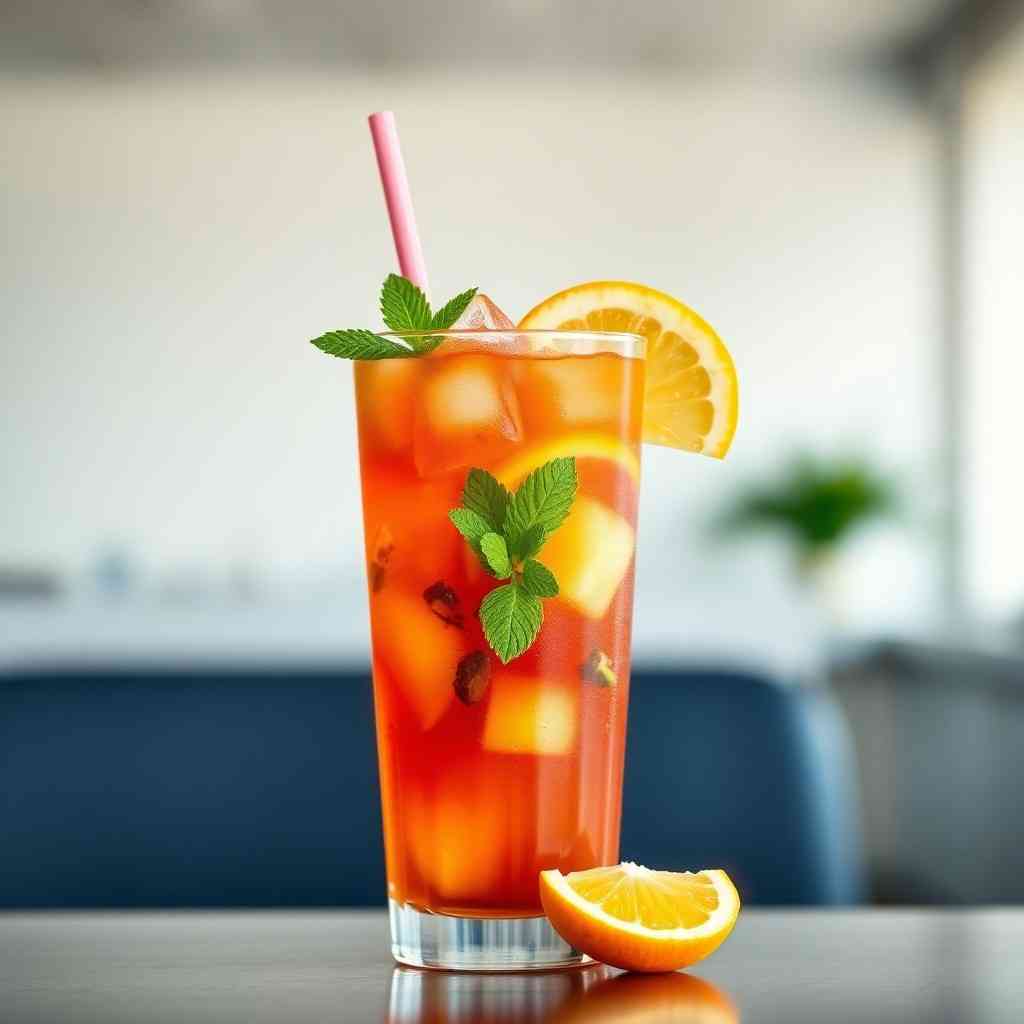
Craving that vibrant, zesty taste of Italy in a glass? Look no further! This definitive guide will walk you through creating your very own homemade limoncello, a bright, smooth, and utterly delicious lemon alcohol drink recipe. Limoncello is a beloved Italian lemon drink, traditionally enjoyed ice-cold after dinner as a digestivo. It’s the perfect way to cap off a meal or add a sunny twist to your favorite summer cocktails recipe.
While making limoncello might sound fancy, we promise it’s incredibly easy on the hands. The real secret? Patience! This recipe is a classic "set it and forget it" infusion, meaning most of the work happens while your lemons and vodka become best friends. Get ready to impress your friends and family with this gorgeous, golden liqueur – it’s a total game-changer for diy cocktail drinks and a fantastic base for everything from limoncello and lemonade to a zesty champagne lemon cocktail. Let's get zesting!
Simply put, limoncello is a sweet, potent Italian lemon liqueur. It's made by infusing lemon zest (the yellow part of the peel) in pure alcohol, then mixing that infusion with a simple syrup. The magic lies entirely in the lemon peel, which contains all the fragrant, essential oils that give limoncello its distinctive bright flavor and aroma. We only use the peel because the white pith underneath is incredibly bitter and would ruin the delicate balance of the liqueur. So, careful peeling is key!
Ingredients
Directions
- Prep the Lemons (Wash + Peel Shallow)
- Thoroughly wash and dry all your lemons. Any moisture can affect the infusion.
- Using a vegetable peeler (or a microplane, though a peeler is generally preferred for larger strips), carefully peel only the bright yellow zest from the lemons. The goal is to get as little of the white pith as possible.
- What “too deep” looks like: If you see a lot of white pith on the back of your lemon peels, it means you've gone too deep. Pith is extremely bitter and will impart an unpleasant flavor to your limoncello. If you have some pith, you can carefully scrape it off with a small knife, but it’s best to peel shallowly from the start.
- Infuse (Set it Up + Where to Store It)
- Place all the lemon peels into your large, clean glass jar.
- Pour the entire bottle of vodka over the peels, ensuring they are fully submerged.
- Seal the jar tightly with its lid.
- Store the jar in a cool, dark place (like a pantry or cabinet) for 1 to 4 weeks.
- How often to shake/swirl: Give the jar a gentle shake or swirl every day or two to help agitate the peels and encourage oil extraction.
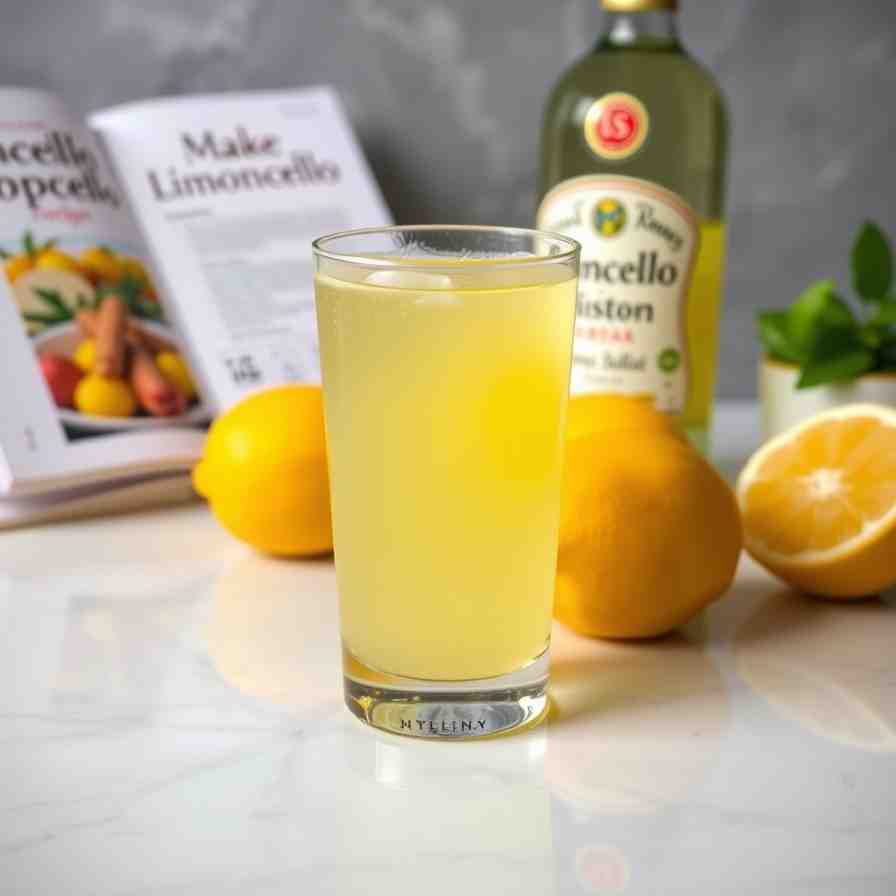
- What the color should look like when it’s ready: Over the infusion period, you'll notice the vodka slowly transforming into a beautiful, vibrant yellow color, as the lemon oils are extracted. The peels themselves will likely lose their bright color. Taste a tiny bit of the liquid after a week or two – if it has a strong lemon flavor, it's ready. The longer you infuse, the more intense the lemon flavor will be.
- Strain (How to Get it Clear)
- Once your infusion is ready, place a fine-mesh strainer over a large bowl or another clean container.
- Pour the lemon-infused vodka through the strainer to remove all the lemon peels. Discard the peels.
- Fine-mesh vs. coffee filter: For an extra-clear limoncello, line your fine-mesh strainer with a coffee filter or a few layers of cheesecloth. This will catch any tiny bits of sediment or cloudiness. Be patient, as this process can be slow.
- Make the Syrup (and Cool it Safely)
- In a medium saucepan, combine the 4 cups of sugar and 4 cups of filtered water.
- Heat over medium heat, stirring constantly, until the sugar is completely dissolved and the mixture is clear. Do not boil vigorously, just bring it to a gentle simmer.
- Remove the syrup from the heat and let it cool completely to room temperature. This is crucial for safety and flavor.
- Safety note: keep heat off when mixing alcohol: Never mix the hot syrup with the alcohol. The alcohol is highly flammable, and combining hot liquid with cold alcohol can also cause the limoncello to become cloudy (though sometimes this happens regardless, and it's okay!).
- Mix, Bottle, and Rest
- Once the sugar syrup is completely cool, pour it into the strained lemon-infused vodka. Stir well to combine.
- Using a funnel, carefully pour the mixed limoncello into your clean glass bottles. Seal them tightly.
- Why a short rest improves flavor: Store the bottled limoncello in a cool, dark place for at least 1 to 2 weeks (or even longer) before serving. This resting period allows the flavors to meld and mature, resulting in a smoother, more harmonious liqueur.
- Chill Like an Italian
- For the authentic Italian experience, limoncello is always served ice-cold.
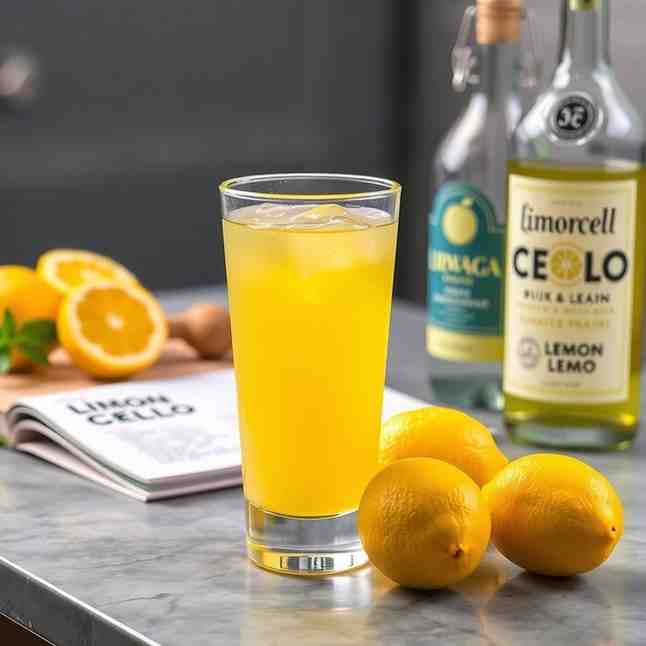
- Fridge vs. freezer: Store your finished limoncello in the freezer. Due to its high alcohol and sugar content, it won't freeze solid (unless your freezer is extremely cold or your vodka proof was low), but it will become wonderfully thick and syrupy.
Make Limoncello - Best Lemon Alcohol Drink Recipe
- Serves: 20 People
- Prepare Time: 15 minutes
- Cooking Time: 10 minutes
- Calories: -
- Difficulty: Easy
Craving that vibrant, zesty taste of Italy in a glass? Look no further! This definitive guide will walk you through creating your very own homemade limoncello, a bright, smooth, and utterly delicious lemon alcohol drink recipe. Limoncello is a beloved Italian lemon drink, traditionally enjoyed ice-cold after dinner as a digestivo. It’s the perfect way to cap off a meal or add a sunny twist to your favorite summer cocktails recipe.
While making limoncello might sound fancy, we promise it’s incredibly easy on the hands. The real secret? Patience! This recipe is a classic "set it and forget it" infusion, meaning most of the work happens while your lemons and vodka become best friends. Get ready to impress your friends and family with this gorgeous, golden liqueur – it’s a total game-changer for diy cocktail drinks and a fantastic base for everything from limoncello and lemonade to a zesty champagne lemon cocktail. Let's get zesting!
Simply put, limoncello is a sweet, potent Italian lemon liqueur. It's made by infusing lemon zest (the yellow part of the peel) in pure alcohol, then mixing that infusion with a simple syrup. The magic lies entirely in the lemon peel, which contains all the fragrant, essential oils that give limoncello its distinctive bright flavor and aroma. We only use the peel because the white pith underneath is incredibly bitter and would ruin the delicate balance of the liqueur. So, careful peeling is key!
Ingredients
Directions
- Prep the Lemons (Wash + Peel Shallow)
- Thoroughly wash and dry all your lemons. Any moisture can affect the infusion.
- Using a vegetable peeler (or a microplane, though a peeler is generally preferred for larger strips), carefully peel only the bright yellow zest from the lemons. The goal is to get as little of the white pith as possible.
- What “too deep” looks like: If you see a lot of white pith on the back of your lemon peels, it means you've gone too deep. Pith is extremely bitter and will impart an unpleasant flavor to your limoncello. If you have some pith, you can carefully scrape it off with a small knife, but it’s best to peel shallowly from the start.
- Infuse (Set it Up + Where to Store It)
- Place all the lemon peels into your large, clean glass jar.
- Pour the entire bottle of vodka over the peels, ensuring they are fully submerged.
- Seal the jar tightly with its lid.
- Store the jar in a cool, dark place (like a pantry or cabinet) for 1 to 4 weeks.
- How often to shake/swirl: Give the jar a gentle shake or swirl every day or two to help agitate the peels and encourage oil extraction.
- What the color should look like when it’s ready: Over the infusion period, you'll notice the vodka slowly transforming into a beautiful, vibrant yellow color, as the lemon oils are extracted. The peels themselves will likely lose their bright color. Taste a tiny bit of the liquid after a week or two – if it has a strong lemon flavor, it's ready. The longer you infuse, the more intense the lemon flavor will be.
- Strain (How to Get it Clear)
- Once your infusion is ready, place a fine-mesh strainer over a large bowl or another clean container.
- Pour the lemon-infused vodka through the strainer to remove all the lemon peels. Discard the peels.
- Fine-mesh vs. coffee filter: For an extra-clear limoncello, line your fine-mesh strainer with a coffee filter or a few layers of cheesecloth. This will catch any tiny bits of sediment or cloudiness. Be patient, as this process can be slow.
- Make the Syrup (and Cool it Safely)
- In a medium saucepan, combine the 4 cups of sugar and 4 cups of filtered water.
- Heat over medium heat, stirring constantly, until the sugar is completely dissolved and the mixture is clear. Do not boil vigorously, just bring it to a gentle simmer.
- Remove the syrup from the heat and let it cool completely to room temperature. This is crucial for safety and flavor.
- Safety note: keep heat off when mixing alcohol: Never mix the hot syrup with the alcohol. The alcohol is highly flammable, and combining hot liquid with cold alcohol can also cause the limoncello to become cloudy (though sometimes this happens regardless, and it's okay!).
- Mix, Bottle, and Rest
- Once the sugar syrup is completely cool, pour it into the strained lemon-infused vodka. Stir well to combine.
- Using a funnel, carefully pour the mixed limoncello into your clean glass bottles. Seal them tightly.
- Why a short rest improves flavor: Store the bottled limoncello in a cool, dark place for at least 1 to 2 weeks (or even longer) before serving. This resting period allows the flavors to meld and mature, resulting in a smoother, more harmonious liqueur.
- Chill Like an Italian
- For the authentic Italian experience, limoncello is always served ice-cold.
- Fridge vs. freezer: Store your finished limoncello in the freezer. Due to its high alcohol and sugar content, it won't freeze solid (unless your freezer is extremely cold or your vodka proof was low), but it will become wonderfully thick and syrupy.
You may also like

Hey there! I’m just someone who seriously loves good food and believes that cooking doesn’t have to be complicated to be amazing. Whether it’s a quick weeknight dinner or a cozy weekend meal, I’m all about sharing easy, tasty recipes that actually work.


