
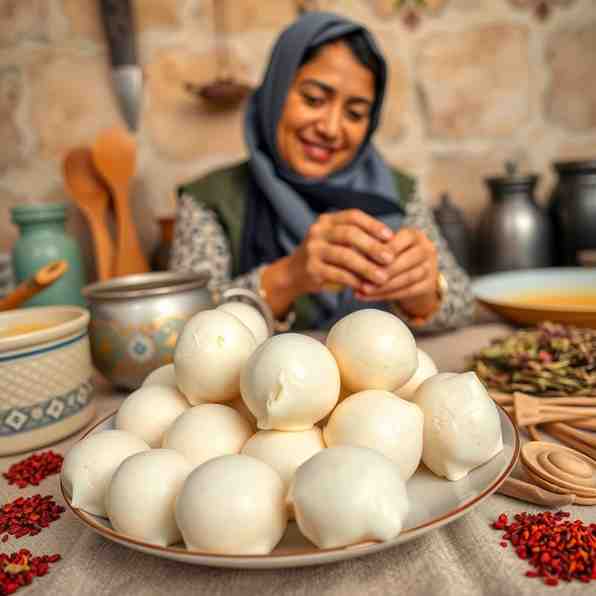
How to Make Kurut - Traditional Persian Fermented Milk Balls
How to Make Kurut - Traditional Persian Fermented Milk Balls

- Serves: 20 People
- Prepare Time: 15 minutes
- Cooking Time: 60-90 minut
- Calories: -
- Difficulty: Medium
Welcome to the wonderful world of Kurut! If you're exploring persian food recipes or simply curious about traditional fermented dairy, you've come to the right place. Kurut, sometimes known as Kashk or Jameed, is a truly delightful and incredibly versatile ingredient. Think of it as a shelf-stable, tangy, and salty dairy product that dissolves beautifully into sauces, enriching them with a unique umami depth. It’s a cornerstone in many iranian food recipes and a fantastic way to preserve milk. In this guide, we'll walk you through every step to create your own rock-hard, flavor-packed Kurut balls, and then show you exactly how to reconstitute and use them in your favorite persian cuisine recipes. Get ready to add an authentic touch to your cooking!
Ingredients
Directions
- Sour the Yogurt (24–48 Hours)
- Pour your full-fat plain yogurt into a clean, non-reactive bowl or jar.
- Cover the container loosely with cheesecloth or a clean kitchen towel, securing it with a rubber band. This allows for airflow while protecting the yogurt.
- Let the yogurt sit at room temperature (ideally between 70-80°F / 21-27°C) for 24 to 48 hours.
- Doneness Cue: You’ll notice the yogurt becoming noticeably tangier in smell and taste, and it might even start to separate slightly. This souring process is crucial for developing Kurut's characteristic flavor.
- Simmer to Separate Curds and Reduce
- Transfer the soured yogurt to a heavy-bottom pot. Add the 1/2 cup of water.
- Place the pot over medium-low heat. Stir gently but consistently to prevent sticking and scorching at the bottom.
- As the yogurt heats, it will start to separate into curds (solids) and whey (liquid). Continue to simmer, stirring occasionally, for 45-75 minutes.
- Doneness Cue: The curds should be clearly separated from the yellowish-green whey, and the liquid volume should be noticeably reduced. The mixture will look like a thick, lumpy cottage cheese.
- Drain and Press
- Set up a fine-mesh strainer over a large bowl. Line the strainer with a double layer of cheesecloth or a clean muslin cloth.
- Carefully pour the hot curds and whey into the cheesecloth-lined strainer.
- Gather the edges of the cheesecloth, forming a ball or pouch around the curds.
- Gently squeeze out as much whey as you can. Be careful, as the curds will still be hot. You can also place a plate on top of the curds and weigh it down with something heavy (like a can of tomatoes) for 1-2 hours to press out more liquid.
- Doneness Cue: The drained curds should hold together firmly and feel like a thick, firm ricotta cheese.
- Salt and Form
- Transfer the pressed curds to a clean bowl. Add 1 teaspoon of salt and mix it evenly into the curds. Taste a tiny bit and add the remaining 1 teaspoon if you prefer a saltier Kurut. Remember, the flavor will concentrate as it dries.
- Take small portions of the salted curds and roll them into small balls (about 1/2 to 3/4 inch or 1.5-2 cm in diameter) or short logs/discs. Aim for consistent size, as this ensures even drying.
- Dry Until Rock-Hard
- Arrange the formed Kurut balls in a single layer on a baking sheet lined with parchment paper, or on a drying rack. Ensure good airflow around each piece.
- Place the baking sheet/rack in a warm, dry, and well-ventilated area away from direct sunlight and humidity. A fan can help speed up the process.
- Turn the Kurut balls every 12-24 hours to promote even drying.
- The drying process can take anywhere from 3 to 7 days, depending on your climate and the size of your Kurut.
- Doneness Cue: The Kurut should be completely firm and rock-hard all the way through, with no tackiness or soft spots in the center. They should feel very light and dry. If you live in a humid climate, a food dehydrator set to a low temperature (around 100-110°F / 38-43°C) can be very helpful.
You may also like


Hey there! I’m just someone who seriously loves good food and believes that cooking doesn’t have to be complicated to be amazing. Whether it’s a quick weeknight dinner or a cozy weekend meal, I’m all about sharing easy, tasty recipes that actually work.


