
Bake Icelandic Bollur - Cream Buns Recipe
Bake Icelandic Bollur - Cream Buns Recipe
- Serves: 12 People
- Prepare Time: 45 minutes
- Cooking Time: 30 minutes
- Calories: -
- Difficulty: Medium
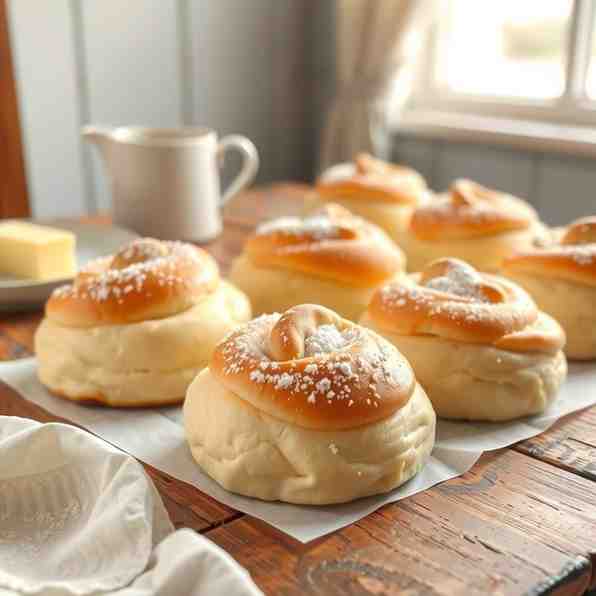
Welcome to the delightful world of Icelandic Bollur! Imagine a day dedicated solely to indulging in fluffy, cream-filled pastries – that's Bolludagur, or "Cream Bun Day," in Iceland. And guess what? You can bring this incredible tradition right into your own kitchen with our definitive Bollur sweet buns recipe. Get ready to bake light-as-air choux pastry shells, fill them with luscious whipped cream (and maybe some jam or chocolate!), and experience a taste of Icelandic joy. This isn't just a recipe; it's an invitation to celebrate.
Icelandic Bollur = Choux cream buns (think cream puffs, but better!).
Norwegian Boller = Sweet yeast buns (a completely different pastry!).
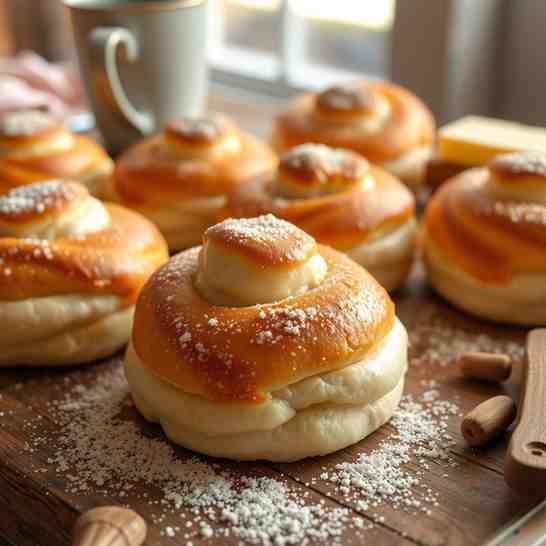
So, what exactly are Bollur, and what's the fuss about Bolludagur? Bolludagur, which translates to "Bun Day," is a festive Monday celebrated seven weeks before Easter in Iceland. Traditionally, children would spank their parents with decorated "Bolluvöndur" (bun wands) to earn these delicious treats. At the heart of it all are the Bollur themselves: delicate choux pastry shells, crisp on the outside and hollow within, ready to be generously filled with mounds of fluffy whipped cream and often topped with a sweet glaze or melted chocolate. This recipe will guide you through creating these light, airy shells, a rich cream filling, and a perfect sweet topping, ensuring your Icelandic Bollur are nothing short of spectacular.
Ingredients
Directions
- Prep Your Workspace: Preheat your oven to 400°F (200°C). Line a large baking sheet with parchment paper. If using a piping bag, fit it with a large round tip (or prepare your zip-top bag by snipping a ½-inch corner).
- Make the Choux Base (Panade): In a medium saucepan, combine the water, butter, salt, and granulated sugar. Bring the mixture to a simmer over medium heat, stirring occasionally until the butter is completely melted. Remove the pan from the heat and immediately add all the flour at once. Stir vigorously with a wooden spoon or sturdy spatula until the mixture comes together to form a smooth ball. Return the pan to medium-low heat and continue to cook the dough, stirring constantly, for 2-3 minutes. You'll see a thin film form on the bottom of the pan, and the dough will look slightly drier. This step is crucial for drying out the dough.
- Cool Slightly: Transfer the dough to a large mixing bowl (or a stand mixer bowl). Let it cool for 5-10 minutes, stirring occasionally, until it's warm but no longer steaming hot. This prevents the eggs from scrambling.
- Add Eggs Gradually: With a hand mixer or stand mixer on low speed (or by hand with a sturdy spoon), begin adding the eggs one at a time, beating well after each addition until fully incorporated. The dough will look lumpy and separated at first, but keep mixing, and it will come together. After adding 3 eggs, test the dough: lift your spoon or beaters, and the dough should form a "V-shape" or a soft peak that slowly falls back into itself. If it's too stiff, add a little more of the fourth egg, a tablespoon at a time, until you reach the desired consistency. You might not need all of the fourth egg.
- Visual Cue: The finished choux dough should be smooth, glossy, and thick enough to hold its shape but soft enough to pipe easily.
- Pipe the Buns: Transfer the choux dough to your prepared piping bag. Pipe 1 ½-inch to 2-inch rounds onto the parchment-lined baking sheet, leaving about 2 inches between each bun. If the buns have little peaks after piping, gently smooth them down with a wet fingertip.
- Bake (No Peeking!): Place the baking sheet in the preheated oven. Bake for 15 minutes at 400°F (200°C), then without opening the oven door, reduce the temperature to 350°F (175°C) and continue baking for another 15-20 minutes, or until the buns are deeply golden brown and feel light and hollow when lifted.
- Visual Cue: Done buns will be a rich, golden-brown color all over, not just light yellow. They'll also feel very light when picked up.
- Dry & Cool: Turn off the oven, prop the oven door open slightly with a wooden spoon, and let the buns dry out in the cooling oven for another 10-15 minutes. This helps prevent them from collapsing. Transfer the buns to a wire rack to cool completely. Once cool, you can gently poke a small hole in the bottom of each bun with a skewer to release any remaining steam, though this is optional.
- Whip the Cream: In a chilled mixing bowl, combine the very cold heavy cream, powdered sugar, and vanilla extract. Beat with a hand mixer or stand mixer on medium-high speed until stiff peaks form. Be careful not to over-whip, or it will become grainy.
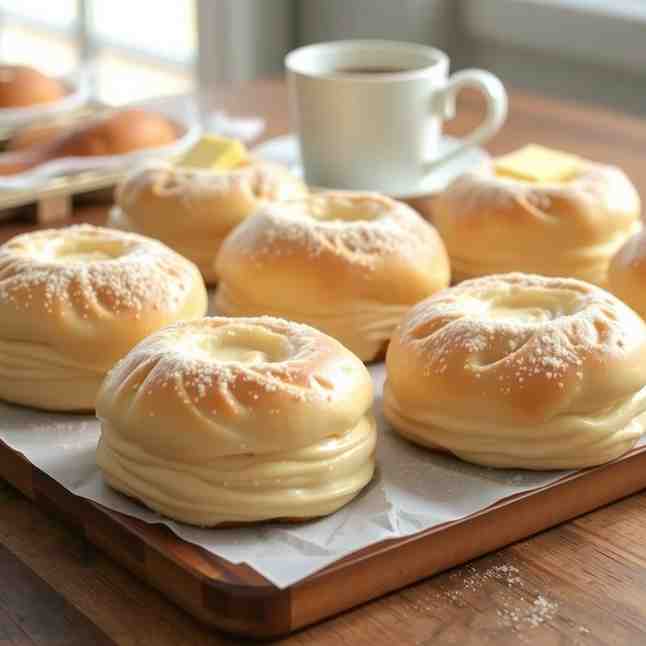
- Assemble Your Bollur: Once the choux buns are completely cool, use a serrated knife to carefully slice each bun horizontally, about two-thirds of the way up, creating a "lid." If using, spread a spoonful of jam on the bottom half of the bun. Then, pipe or spoon a generous amount of whipped cream onto the bottom half. Place the "lid" on top. Drizzle with melted chocolate or dust with a light coating of powdered sugar. Serve immediately and enjoy your homemade Icelandic Bollur!
Bake Icelandic Bollur - Cream Buns Recipe
- Serves: 12 People
- Prepare Time: 45 minutes
- Cooking Time: 30 minutes
- Calories: -
- Difficulty: Medium
Welcome to the delightful world of Icelandic Bollur! Imagine a day dedicated solely to indulging in fluffy, cream-filled pastries – that's Bolludagur, or "Cream Bun Day," in Iceland. And guess what? You can bring this incredible tradition right into your own kitchen with our definitive Bollur sweet buns recipe. Get ready to bake light-as-air choux pastry shells, fill them with luscious whipped cream (and maybe some jam or chocolate!), and experience a taste of Icelandic joy. This isn't just a recipe; it's an invitation to celebrate.
Icelandic Bollur = Choux cream buns (think cream puffs, but better!).
Norwegian Boller = Sweet yeast buns (a completely different pastry!).
So, what exactly are Bollur, and what's the fuss about Bolludagur? Bolludagur, which translates to "Bun Day," is a festive Monday celebrated seven weeks before Easter in Iceland. Traditionally, children would spank their parents with decorated "Bolluvöndur" (bun wands) to earn these delicious treats. At the heart of it all are the Bollur themselves: delicate choux pastry shells, crisp on the outside and hollow within, ready to be generously filled with mounds of fluffy whipped cream and often topped with a sweet glaze or melted chocolate. This recipe will guide you through creating these light, airy shells, a rich cream filling, and a perfect sweet topping, ensuring your Icelandic Bollur are nothing short of spectacular.
Ingredients
Directions
- Prep Your Workspace: Preheat your oven to 400°F (200°C). Line a large baking sheet with parchment paper. If using a piping bag, fit it with a large round tip (or prepare your zip-top bag by snipping a ½-inch corner).
- Make the Choux Base (Panade): In a medium saucepan, combine the water, butter, salt, and granulated sugar. Bring the mixture to a simmer over medium heat, stirring occasionally until the butter is completely melted. Remove the pan from the heat and immediately add all the flour at once. Stir vigorously with a wooden spoon or sturdy spatula until the mixture comes together to form a smooth ball. Return the pan to medium-low heat and continue to cook the dough, stirring constantly, for 2-3 minutes. You'll see a thin film form on the bottom of the pan, and the dough will look slightly drier. This step is crucial for drying out the dough.
- Cool Slightly: Transfer the dough to a large mixing bowl (or a stand mixer bowl). Let it cool for 5-10 minutes, stirring occasionally, until it's warm but no longer steaming hot. This prevents the eggs from scrambling.
- Add Eggs Gradually: With a hand mixer or stand mixer on low speed (or by hand with a sturdy spoon), begin adding the eggs one at a time, beating well after each addition until fully incorporated. The dough will look lumpy and separated at first, but keep mixing, and it will come together. After adding 3 eggs, test the dough: lift your spoon or beaters, and the dough should form a "V-shape" or a soft peak that slowly falls back into itself. If it's too stiff, add a little more of the fourth egg, a tablespoon at a time, until you reach the desired consistency. You might not need all of the fourth egg.
- Visual Cue: The finished choux dough should be smooth, glossy, and thick enough to hold its shape but soft enough to pipe easily.
- Pipe the Buns: Transfer the choux dough to your prepared piping bag. Pipe 1 ½-inch to 2-inch rounds onto the parchment-lined baking sheet, leaving about 2 inches between each bun. If the buns have little peaks after piping, gently smooth them down with a wet fingertip.
- Bake (No Peeking!): Place the baking sheet in the preheated oven. Bake for 15 minutes at 400°F (200°C), then without opening the oven door, reduce the temperature to 350°F (175°C) and continue baking for another 15-20 minutes, or until the buns are deeply golden brown and feel light and hollow when lifted.
- Visual Cue: Done buns will be a rich, golden-brown color all over, not just light yellow. They'll also feel very light when picked up.
- Dry & Cool: Turn off the oven, prop the oven door open slightly with a wooden spoon, and let the buns dry out in the cooling oven for another 10-15 minutes. This helps prevent them from collapsing. Transfer the buns to a wire rack to cool completely. Once cool, you can gently poke a small hole in the bottom of each bun with a skewer to release any remaining steam, though this is optional.
- Whip the Cream: In a chilled mixing bowl, combine the very cold heavy cream, powdered sugar, and vanilla extract. Beat with a hand mixer or stand mixer on medium-high speed until stiff peaks form. Be careful not to over-whip, or it will become grainy.
- Assemble Your Bollur: Once the choux buns are completely cool, use a serrated knife to carefully slice each bun horizontally, about two-thirds of the way up, creating a "lid." If using, spread a spoonful of jam on the bottom half of the bun. Then, pipe or spoon a generous amount of whipped cream onto the bottom half. Place the "lid" on top. Drizzle with melted chocolate or dust with a light coating of powdered sugar. Serve immediately and enjoy your homemade Icelandic Bollur!
You may also like


Hey there! I’m just someone who seriously loves good food and believes that cooking doesn’t have to be complicated to be amazing. Whether it’s a quick weeknight dinner or a cozy weekend meal, I’m all about sharing easy, tasty recipes that actually work.


