 - Make a Fizzy Fermented Milk Drink at Home | CulinaryCreationss alt=")
Kymyz (Kumis) - Make a Fizzy Fermented Milk Drink at Home
Kymyz (Kumis) - Make a Fizzy Fermented Milk Drink at Home

- Serves: 4 People
- Prepare Time: 15 minutes
- Cooking Time: 0 minutes
- Calories: -
- Difficulty: Easy
Ever wondered about a fermented milk drink that’s both ancient and incredibly refreshing? Meet Kymyz (pronounced kuh-MUZ, sometimes spelled Kumis or Koumiss), a lightly fizzy, tangy beverage that’s making a comeback for its incredible taste and gut health benefits. Forget overly thick yogurts or super-sour kefirs – Kymyz offers a unique, pourable texture and a gentle effervescence that makes it truly special. It’s a fantastic way to enjoy the nutritional benefits of milk in a form that’s often easier to digest for many people.
This guide will show you how to whip up your own batch of this delightful fermented milk beverage right in your kitchen. We’ll cover everything from what it is to how to get that perfect fizz, ensuring you can enjoy a milk and probiotics powerhouse at home.
So, what exactly is Kymyz, and what can you expect?
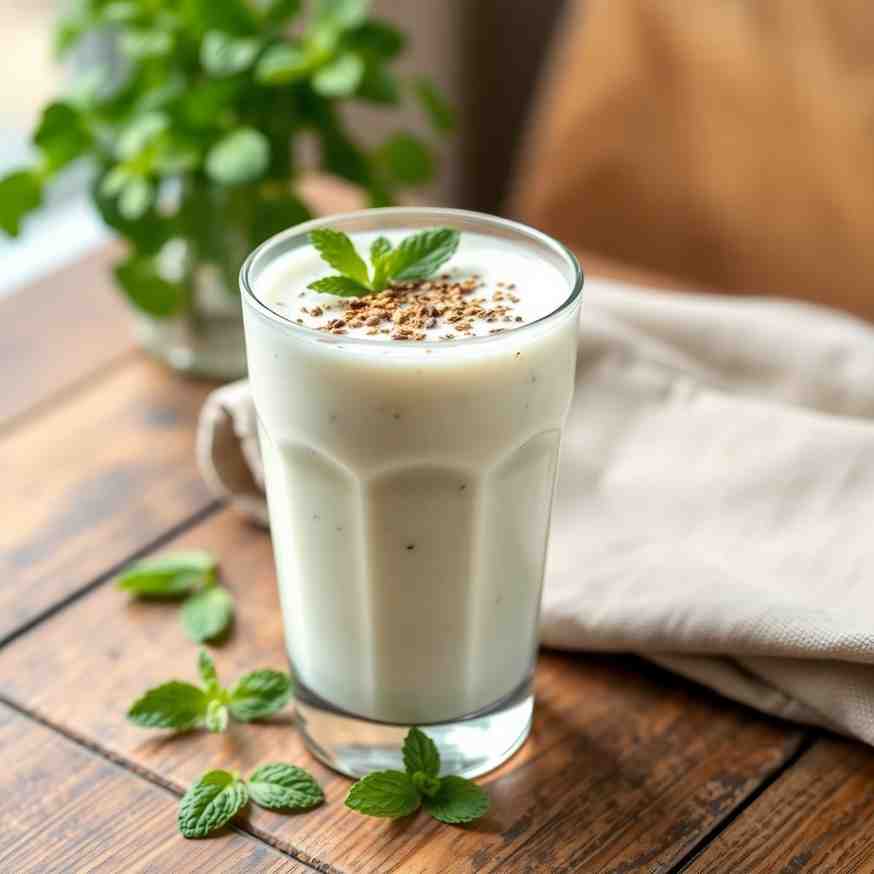
What Kymyz is (and what it isn’t): It’s a fermented milk drink, traditionally made from mare’s milk, but easily adapted to cow's milk. It’s not a thick yogurt or a super-sour kefir, but rather a thinner, pourable drink with a slight tang and natural carbonation.
What it tastes like: Imagine a slightly tangy, subtly sweet, and lightly fizzy milk drink. It’s incredibly refreshing, almost like a dairy-based soda but much healthier!
How long it takes: While active prep is quick (about 15 minutes), the fermentation process usually takes 1-2 days, plus an optional bottling step for more fizz and a few hours to chill.
Whether it’s alcoholic: Traditionally, yes, Kymyz can be very lightly alcoholic (usually less than 1-2% ABV, similar to kombucha). Our home recipe aims for a non-alcoholic or trace-alcohol version, but some natural alcohol can develop during fermentation.
Ingredients
Directions
- Sanitize and Set Up: First things first, cleanliness is key when fermenting! Thoroughly wash and sanitize a 1-quart glass jar (like a Mason jar) and its lid, a fine-mesh strainer, and a spoon. You can sanitize by boiling them for 5 minutes, running them through a hot dishwasher cycle, or using a food-grade sanitizer. Let them air dry completely.
- Warm the Milk (Optional but Helpful): Gently warm your quart of whole milk in a saucepan over medium-low heat until it reaches about 70-80°F (21-27°C). This temperature is ideal for activating most starter cultures. You can use a thermometer for precision, but if you don't have one, it should feel just slightly warmer than lukewarm to the touch. Don't let it get hot!
- Add Starter + Sugar: Once the milk is at the right temperature, pour it into your sanitized quart jar. Add the Kymyz starter culture and the 1-2 teaspoons of sugar. Stir gently with your sanitized spoon until the starter and sugar are fully dissolved. The sugar provides an initial food source for the good bacteria and yeast in your starter, helping them kickstart the fermentation process.
- Ferment #1 (Jar): Cover the jar loosely with a lid or a breathable cloth secured with a rubber band. This allows air exchange while keeping out contaminants. Place the jar in a warm spot, ideally between 70-75°F (21-24°C), away from direct sunlight. Ferment for 24-48 hours. During this time, give the jar a gentle shake or stir at least once or twice a day. This helps distribute the cultures and encourages even fermentation. You'll notice the milk starting to thicken slightly and develop a faint tangy smell.
- Strain / Remove Starter (Optional): After 24-48 hours, your Kymyz should be lightly tangy and possibly show signs of slight separation (curds and whey). If your starter culture came in a sachet that needs to be removed (like some kefir grains), strain the Kymyz through a fine-mesh strainer into a clean bowl. If your starter was a powder that dissolves, you can skip this straining step.
- Ferment #2 (Bottle) for Carbonation: For that signature fizz, transfer the strained (or unstrained) Kymyz into clean, food-grade flip-top bottles or sturdy PET plastic bottles. Leave about 1-2 inches of headspace in each bottle. Seal the bottles tightly. Place them back in your warm fermentation spot for another 12-24 hours. This is where the natural carbonation builds up.
- Safety Note: If using PET plastic bottles, you can gently squeeze them. When they feel firm, it's a good sign of carbonation. For glass flip-top bottles, you may need to "burp" them (briefly open and re-seal) once or twice to release excess pressure, especially if your kitchen is very warm, to prevent over-carbonation and potential bottle breakage.
- Chill + Serve: Once your Kymyz has reached your desired level of fizziness, transfer the bottles to the refrigerator. Chill for at least 4 hours before serving. Chilling not only makes it more refreshing but also slows down the fermentation process, preventing it from getting too sour or too fizzy. Before pouring, gently invert the bottle a few times to reincorporate any natural separation (which is totally normal!). Serve cold and enjoy your homemade probiotic fermented milk!
- What success looks like (checklist):
- Smell: Pleasant, fresh, slightly yeasty, and tangy. Not overwhelmingly sour or off.
- Taste: Tangy, subtly sweet (less sweet than plain milk), and refreshing.
- Texture: Thinner than yogurt, pourable, maybe slightly thicker than milk, with some natural, fine separation.
- Carbonation level: A gentle fizz that tickles your tongue, not flat but not aggressively bubbly like soda.
Kymyz (Kumis) - Make a Fizzy Fermented Milk Drink at Home
---Make-a-Fizzy-Fermented-Milk-Drink-at-Home.jpg)
- Serves: 4 People
- Prepare Time: 15 minutes
- Cooking Time: 0 minutes
- Calories: -
- Difficulty: Easy
Ever wondered about a fermented milk drink that’s both ancient and incredibly refreshing? Meet Kymyz (pronounced kuh-MUZ, sometimes spelled Kumis or Koumiss), a lightly fizzy, tangy beverage that’s making a comeback for its incredible taste and gut health benefits. Forget overly thick yogurts or super-sour kefirs – Kymyz offers a unique, pourable texture and a gentle effervescence that makes it truly special. It’s a fantastic way to enjoy the nutritional benefits of milk in a form that’s often easier to digest for many people.
This guide will show you how to whip up your own batch of this delightful fermented milk beverage right in your kitchen. We’ll cover everything from what it is to how to get that perfect fizz, ensuring you can enjoy a milk and probiotics powerhouse at home.
So, what exactly is Kymyz, and what can you expect?
What Kymyz is (and what it isn’t): It’s a fermented milk drink, traditionally made from mare’s milk, but easily adapted to cow's milk. It’s not a thick yogurt or a super-sour kefir, but rather a thinner, pourable drink with a slight tang and natural carbonation.
What it tastes like: Imagine a slightly tangy, subtly sweet, and lightly fizzy milk drink. It’s incredibly refreshing, almost like a dairy-based soda but much healthier!
How long it takes: While active prep is quick (about 15 minutes), the fermentation process usually takes 1-2 days, plus an optional bottling step for more fizz and a few hours to chill.
Whether it’s alcoholic: Traditionally, yes, Kymyz can be very lightly alcoholic (usually less than 1-2% ABV, similar to kombucha). Our home recipe aims for a non-alcoholic or trace-alcohol version, but some natural alcohol can develop during fermentation.
Ingredients
Directions
- Sanitize and Set Up: First things first, cleanliness is key when fermenting! Thoroughly wash and sanitize a 1-quart glass jar (like a Mason jar) and its lid, a fine-mesh strainer, and a spoon. You can sanitize by boiling them for 5 minutes, running them through a hot dishwasher cycle, or using a food-grade sanitizer. Let them air dry completely.
- Warm the Milk (Optional but Helpful): Gently warm your quart of whole milk in a saucepan over medium-low heat until it reaches about 70-80°F (21-27°C). This temperature is ideal for activating most starter cultures. You can use a thermometer for precision, but if you don't have one, it should feel just slightly warmer than lukewarm to the touch. Don't let it get hot!
- Add Starter + Sugar: Once the milk is at the right temperature, pour it into your sanitized quart jar. Add the Kymyz starter culture and the 1-2 teaspoons of sugar. Stir gently with your sanitized spoon until the starter and sugar are fully dissolved. The sugar provides an initial food source for the good bacteria and yeast in your starter, helping them kickstart the fermentation process.
- Ferment #1 (Jar): Cover the jar loosely with a lid or a breathable cloth secured with a rubber band. This allows air exchange while keeping out contaminants. Place the jar in a warm spot, ideally between 70-75°F (21-24°C), away from direct sunlight. Ferment for 24-48 hours. During this time, give the jar a gentle shake or stir at least once or twice a day. This helps distribute the cultures and encourages even fermentation. You'll notice the milk starting to thicken slightly and develop a faint tangy smell.
- Strain / Remove Starter (Optional): After 24-48 hours, your Kymyz should be lightly tangy and possibly show signs of slight separation (curds and whey). If your starter culture came in a sachet that needs to be removed (like some kefir grains), strain the Kymyz through a fine-mesh strainer into a clean bowl. If your starter was a powder that dissolves, you can skip this straining step.
- Ferment #2 (Bottle) for Carbonation: For that signature fizz, transfer the strained (or unstrained) Kymyz into clean, food-grade flip-top bottles or sturdy PET plastic bottles. Leave about 1-2 inches of headspace in each bottle. Seal the bottles tightly. Place them back in your warm fermentation spot for another 12-24 hours. This is where the natural carbonation builds up.
- Safety Note: If using PET plastic bottles, you can gently squeeze them. When they feel firm, it's a good sign of carbonation. For glass flip-top bottles, you may need to "burp" them (briefly open and re-seal) once or twice to release excess pressure, especially if your kitchen is very warm, to prevent over-carbonation and potential bottle breakage.
- Chill + Serve: Once your Kymyz has reached your desired level of fizziness, transfer the bottles to the refrigerator. Chill for at least 4 hours before serving. Chilling not only makes it more refreshing but also slows down the fermentation process, preventing it from getting too sour or too fizzy. Before pouring, gently invert the bottle a few times to reincorporate any natural separation (which is totally normal!). Serve cold and enjoy your homemade probiotic fermented milk!
- What success looks like (checklist):
- Smell: Pleasant, fresh, slightly yeasty, and tangy. Not overwhelmingly sour or off.
- Taste: Tangy, subtly sweet (less sweet than plain milk), and refreshing.
- Texture: Thinner than yogurt, pourable, maybe slightly thicker than milk, with some natural, fine separation.
- Carbonation level: A gentle fizz that tickles your tongue, not flat but not aggressively bubbly like soda.
You may also like


Hey there! I’m just someone who seriously loves good food and believes that cooking doesn’t have to be complicated to be amazing. Whether it’s a quick weeknight dinner or a cozy weekend meal, I’m all about sharing easy, tasty recipes that actually work.


