
Lunar - Sweet Bean Mooncakes
Lunar - Sweet Bean Mooncakes
- Serves: 10 People
- Prepare Time: 2 hours (pl
- Cooking Time: 25-30 minut
- Calories: -
- Difficulty: Medium
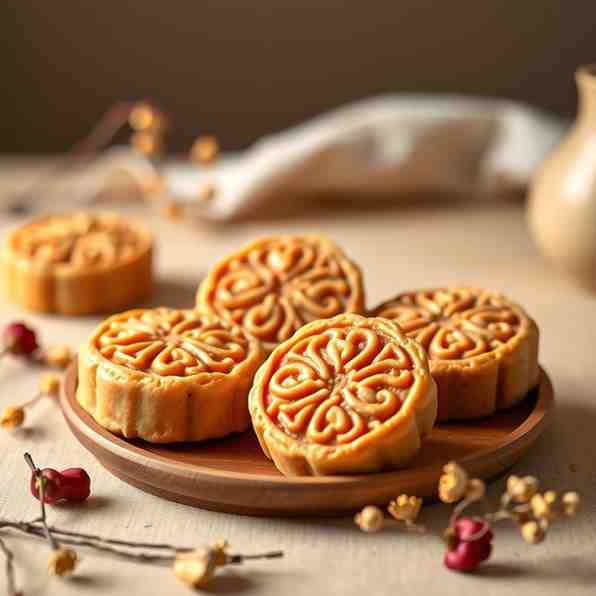
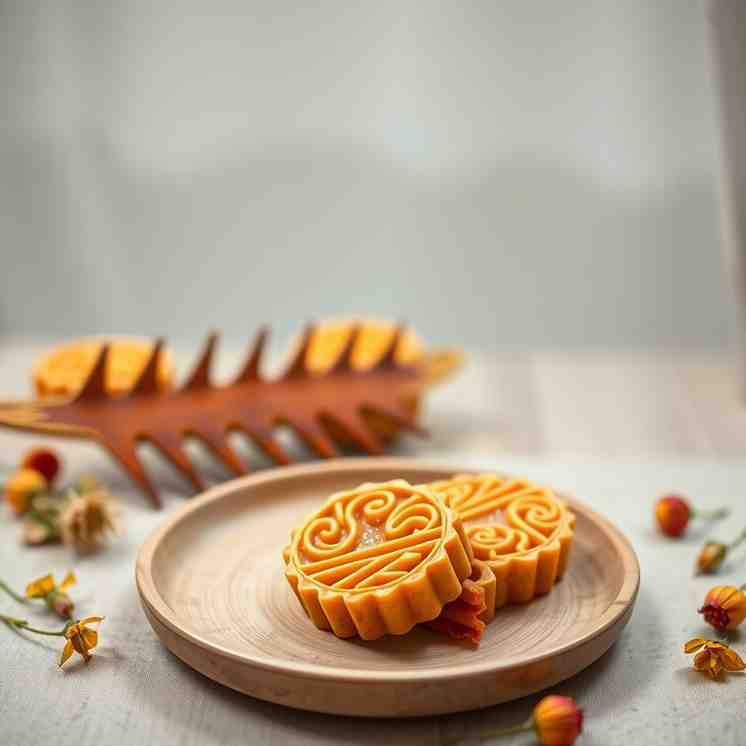
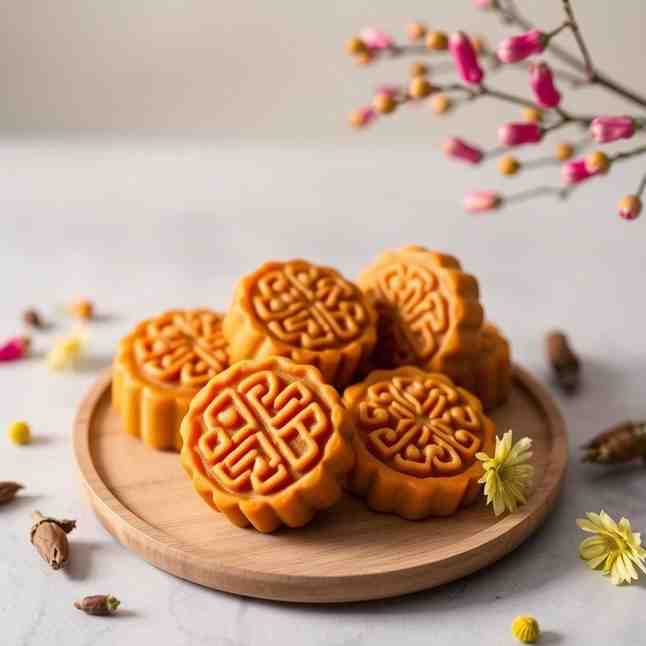
Welcome to the wonderful world of Chinese mooncakes! These iconic pastries, often filled with rich sweet bean paste, are more than just a treat; they're a symbol of unity and celebration during the Mid-Autumn Festival. If you've ever wanted to learn how to bake these traditional delights at home, you're in the right place. This guide focuses on the classic Cantonese-style baked mooncake, featuring a golden, thin crust and a luscious lotus seed paste filling, often with a glistening salted duck egg yolk "moon" in the center.
We know making mooncakes can seem daunting, but we’ve broken it down into an approachable, authentic recipe. We’ve tested this extensively in a home oven, provided weights in grams for precision, and included clear troubleshooting tips to help you every step of the way. Plus, we’ll guide you on where to find those special ingredients, even if you don't have a Chinese store online nearby. Get ready to impress your family and friends with your very own homemade Lunar Delights!
Ingredients
Directions
- Cook the Lotus Seed Paste
- Soak & De-germ: Rinse dried lotus seeds thoroughly. Soak them in plenty of water overnight, or for at least 6-8 hours, until plump. After soaking, split each seed in half and remove any green germ inside (this prevents bitterness).
- Boil & Soften: Place the prepared lotus seeds in a pot with fresh water, ensuring they are fully submerged. Bring to a boil, then reduce heat and simmer until the seeds are very soft and easily mashed between your fingers (about 1-2 hours). Drain well.
- Blend to Paste: Transfer the softened lotus seeds to a food processor or blender. Add a small amount of fresh water if needed (start with 1/4 cup) and blend until you achieve a very smooth, fine paste. Avoid adding too much water, as it will increase cooking time.
- Cook the Paste: Heat a large nonstick pan over medium heat. Add the blended lotus paste, sugar, and salt. Stir constantly to prevent sticking. Gradually add the neutral oil, about 1-2 tablespoons at a time, incorporating it fully before adding more. Continue cooking and stirring vigorously until the paste thickens, becomes glossy, and can be gathered into a firm, cohesive ball that doesn't stick to the pan. This can take 30-60 minutes.
- Cool & Chill: Transfer the cooked lotus seed paste to a bowl or shallow dish. Cover it with plastic wrap, pressing it directly onto the surface to prevent a skin from forming. Let it cool completely at room temperature, then refrigerate for at least 4 hours, or preferably overnight, until firm enough to shape.
- Prepare the Salted Egg Yolks (Optional)
- Rinse & Dry: If using pre-separated salted duck egg yolks, rinse them gently under cold water to remove any excess salt or brine. Pat them thoroughly dry with paper towels.
- Separate (if using whole eggs): If using whole salted duck eggs, carefully crack them open and separate the yolks from the whites. Discard the whites or save them for another use. Rinse and dry the yolks as above.
- Optional Roasting: For a firmer texture and intensified flavor, you can optionally bake the yolks. Place them on a parchment-lined baking sheet. Brush lightly with Chinese rice wine (optional, but helps reduce "eggy" smell). Bake in a preheated oven at 300°F (150°C) for 5-7 minutes, just until they start to firm up but are not fully cooked.
- Portion: For 50g mooncakes, if your yolks are large, you might need to cut them in half. A whole yolk typically fits well in a 50g mold.
- Mix and Rest the Mooncake Dough
- Combine Wet Ingredients: In a large mixing bowl, combine the golden syrup, kansui (lye water), neutral oil, and a pinch of salt. Whisk vigorously until the mixture is well emulsified and uniform in color.
- Add Flour: Sift the low-gluten flour directly into the wet ingredients. Using a spatula or your hands, gently fold the flour into the wet mixture until just combined. Be careful not to overmix or knead aggressively, as this can develop gluten and lead to a tough crust. The dough will be soft and a bit sticky.
- Rest the Dough: Cover the bowl with plastic wrap and let the dough rest at room temperature for at least 1-2 hours. This resting period allows the gluten to relax, making the dough easier to handle and preventing cracking during molding and baking.
- Portion Filling and Dough
- Calculate Ratios: For 50g mooncakes, a common ratio is 15g dough to 35g filling (if no yolk) or 15g dough to 25g filling + 10g yolk (total 35g filling).
- Portion Filling: Weigh out your lotus seed paste into individual balls according to your desired ratio (e.g., 35g each). If using egg yolks, flatten a portion of lotus paste, place a prepared yolk in the center, and carefully mold the paste around it, ensuring the yolk is fully encased. Roll into a smooth ball.
- Portion Dough: Weigh out your mooncake dough into individual balls (e.g., 15g each).
- Chill (Optional): If your kitchen is warm or the filling is very soft, you can briefly chill the portioned filling balls to make wrapping easier.
- Wrap and Seal the Mooncakes
- Flatten Dough: Take one portion of dough and flatten it into a disc, making the edges slightly thinner than the center. You can use your fingers or a small rolling pin.
- Encase Filling: Place a filling ball (with or without yolk) in the center of the flattened dough. Gently bring the edges of the dough up and around the filling, carefully encasing it completely. Pinch the seam closed at the top.
- Smooth Ball: Roll the mooncake gently between your palms to create a smooth, round ball, ensuring the seam is fully sealed and there are no cracks in the dough.
- Mold Without Sticking or Distorting Patterns
- Light Dusting: Lightly dust your mooncake mold (especially the plunger and patterned disc) with a tiny amount of low-gluten flour or cornstarch. Tap out any excess; too much flour will obscure the pattern.
- Press & Release: Place a wrapped mooncake ball into the mold. Press down firmly and evenly with the plunger onto your work surface. Hold for a few seconds, then gently release, tapping the mold to release the mooncake cleanly.
- Arrange: Carefully transfer the molded mooncakes to a baking sheet lined with parchment paper, leaving about 1-2 inches of space between each.
- Bake, Egg-Wash, and Rest
- Preheat Oven: Preheat your oven to 350°F (175°C).
- First Bake (Set Shape): Bake the mooncakes for 5-7 minutes, just until the patterns are set and the crust is slightly firm.
- Cool & Egg Wash: Remove the mooncakes from the oven and let them cool on the baking sheet for 10-15 minutes. While they cool, prepare the egg wash by whisking the egg yolk with water. Once cooled, use a very small, soft brush to apply a thin and even layer of egg wash over the surface of each mooncake, avoiding pooling in the pattern crevices.
- Second Bake (Color): Return the mooncakes to the oven. Reduce the temperature to 325°F (160°C). Bake for another 15-20 minutes, or until they achieve a beautiful golden-brown color. Monitor closely to prevent burning the intricate patterns.
- Cool Completely & Rest (Hui You): Remove from the oven and transfer to a wire rack to cool completely. Once cool, store the mooncakes in an airtight container at room temperature. They need to rest for 1-3 days (known as "hui you" or "returning oil") for the crust to soften, develop its characteristic sheen, and for the flavors to meld beautifully.
Lunar - Sweet Bean Mooncakes
- Serves: 10 People
- Prepare Time: 2 hours (pl
- Cooking Time: 25-30 minut
- Calories: -
- Difficulty: Medium
Welcome to the wonderful world of Chinese mooncakes! These iconic pastries, often filled with rich sweet bean paste, are more than just a treat; they're a symbol of unity and celebration during the Mid-Autumn Festival. If you've ever wanted to learn how to bake these traditional delights at home, you're in the right place. This guide focuses on the classic Cantonese-style baked mooncake, featuring a golden, thin crust and a luscious lotus seed paste filling, often with a glistening salted duck egg yolk "moon" in the center.
We know making mooncakes can seem daunting, but we’ve broken it down into an approachable, authentic recipe. We’ve tested this extensively in a home oven, provided weights in grams for precision, and included clear troubleshooting tips to help you every step of the way. Plus, we’ll guide you on where to find those special ingredients, even if you don't have a Chinese store online nearby. Get ready to impress your family and friends with your very own homemade Lunar Delights!
Ingredients
Directions
- Cook the Lotus Seed Paste
- Soak & De-germ: Rinse dried lotus seeds thoroughly. Soak them in plenty of water overnight, or for at least 6-8 hours, until plump. After soaking, split each seed in half and remove any green germ inside (this prevents bitterness).
- Boil & Soften: Place the prepared lotus seeds in a pot with fresh water, ensuring they are fully submerged. Bring to a boil, then reduce heat and simmer until the seeds are very soft and easily mashed between your fingers (about 1-2 hours). Drain well.
- Blend to Paste: Transfer the softened lotus seeds to a food processor or blender. Add a small amount of fresh water if needed (start with 1/4 cup) and blend until you achieve a very smooth, fine paste. Avoid adding too much water, as it will increase cooking time.
- Cook the Paste: Heat a large nonstick pan over medium heat. Add the blended lotus paste, sugar, and salt. Stir constantly to prevent sticking. Gradually add the neutral oil, about 1-2 tablespoons at a time, incorporating it fully before adding more. Continue cooking and stirring vigorously until the paste thickens, becomes glossy, and can be gathered into a firm, cohesive ball that doesn't stick to the pan. This can take 30-60 minutes.
- Cool & Chill: Transfer the cooked lotus seed paste to a bowl or shallow dish. Cover it with plastic wrap, pressing it directly onto the surface to prevent a skin from forming. Let it cool completely at room temperature, then refrigerate for at least 4 hours, or preferably overnight, until firm enough to shape.
- Prepare the Salted Egg Yolks (Optional)
- Rinse & Dry: If using pre-separated salted duck egg yolks, rinse them gently under cold water to remove any excess salt or brine. Pat them thoroughly dry with paper towels.
- Separate (if using whole eggs): If using whole salted duck eggs, carefully crack them open and separate the yolks from the whites. Discard the whites or save them for another use. Rinse and dry the yolks as above.
- Optional Roasting: For a firmer texture and intensified flavor, you can optionally bake the yolks. Place them on a parchment-lined baking sheet. Brush lightly with Chinese rice wine (optional, but helps reduce "eggy" smell). Bake in a preheated oven at 300°F (150°C) for 5-7 minutes, just until they start to firm up but are not fully cooked.
- Portion: For 50g mooncakes, if your yolks are large, you might need to cut them in half. A whole yolk typically fits well in a 50g mold.
- Mix and Rest the Mooncake Dough
- Combine Wet Ingredients: In a large mixing bowl, combine the golden syrup, kansui (lye water), neutral oil, and a pinch of salt. Whisk vigorously until the mixture is well emulsified and uniform in color.
- Add Flour: Sift the low-gluten flour directly into the wet ingredients. Using a spatula or your hands, gently fold the flour into the wet mixture until just combined. Be careful not to overmix or knead aggressively, as this can develop gluten and lead to a tough crust. The dough will be soft and a bit sticky.
- Rest the Dough: Cover the bowl with plastic wrap and let the dough rest at room temperature for at least 1-2 hours. This resting period allows the gluten to relax, making the dough easier to handle and preventing cracking during molding and baking.
- Portion Filling and Dough
- Calculate Ratios: For 50g mooncakes, a common ratio is 15g dough to 35g filling (if no yolk) or 15g dough to 25g filling + 10g yolk (total 35g filling).
- Portion Filling: Weigh out your lotus seed paste into individual balls according to your desired ratio (e.g., 35g each). If using egg yolks, flatten a portion of lotus paste, place a prepared yolk in the center, and carefully mold the paste around it, ensuring the yolk is fully encased. Roll into a smooth ball.
- Portion Dough: Weigh out your mooncake dough into individual balls (e.g., 15g each).
- Chill (Optional): If your kitchen is warm or the filling is very soft, you can briefly chill the portioned filling balls to make wrapping easier.
- Wrap and Seal the Mooncakes
- Flatten Dough: Take one portion of dough and flatten it into a disc, making the edges slightly thinner than the center. You can use your fingers or a small rolling pin.
- Encase Filling: Place a filling ball (with or without yolk) in the center of the flattened dough. Gently bring the edges of the dough up and around the filling, carefully encasing it completely. Pinch the seam closed at the top.
- Smooth Ball: Roll the mooncake gently between your palms to create a smooth, round ball, ensuring the seam is fully sealed and there are no cracks in the dough.
- Mold Without Sticking or Distorting Patterns
- Light Dusting: Lightly dust your mooncake mold (especially the plunger and patterned disc) with a tiny amount of low-gluten flour or cornstarch. Tap out any excess; too much flour will obscure the pattern.
- Press & Release: Place a wrapped mooncake ball into the mold. Press down firmly and evenly with the plunger onto your work surface. Hold for a few seconds, then gently release, tapping the mold to release the mooncake cleanly.
- Arrange: Carefully transfer the molded mooncakes to a baking sheet lined with parchment paper, leaving about 1-2 inches of space between each.
- Bake, Egg-Wash, and Rest
- Preheat Oven: Preheat your oven to 350°F (175°C).
- First Bake (Set Shape): Bake the mooncakes for 5-7 minutes, just until the patterns are set and the crust is slightly firm.
- Cool & Egg Wash: Remove the mooncakes from the oven and let them cool on the baking sheet for 10-15 minutes. While they cool, prepare the egg wash by whisking the egg yolk with water. Once cooled, use a very small, soft brush to apply a thin and even layer of egg wash over the surface of each mooncake, avoiding pooling in the pattern crevices.
- Second Bake (Color): Return the mooncakes to the oven. Reduce the temperature to 325°F (160°C). Bake for another 15-20 minutes, or until they achieve a beautiful golden-brown color. Monitor closely to prevent burning the intricate patterns.
- Cool Completely & Rest (Hui You): Remove from the oven and transfer to a wire rack to cool completely. Once cool, store the mooncakes in an airtight container at room temperature. They need to rest for 1-3 days (known as "hui you" or "returning oil") for the crust to soften, develop its characteristic sheen, and for the flavors to meld beautifully.
You may also like


Hey there! I’m just someone who seriously loves good food and believes that cooking doesn’t have to be complicated to be amazing. Whether it’s a quick weeknight dinner or a cozy weekend meal, I’m all about sharing easy, tasty recipes that actually work.


