
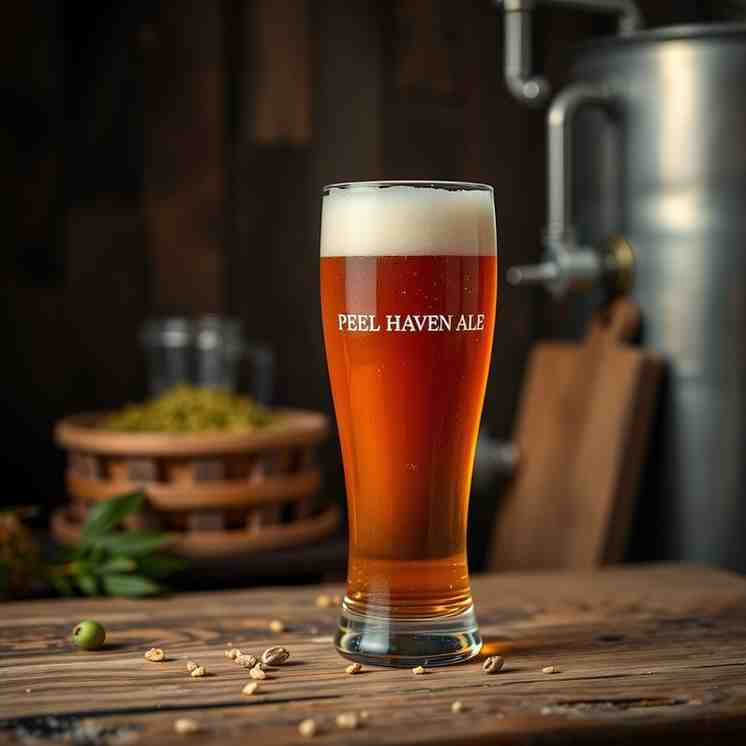
Peel Haven Ale - Home Brew Ale Recipe
Peel Haven Ale - Home Brew Ale Recipe
- Serves: 5 People
- Prepare Time: 1 hour 30 m
- Cooking Time: 1 hour 15 m
- Calories: -
- Difficulty: Medium
Ever dreamt of crafting your own delicious brew right in your kitchen? Well, get ready to dive into the wonderful world of home brew ale recipes! Today, we're not just making any beer; we're unveiling the secrets to our signature "Peel Haven Ale." This isn't just a basic beer recipe; it's a rich, malty, and perfectly balanced all grain ale recipe inspired by the classic Scottish Ales that brewers (and drinkers!) adore.
Scottish Ales are famous for their deep caramel notes, a hint of roast, and a smooth, easy-drinking character that makes them incredibly satisfying. Our Peel Haven Ale brings those beloved traits right to your glass, with a touch of modern home brewing finesse. Whether you're a seasoned brewer looking for your next all-grain adventure or a curious beginner eager to learn home brewing how to, this guide is your go-to. We'll walk you through every step, from selecting the perfect ingredients for beer brewing to savoring your first homemade pint. Get ready to elevate your brewing game and create something truly special!
Ingredients
Directions
- Equipment Needed:
- Large Mash Tun (10+ gallon insulated cooler works great)
- Hot Liquor Tank (HLT) or large pot for heating strike water (10+ gallons)
- Boil Kettle (10+ gallons)
- Fermentation Vessel (6.5+ gallon carboy or bucket)
- Airlock and stopper/bung
- Hydrometer and test jar
- Accurate thermometer
- Long stirring spoon/mash paddle
- Sanitizer (Star San, PBW, etc.)
- Immersion chiller or plate chiller
- Bottling bucket with spigot
- Approximately 50 clean 12oz bottles
- Bottle capper and caps
- The All-Grain Brewing Process:
- Mashing (The Grain Conversion)
- Heat Your Strike Water: In your HLT, heat about 3.5 gallons (13.2 liters) of water to approximately 164°F (73°C). This temperature will drop when it hits the grains, aiming for a mash temperature of 152°F (67°C).
- Dough In: Carefully transfer your heated strike water to your mash tun. Slowly add your crushed grains, stirring continuously to break up any clumps and ensure all grains are thoroughly wetted. This is called "doughing in."
- Mash Rest: Once all grains are added and mixed well, check your temperature. It should be right around 152°F (67°C). Close the lid of your mash tun and let it rest for 60 minutes. This is where enzymes convert starches into fermentable sugars.
- Mash Out (Optional but Recommended): After 60 minutes, slowly add 1.5-2 gallons (5.7-7.6 liters) of water heated to 170°F (77°C) to raise the mash temperature to around 168°F (76°C). Stir gently. This "mash out" step stops enzyme activity and makes the wort (unfermented beer) less viscous, aiding sparging. Rest for 10 minutes.
- Sparging (Rinsing the Sugars)
- Vorlauf: Open the spigot on your mash tun and collect about 1-2 quarts (1-2 liters) of wort into a pitcher. Gently pour this wort back over the grain bed. Repeat this 2-3 times until the wort running out of the spigot appears clear and free of grain bits. This sets your grain bed as a filter.
- Sparge: Once the wort is clear, begin collecting it into your boil kettle. While the wort drains, slowly and evenly sparge (rinse) the grain bed with 170°F (77°C) water from your HLT. Aim to collect about 6.5-7 gallons (24.6-26.5 liters) of wort in your boil kettle. Don't let the grain bed run dry during sparging.
- Boiling (Hops & Sterilization)
- Bring to a Boil: Once you've collected your target volume, bring the wort to a rolling boil. Be careful of boil-overs!
- 60-Minute Hop Addition: Once boiling, add your 1 oz (28g) of Fuggle Hops. These are your bittering hops and will be in the boil for the full 60 minutes.
- 15-Minute Additions: With 15 minutes left in the boil, add your 0.5 oz (14g) of East Kent Goldings Hops (for flavor/aroma) and your Irish Moss or Whirlfloc tablet (for clarity).
- Cooling (Chilling): After the 60-minute boil, turn off the heat. Immediately immerse your wort chiller into the kettle and begin circulating cold water. Stir the wort gently around the chiller to speed up cooling. Your goal is to cool the wort down to fermentation temperature, ideally 65-68°F (18-20°C), as quickly as possible.
- Sanitize! While the wort chills, sanitize your fermentation vessel, airlock, stopper, and anything else that will touch the cooled wort (thermometer, hydrometer).
- Fermentation (Yeast's Magic)
- Transfer Wort: Once your wort is chilled to 65-68°F (18-20°C), carefully transfer it to your sanitized fermentation vessel. Try to avoid transferring too much trub (hop and protein sediment) from the bottom of the kettle.
- Aeration: Gently rock or swirl your fermenter for a few minutes to aerate the wort. Yeast needs oxygen to get a good start!
- Pitch Yeast: If using dry yeast, sprinkle it directly onto the surface of the wort. If using liquid yeast with a starter, pitch the entire starter.
- Seal & Airlock: Securely attach the airlock and stopper to your fermenter. Fill the airlock with sanitized water or vodka.
- Fermentation Temperature: Place your fermenter in a cool, dark place with a stable temperature between 65-68°F (18-20°C). This is crucial for clean fermentation.
- Wait: Fermentation typically takes 1-2 weeks. You'll see activity in the airlock within 24-48 hours. Let it ferment until activity subsides and your hydrometer readings are stable for a few days (usually around 1.010-1.015 FG).
- Bottling (Carbonation & Enjoyment)
- Sanitize Everything! Clean and sanitize all your bottles, caps, bottling bucket, siphoning equipment, and bottle capper. This is the most critical step for avoiding off-flavors.
- Prepare Priming Sugar: In a small saucepan, dissolve 4-5 oz (113-140g) of corn sugar (dextrose) in about 1 cup (240ml) of water. Bring it to a boil for 5 minutes, then let it cool slightly.
- Transfer to Bottling Bucket: Gently siphon your fermented beer from the fermenter into the sanitized bottling bucket. Leave the yeast sediment behind.
- Add Priming Sugar: Pour the cooled priming sugar solution into the bottling bucket with the beer. Stir gently for about 30 seconds to mix thoroughly without oxidizing the beer.
- Fill Bottles: Using the spigot on your bottling bucket and a bottling wand, fill each bottle, leaving about 1 inch of headspace at the top.
- Cap Bottles: Immediately cap each bottle tightly.
- Conditioning: Store your capped bottles in a dark place at room temperature (65-70°F / 18-21°C) for at least 2-3 weeks. This allows the yeast to consume the priming sugar and naturally carbonate your beer. For best results, chill a bottle after 2 weeks to test carbonation. If it's not quite fizzy enough, let the rest condition for another week.
You may also like


Hey there! I’m just someone who seriously loves good food and believes that cooking doesn’t have to be complicated to be amazing. Whether it’s a quick weeknight dinner or a cozy weekend meal, I’m all about sharing easy, tasty recipes that actually work.


