
Bake Perfect Salvadoran Semita Dough for Pastries
Bake Perfect Salvadoran Semita Dough for Pastries
- Serves: 12 People
- Prepare Time: 45 minutes
- Cooking Time: 30-35 minut
- Calories: -
- Difficulty: Medium
Get ready to bake a taste of El Salvador right in your kitchen! Our Salvadoran Semita Recipe brings you the beloved Semita de Piña – a delightful, soft-layered pastry filled with sweet pineapple jam. This isn't just any sweet bread; it's a comforting classic that perfectly balances a tender, slightly sweet dough for pastries with a bright, tangy fruit filling.
Semita in El Salvador can mean different pastries (pacha vs alta).
This recipe is semita de piña: soft bread-dough layers with pineapple filling (sheet-pan style).
Ingredients
Directions
- Part 1: Make the Pineapple Filling (Do This First!)
- Prep the Pineapple: If using fresh pineapple, peel, core, and chop it into small pieces. You can also pulse it a few times in a food processor for a finer texture. If using crushed canned pineapple, skip this step.
- Cook Down: In a medium saucepan, combine the chopped/crushed pineapple (and its juice if using canned), brown sugar, cinnamon, and cloves. Bring the mixture to a simmer over medium heat, stirring occasionally.
- Thicken: Continue to cook, stirring frequently, for 15-20 minutes, or until the liquid has mostly evaporated, and the pineapple is very tender and jammy. You're looking for a thick, spreadable consistency where a spoon drawn across the bottom of the pan leaves a clear path for a moment.
- Slurry Time: In a small bowl, whisk together the cornstarch and cold water until smooth. Pour this slurry into the simmering pineapple mixture, stirring constantly. Cook for another 1-2 minutes until the filling thickens considerably, resembling a very thick jam.
- Cool Completely: Transfer the hot pineapple filling to a bowl or shallow dish. Cover it and let it cool completely to room temperature before assembling the semita. This is crucial to prevent the filling from making the dough for pastries soggy or leaking during baking. You can even make this a day ahead and chill it in the fridge.
- Part 2: Make the Dough
- Warm the Liquids: In a small saucepan, gently heat the milk and butter over low heat until the butter is melted and the mixture is warm to the touch (about 105-115°F / 40-46°C). It should not be hot, just lukewarm. Too hot will kill the yeast!
- Bloom the Yeast: Pour the warm milk mixture into the bowl of a stand mixer fitted with the dough hook attachment (or a large mixing bowl if mixing by hand). Sprinkle the sugar, salt, and yeast over the top. Let it sit for 5-10 minutes until foamy. This shows your yeast is active and ready to make your dough for pastries rise.
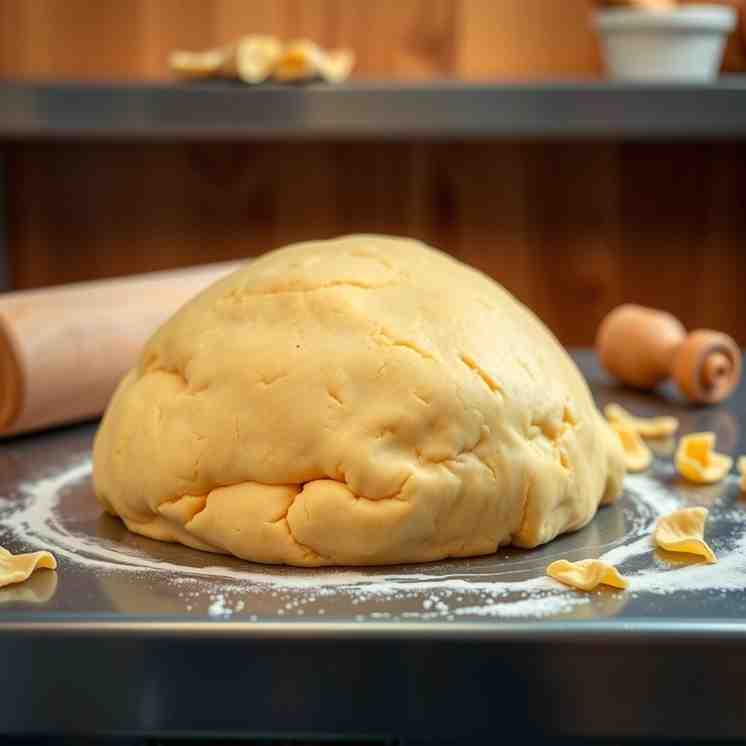
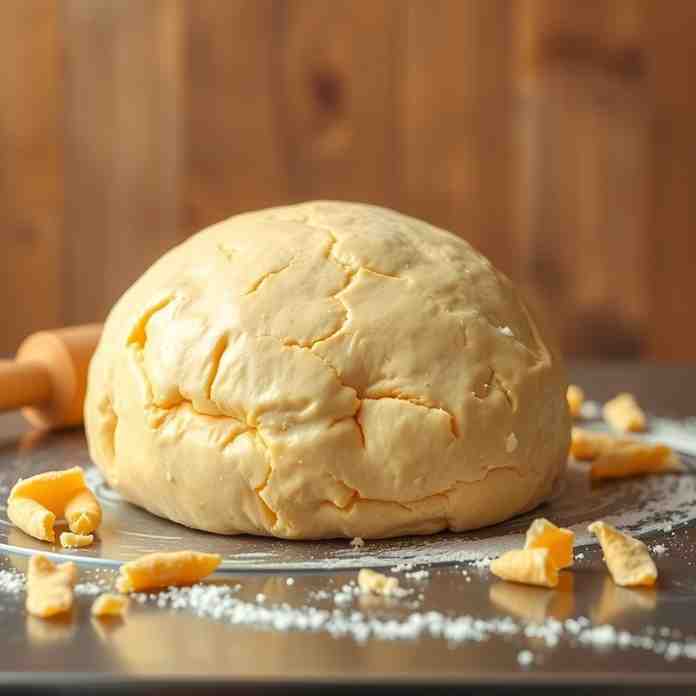
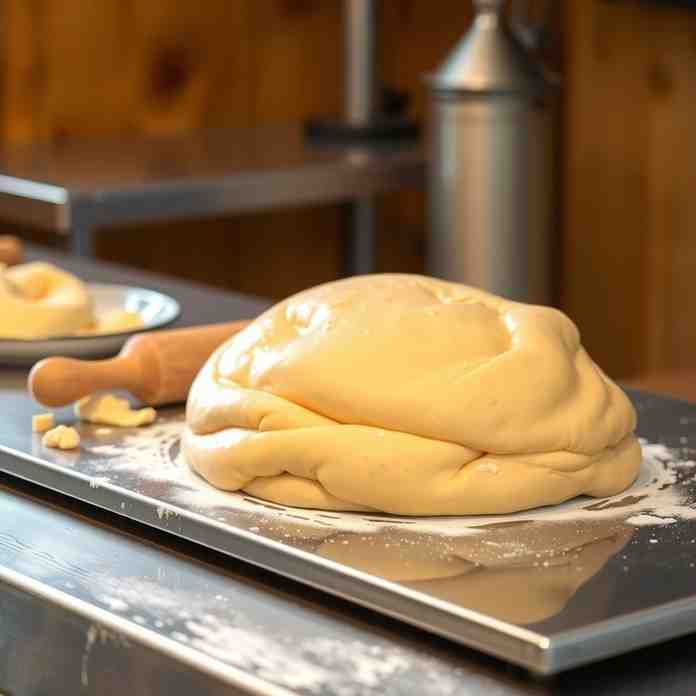
- Mix & Knead: Add the eggs and 4 ½ cups of all purpose flour to the yeast mixture. Start mixing on low speed (or by hand with a sturdy spoon) until a shaggy dough forms. Increase the speed to medium-low and knead for 8-10 minutes. If kneading by hand, turn the dough out onto a lightly floured surface and knead a dough for 10-15 minutes. The dough should be soft, smooth, and slightly tacky to the touch, but not sticky. Add the remaining ½ cup of flour, one tablespoon at a time, only if the dough is too sticky to handle.
- First Rise: Lightly grease a large bowl. Place the dough in the bowl, turning it once to coat. Cover the bowl with plastic wrap or a clean kitchen towel. Let it rise in a warm, draft-free place for 1 to 1 ½ hours, or until it has doubled in size. This "doubled" look is a key visual cue for a successful first rise.
- Part 3: Assemble the Semita
- Prep Your Pan: Lightly grease an 11x17-inch sheet pan. Line it with parchment lined baking sheet paper, leaving an overhang on the longer sides to easily lift the semita later.
- Divide the Dough: Gently punch down the risen dough for pastries to release the air. Divide it in half, with one half slightly larger (about 60%) than the other (40%). The larger piece will be your bottom layer, the smaller for the top and lattice.
- Roll Bottom Layer: On a lightly floured surface, roll out the larger dough portion into a rectangle roughly 12x18 inches, slightly larger than your sheet pan. Carefully transfer this dough to the prepared sheet pan, pressing it gently to fit the bottom and extend slightly up the sides.
- Spread Filling: Spread the cooled pineapple filling evenly over the bottom dough for pastries layer, leaving a ½-inch border around all edges. This "border rule" is essential to prevent leaks.
- Add Top Layer: Roll out the smaller dough portion into a rectangle about 11x17 inches. Carefully place it over the pineapple filling.
- Seal It Up: Press the edges of the top and bottom dough layers together firmly. You can use a fork to crimp and seal the edges all around the pan, creating a decorative and secure seal.
- Lattice Strips (Optional but Recommended): With any remaining dough from the smaller portion (or if you want a more elaborate lattice, reserve a bit more from the larger portion), roll it out and cut into ½-inch wide strips using a pizza cutter or knife. Arrange these strips in a crisscross lattice pattern over the top dough layer. Press the ends of the strips onto the sealed border.
- Egg Wash & Sugar: In a small bowl, whisk the remaining egg with 1 tablespoon of water to make an egg wash. Brush the entire top surface of the semita (dough and lattice) with the egg wash. Sprinkle generously with granulated sugar (and optional panela/piloncillo).
- Short Rest & Dock: Let the assembled semita rest for 20-30 minutes. During this time, preheat your oven to 350°F (175°C). Just before baking, use a toothpick to gently poke about 10-15 holes randomly over the top dough layer, avoiding the lattice strips. This helps prevent the top layer from "ballooning" or separating during baking.
- Part 4: Bake & Cool
- Bake: Bake for 30-35 minutes, or until the semita is deeply golden brown on top and the edges are lightly caramelized.
- Cool Completely: Remove the semita from the oven and let it cool completely in the pan on a wire rack. This is crucial! Cooling completely prevents the filling from being gummy or leaking when sliced and allows the pastry to set properly. Don't rush this part.
- Slice & Serve: Once completely cool, use the parchment paper overhang to carefully lift the semita from the pan. Transfer it to a cutting board and slice into squares.
Bake Perfect Salvadoran Semita Dough for Pastries
- Serves: 12 People
- Prepare Time: 45 minutes
- Cooking Time: 30-35 minut
- Calories: -
- Difficulty: Medium
Get ready to bake a taste of El Salvador right in your kitchen! Our Salvadoran Semita Recipe brings you the beloved Semita de Piña – a delightful, soft-layered pastry filled with sweet pineapple jam. This isn't just any sweet bread; it's a comforting classic that perfectly balances a tender, slightly sweet dough for pastries with a bright, tangy fruit filling.
Semita in El Salvador can mean different pastries (pacha vs alta).
This recipe is semita de piña: soft bread-dough layers with pineapple filling (sheet-pan style).
Ingredients
Directions
- Part 1: Make the Pineapple Filling (Do This First!)
- Prep the Pineapple: If using fresh pineapple, peel, core, and chop it into small pieces. You can also pulse it a few times in a food processor for a finer texture. If using crushed canned pineapple, skip this step.
- Cook Down: In a medium saucepan, combine the chopped/crushed pineapple (and its juice if using canned), brown sugar, cinnamon, and cloves. Bring the mixture to a simmer over medium heat, stirring occasionally.
- Thicken: Continue to cook, stirring frequently, for 15-20 minutes, or until the liquid has mostly evaporated, and the pineapple is very tender and jammy. You're looking for a thick, spreadable consistency where a spoon drawn across the bottom of the pan leaves a clear path for a moment.
- Slurry Time: In a small bowl, whisk together the cornstarch and cold water until smooth. Pour this slurry into the simmering pineapple mixture, stirring constantly. Cook for another 1-2 minutes until the filling thickens considerably, resembling a very thick jam.
- Cool Completely: Transfer the hot pineapple filling to a bowl or shallow dish. Cover it and let it cool completely to room temperature before assembling the semita. This is crucial to prevent the filling from making the dough for pastries soggy or leaking during baking. You can even make this a day ahead and chill it in the fridge.
- Part 2: Make the Dough
- Warm the Liquids: In a small saucepan, gently heat the milk and butter over low heat until the butter is melted and the mixture is warm to the touch (about 105-115°F / 40-46°C). It should not be hot, just lukewarm. Too hot will kill the yeast!
- Bloom the Yeast: Pour the warm milk mixture into the bowl of a stand mixer fitted with the dough hook attachment (or a large mixing bowl if mixing by hand). Sprinkle the sugar, salt, and yeast over the top. Let it sit for 5-10 minutes until foamy. This shows your yeast is active and ready to make your dough for pastries rise.
- Mix & Knead: Add the eggs and 4 ½ cups of all purpose flour to the yeast mixture. Start mixing on low speed (or by hand with a sturdy spoon) until a shaggy dough forms. Increase the speed to medium-low and knead for 8-10 minutes. If kneading by hand, turn the dough out onto a lightly floured surface and knead a dough for 10-15 minutes. The dough should be soft, smooth, and slightly tacky to the touch, but not sticky. Add the remaining ½ cup of flour, one tablespoon at a time, only if the dough is too sticky to handle.
- First Rise: Lightly grease a large bowl. Place the dough in the bowl, turning it once to coat. Cover the bowl with plastic wrap or a clean kitchen towel. Let it rise in a warm, draft-free place for 1 to 1 ½ hours, or until it has doubled in size. This "doubled" look is a key visual cue for a successful first rise.
- Part 3: Assemble the Semita
- Prep Your Pan: Lightly grease an 11x17-inch sheet pan. Line it with parchment lined baking sheet paper, leaving an overhang on the longer sides to easily lift the semita later.
- Divide the Dough: Gently punch down the risen dough for pastries to release the air. Divide it in half, with one half slightly larger (about 60%) than the other (40%). The larger piece will be your bottom layer, the smaller for the top and lattice.
- Roll Bottom Layer: On a lightly floured surface, roll out the larger dough portion into a rectangle roughly 12x18 inches, slightly larger than your sheet pan. Carefully transfer this dough to the prepared sheet pan, pressing it gently to fit the bottom and extend slightly up the sides.
- Spread Filling: Spread the cooled pineapple filling evenly over the bottom dough for pastries layer, leaving a ½-inch border around all edges. This "border rule" is essential to prevent leaks.
- Add Top Layer: Roll out the smaller dough portion into a rectangle about 11x17 inches. Carefully place it over the pineapple filling.
- Seal It Up: Press the edges of the top and bottom dough layers together firmly. You can use a fork to crimp and seal the edges all around the pan, creating a decorative and secure seal.
- Lattice Strips (Optional but Recommended): With any remaining dough from the smaller portion (or if you want a more elaborate lattice, reserve a bit more from the larger portion), roll it out and cut into ½-inch wide strips using a pizza cutter or knife. Arrange these strips in a crisscross lattice pattern over the top dough layer. Press the ends of the strips onto the sealed border.
- Egg Wash & Sugar: In a small bowl, whisk the remaining egg with 1 tablespoon of water to make an egg wash. Brush the entire top surface of the semita (dough and lattice) with the egg wash. Sprinkle generously with granulated sugar (and optional panela/piloncillo).
- Short Rest & Dock: Let the assembled semita rest for 20-30 minutes. During this time, preheat your oven to 350°F (175°C). Just before baking, use a toothpick to gently poke about 10-15 holes randomly over the top dough layer, avoiding the lattice strips. This helps prevent the top layer from "ballooning" or separating during baking.
- Part 4: Bake & Cool
- Bake: Bake for 30-35 minutes, or until the semita is deeply golden brown on top and the edges are lightly caramelized.
- Cool Completely: Remove the semita from the oven and let it cool completely in the pan on a wire rack. This is crucial! Cooling completely prevents the filling from being gummy or leaking when sliced and allows the pastry to set properly. Don't rush this part.
- Slice & Serve: Once completely cool, use the parchment paper overhang to carefully lift the semita from the pan. Transfer it to a cutting board and slice into squares.
You may also like


Hey there! I’m just someone who seriously loves good food and believes that cooking doesn’t have to be complicated to be amazing. Whether it’s a quick weeknight dinner or a cozy weekend meal, I’m all about sharing easy, tasty recipes that actually work.


