
Bake a Traditional Lithuanian Tree Cake | Wedding Cake Recipe
Bake a Traditional Lithuanian Tree Cake | Wedding Cake Recipe

- Serves: 16 People
- Prepare Time: 1 hour 30 m
- Cooking Time: 2 hours 30
- Calories: -
- Difficulty: Hard
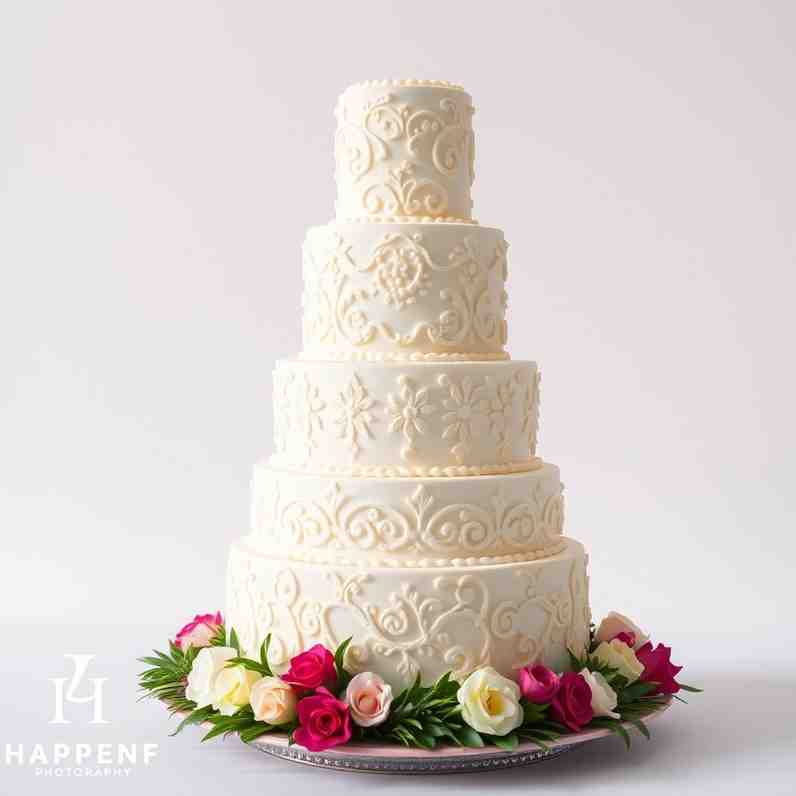
Ever dreamed of baking a truly show-stopping dessert that doubles as a piece of edible art? Look no further than Šakotis: A Unique Lithuanian Tree Cake! This isn't just any ordinary baked cake recipe; it's a magnificent, spiky creation that stands tall, resembling a frosted pine tree. Known as a traditional wedding cake in Lithuania, Šakotis is the ultimate cake for special occasions, symbolizing prosperity and celebration. Learning to prepare this authentic wedding cake recipe from scratch is a journey into a rich culinary tradition.
While it might look intricate, our guide will walk you through every step, ensuring that even if you're new to baking at home, you can create this impressive masterpiece. We'll cover everything from the essential cake preparation ingredients and cake mixing ingredients to how to properly bake a cake in oven using its unique layering technique. Get ready to impress your guests with a cake that's not only delicious but also a true conversation starter, perfect for making any event, especially a wedding, unforgettable.
Ingredients
Directions
- Preparing the BatterIn a very large mixing bowl or stand mixer, combine the softened butter and both granulated and powdered sugars. Beat on medium-high speed until the mixture is light, fluffy, and pale yellow, about 5-7 minutes. This creaming process is crucial for a tender cake. Next, add the eggs one at a time, beating well after each addition until fully incorporated. This might seem like a lot of eggs, but they are key to the cake's unique texture and structure. Don't rush this step!
- Adding Dry IngredientsReduce the mixer speed to low. Gradually add the sifted flour and salt to the wet ingredients, mixing until just combined. Be careful not to overmix; overmixing can lead to a tough cake. Once the flour is mostly incorporated, slowly pour in the heavy cream (or evaporated milk), rum (if using), and vanilla extract. If adding lemon or orange zest, stir it in now. Mix until the batter is smooth and uniform, but still avoid overmixing. The final batter should be thick, smooth, and pourable, similar to a pancake batter but a bit richer.
- Resting the BatterCover the bowl with plastic wrap and refrigerate the batter for at least 30 minutes, or up to 2 hours. This resting period is important for the flour to fully hydrate and for the flavors to meld, resulting in a more cohesive and easier-to-handle batter during the layering process.
- Preparing the Spit and OvenPreheat your oven to 350°F (175°C). If using a rotisserie, install it according to your oven's instructions. If manually turning, ensure your spit/rod is securely mounted and can be rotated easily. Lightly grease the spit or rod with butter and dust with flour to prevent sticking. Place a large baking sheet lined with parchment paper or foil on the bottom rack of your oven to catch any drips.
- Layering the BatterThis is the heart of making Šakotis and what gives it its distinctive "branches."
- Initial Layers: Start by pouring a thin, even layer of batter onto the rotating spit. Allow it to cook for 5-7 minutes, or until it sets and begins to turn golden.
- Building the Branches: Once the first layer is set, pour another thin layer of batter. As this layer cooks and drips, it will start to form the characteristic spikes or "branches." The heat from the oven will cause the batter to crisp and solidify as it drips, creating the unique texture.
- Timing and Heat Management: Continue this process, adding thin layers of batter every 5-7 minutes. You'll need to monitor the cake closely. If the branches are browning too quickly, lower the oven temperature slightly or move the drip pan higher to create a barrier. If they're not forming well, you might need to increase the heat slightly. The key is patience and consistent layering. Rotate the spit continuously (either automatically or manually) to ensure even cooking and branch formation all around the cake. This step is the most time-consuming, taking up to 2 hours or more, depending on the desired size and number of layers.
- BakingOnce all the batter is used and your Šakotis has reached its desired size and spiky appearance, continue to bake it for an additional 15-20 minutes to ensure all layers are thoroughly cooked through and golden brown. The cake should sound hollow when tapped gently.
- Cooling and ServingCarefully remove the Šakotis from the oven and let it cool completely on the spit before attempting to remove it. This cooling process allows the cake to firm up and prevents it from breaking. Once cool, gently slide it off the spit. Šakotis is traditionally served plain, allowing its unique texture and rich flavor to shine. To serve, use a serrated knife to cut slices horizontally or vertically, depending on how you want to showcase its rings.
Bake a Traditional Lithuanian Tree Cake | Wedding Cake Recipe
- Serves: 16 People
- Prepare Time: 1 hour 30 m
- Cooking Time: 2 hours 30
- Calories: -
- Difficulty: Hard
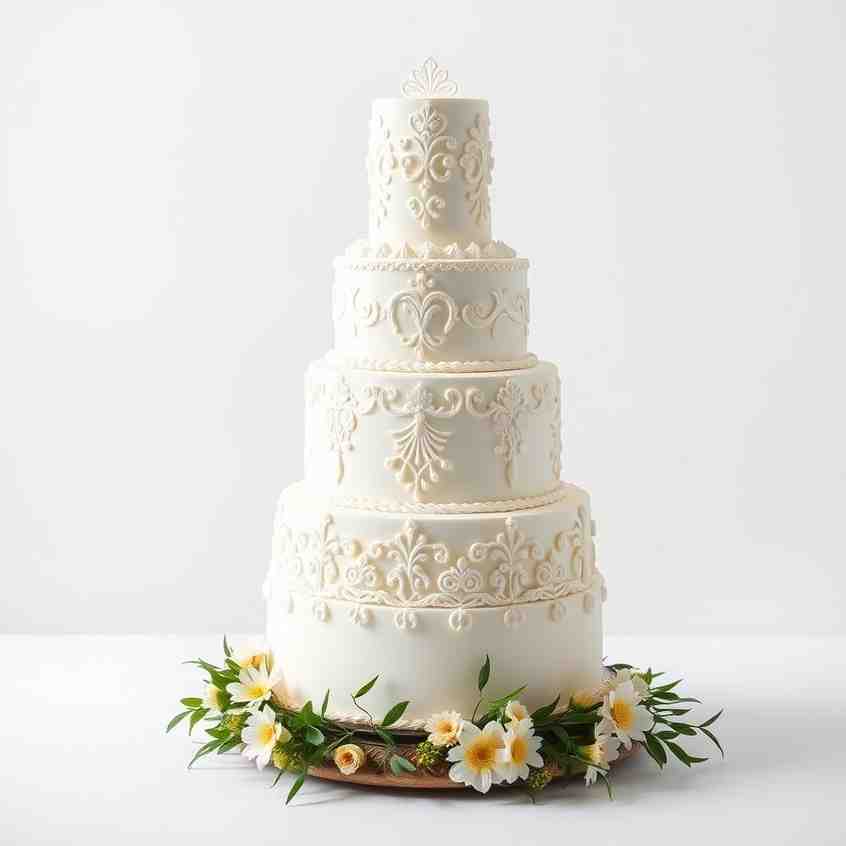
Ever dreamed of baking a truly show-stopping dessert that doubles as a piece of edible art? Look no further than Šakotis: A Unique Lithuanian Tree Cake! This isn't just any ordinary baked cake recipe; it's a magnificent, spiky creation that stands tall, resembling a frosted pine tree. Known as a traditional wedding cake in Lithuania, Šakotis is the ultimate cake for special occasions, symbolizing prosperity and celebration. Learning to prepare this authentic wedding cake recipe from scratch is a journey into a rich culinary tradition.
While it might look intricate, our guide will walk you through every step, ensuring that even if you're new to baking at home, you can create this impressive masterpiece. We'll cover everything from the essential cake preparation ingredients and cake mixing ingredients to how to properly bake a cake in oven using its unique layering technique. Get ready to impress your guests with a cake that's not only delicious but also a true conversation starter, perfect for making any event, especially a wedding, unforgettable.
Ingredients
Directions
- Preparing the BatterIn a very large mixing bowl or stand mixer, combine the softened butter and both granulated and powdered sugars. Beat on medium-high speed until the mixture is light, fluffy, and pale yellow, about 5-7 minutes. This creaming process is crucial for a tender cake. Next, add the eggs one at a time, beating well after each addition until fully incorporated. This might seem like a lot of eggs, but they are key to the cake's unique texture and structure. Don't rush this step!
- Adding Dry IngredientsReduce the mixer speed to low. Gradually add the sifted flour and salt to the wet ingredients, mixing until just combined. Be careful not to overmix; overmixing can lead to a tough cake. Once the flour is mostly incorporated, slowly pour in the heavy cream (or evaporated milk), rum (if using), and vanilla extract. If adding lemon or orange zest, stir it in now. Mix until the batter is smooth and uniform, but still avoid overmixing. The final batter should be thick, smooth, and pourable, similar to a pancake batter but a bit richer.
- Resting the BatterCover the bowl with plastic wrap and refrigerate the batter for at least 30 minutes, or up to 2 hours. This resting period is important for the flour to fully hydrate and for the flavors to meld, resulting in a more cohesive and easier-to-handle batter during the layering process.
- Preparing the Spit and OvenPreheat your oven to 350°F (175°C). If using a rotisserie, install it according to your oven's instructions. If manually turning, ensure your spit/rod is securely mounted and can be rotated easily. Lightly grease the spit or rod with butter and dust with flour to prevent sticking. Place a large baking sheet lined with parchment paper or foil on the bottom rack of your oven to catch any drips.
- Layering the BatterThis is the heart of making Šakotis and what gives it its distinctive "branches."
- Initial Layers: Start by pouring a thin, even layer of batter onto the rotating spit. Allow it to cook for 5-7 minutes, or until it sets and begins to turn golden.
- Building the Branches: Once the first layer is set, pour another thin layer of batter. As this layer cooks and drips, it will start to form the characteristic spikes or "branches." The heat from the oven will cause the batter to crisp and solidify as it drips, creating the unique texture.
- Timing and Heat Management: Continue this process, adding thin layers of batter every 5-7 minutes. You'll need to monitor the cake closely. If the branches are browning too quickly, lower the oven temperature slightly or move the drip pan higher to create a barrier. If they're not forming well, you might need to increase the heat slightly. The key is patience and consistent layering. Rotate the spit continuously (either automatically or manually) to ensure even cooking and branch formation all around the cake. This step is the most time-consuming, taking up to 2 hours or more, depending on the desired size and number of layers.
- BakingOnce all the batter is used and your Šakotis has reached its desired size and spiky appearance, continue to bake it for an additional 15-20 minutes to ensure all layers are thoroughly cooked through and golden brown. The cake should sound hollow when tapped gently.
- Cooling and ServingCarefully remove the Šakotis from the oven and let it cool completely on the spit before attempting to remove it. This cooling process allows the cake to firm up and prevents it from breaking. Once cool, gently slide it off the spit. Šakotis is traditionally served plain, allowing its unique texture and rich flavor to shine. To serve, use a serrated knife to cut slices horizontally or vertically, depending on how you want to showcase its rings.
You may also like


Hey there! I’m just someone who seriously loves good food and believes that cooking doesn’t have to be complicated to be amazing. Whether it’s a quick weeknight dinner or a cozy weekend meal, I’m all about sharing easy, tasty recipes that actually work.


