
Teff Injera - Healthy Vegan Ethiopian Sourdough Recipe
Teff Injera - Healthy Vegan Ethiopian Sourdough Recipe
- Serves: 4 People
- Prepare Time: 20 minutes
- Cooking Time: 30 minutes
- Calories: -
- Difficulty: Medium
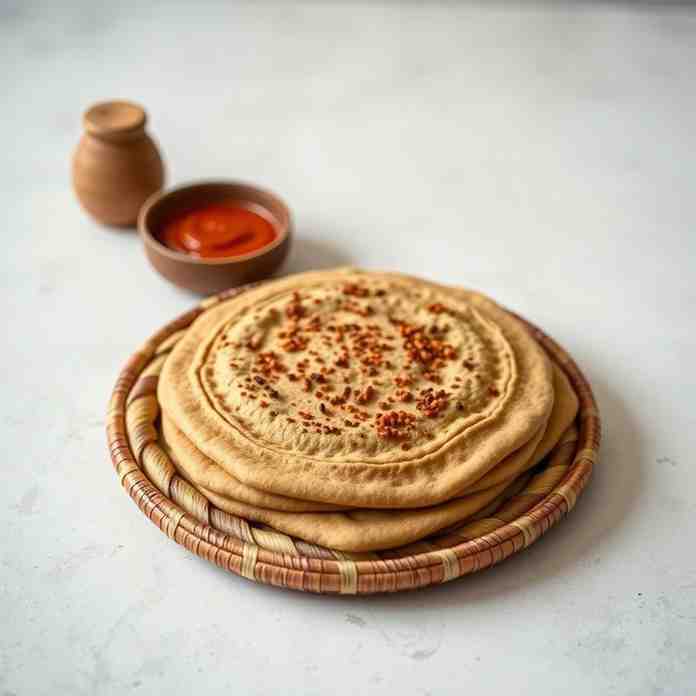
Welcome to the heart of Ethiopian cuisine recipes! Today, we're diving into the essential, iconic, and utterly delicious world of injera. This unique, spongy, sourdough flatbread isn't just food; it's the plate, the utensil, and the very foundation of communal dining in Ethiopia and Eritrea. Imagine gathering around a shared platter, tearing off pieces of injera to scoop up vibrant stews and savory dishes – it's an experience that brings people together.
If you've been searching for an authentic, healthy easy vegan recipe for injera, you've come to the right place. We know making traditional injera can seem daunting, but this guide is designed to be your beginner-friendly, measurable, and real-deal method. We'll walk you through every step, ensuring you can create perfect, tangy injera right in your own kitchen. Get ready to master this cornerstone of Ethiopian food recipe tradition and impress your taste buds!
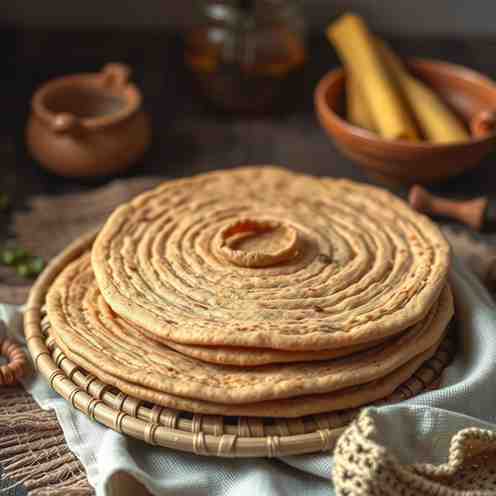
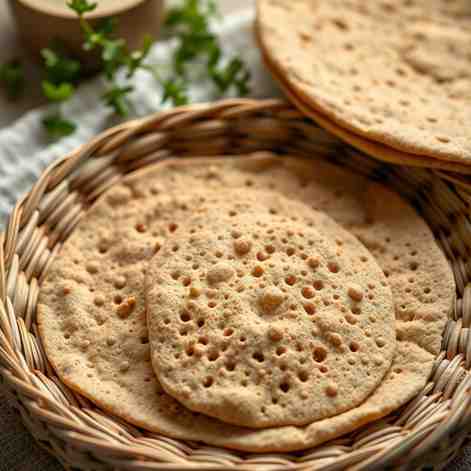
Injera is a distinctive fermented flatbread, usually made from teff flour and water, combined with a starter. When cooked, it forms a thin, spongy round characterized by tiny "eyes" (or bubbles) on its surface. These eyes are crucial – they're what allow injera to soak up all the delicious sauces and flavors of the dishes it accompanies. Its signature tangy taste comes from the natural fermentation process, similar to sourdough bread, which breaks down the teff and develops complex flavors.
Communal Eating: Injera is central to the Ethiopian tradition of sharing food from a common plate, fostering connection and community.
Plate & Utensil: It serves as both the edible "plate" and the "utensil," used to scoop up various wots (stews) and salads.
Nutritional Powerhouse: Made from teff, injera is naturally gluten-free and packed with iron, calcium, and fiber, making it a truly healthy vegan recipe.
Ingredients
Directions
- Recipe Card (Authentic Teff Injera)
- Yield: 8-10 injeras
- Active Time: 20 minutes
- Inactive Time: 2-3 days (fermentation)
- Ingredients:
- 2 cups (240g) 100% Teff Flour
- 3 cups (720ml) Filtered Water, plus 1/4 to 1/2 cup for final adjustment
- 1/2 teaspoon Salt (optional)
- Method:
- Mix the Batter (Day 1 Morning):
- In a large non-reactive mixing bowl, combine the teff flour and 3 cups of water.
- Whisk vigorously or use a blender until the batter is completely smooth, with no lumps. It should have the consistency of a thin pancake batter.
- Cover the bowl loosely with plastic wrap or a clean kitchen towel.
- Target Consistency: Think thin, pourable, like heavy cream.
- Ferment (Day 1-3):
- Place the covered bowl in a warm spot in your kitchen (ideally 70-75°F / 21-24°C). Avoid direct sunlight or cold drafts.
- Day-by-Day Checklist:
- Day 1: Batter will look mostly unchanged.
- Day 2: You might start to see tiny bubbles forming on the surface, and a slight sour smell might develop. Give it a gentle stir.
- Day 3: The batter should be visibly bubbly, foamy on top, and have a distinct, pleasant sour aroma (like sourdough or kombucha). A thin layer of clear liquid (fermented water) might separate on top – this is normal!
- Checkpoints: You should see visible bubbles, smell a tangy sourness, and the batter might have slightly thickened.
- Final Batter Adjustment (Cook Day):
- On your cook day (usually Day 3, but can be Day 4 if cooler), gently stir the fermented batter.
- If there's a separated clear liquid, stir it back in.
- Add the optional 1/2 teaspoon of salt now, if using, and stir well.
- Gradually add an extra 1/4 to 1/2 cup of filtered water, stirring until the batter reaches the consistency of thin crepe batter – it should coat the back of a spoon lightly and flow easily.
- How thin is “right”: It needs to be thin enough to spread easily but not so watery that it won't hold its shape or tears easily.
- Cook the Injera:
- Heat your nonstick or well-seasoned skillet over medium-high heat. It's ready when a drop of water sizzles and evaporates quickly. Do not oil the pan unless it's a new nonstick pan and the manufacturer recommends it for the first use.
- Pour + Swirl: Using your ladle, pour about 1/3 to 1/2 cup of batter (depending on your pan size) into the center of the hot skillet. Immediately tilt and swirl the pan to evenly coat the bottom with a thin layer of batter. Work quickly!
- Cover/Steam: Once the surface is mostly covered, immediately place the lid on the skillet.
- When it’s Done: Cook for 1-2 minutes. You'll see the "eyes" forming on the surface, and the edges will start to curl up slightly, becoming firm. The top should look set, not wet.
- How to Lift: Carefully remove the lid. Using your thin spatula, gently lift the injera from the edges and transfer it to a clean plate or cutting board. No need to flip it!
- Cool + Stack:
- Lay the injera flat on a clean surface or wire rack to cool completely. Do not stack them while warm, as they will stick together.
- Once cool, you can gently stack them on top of each other.
- "What success looks like" mini-callouts:
- Eyes: A porous, bubbly surface is the hallmark of good injera.
- Flexibility: It should be soft, pliable, and easy to tear without crumbling.
- Tang: A distinct, pleasant sour taste is essential.
- Thickness: Thin, but not paper-thin, with a nice spongy texture.
Teff Injera - Healthy Vegan Ethiopian Sourdough Recipe
- Serves: 4 People
- Prepare Time: 20 minutes
- Cooking Time: 30 minutes
- Calories: -
- Difficulty: Medium
Welcome to the heart of Ethiopian cuisine recipes! Today, we're diving into the essential, iconic, and utterly delicious world of injera. This unique, spongy, sourdough flatbread isn't just food; it's the plate, the utensil, and the very foundation of communal dining in Ethiopia and Eritrea. Imagine gathering around a shared platter, tearing off pieces of injera to scoop up vibrant stews and savory dishes – it's an experience that brings people together.
If you've been searching for an authentic, healthy easy vegan recipe for injera, you've come to the right place. We know making traditional injera can seem daunting, but this guide is designed to be your beginner-friendly, measurable, and real-deal method. We'll walk you through every step, ensuring you can create perfect, tangy injera right in your own kitchen. Get ready to master this cornerstone of Ethiopian food recipe tradition and impress your taste buds!
Injera is a distinctive fermented flatbread, usually made from teff flour and water, combined with a starter. When cooked, it forms a thin, spongy round characterized by tiny "eyes" (or bubbles) on its surface. These eyes are crucial – they're what allow injera to soak up all the delicious sauces and flavors of the dishes it accompanies. Its signature tangy taste comes from the natural fermentation process, similar to sourdough bread, which breaks down the teff and develops complex flavors.
Communal Eating: Injera is central to the Ethiopian tradition of sharing food from a common plate, fostering connection and community.
Plate & Utensil: It serves as both the edible "plate" and the "utensil," used to scoop up various wots (stews) and salads.
Nutritional Powerhouse: Made from teff, injera is naturally gluten-free and packed with iron, calcium, and fiber, making it a truly healthy vegan recipe.
Ingredients
Directions
- Recipe Card (Authentic Teff Injera)
- Yield: 8-10 injeras
- Active Time: 20 minutes
- Inactive Time: 2-3 days (fermentation)
- Ingredients:
- 2 cups (240g) 100% Teff Flour
- 3 cups (720ml) Filtered Water, plus 1/4 to 1/2 cup for final adjustment
- 1/2 teaspoon Salt (optional)
- Method:
- Mix the Batter (Day 1 Morning):
- In a large non-reactive mixing bowl, combine the teff flour and 3 cups of water.
- Whisk vigorously or use a blender until the batter is completely smooth, with no lumps. It should have the consistency of a thin pancake batter.
- Cover the bowl loosely with plastic wrap or a clean kitchen towel.
- Target Consistency: Think thin, pourable, like heavy cream.
- Ferment (Day 1-3):
- Place the covered bowl in a warm spot in your kitchen (ideally 70-75°F / 21-24°C). Avoid direct sunlight or cold drafts.
- Day-by-Day Checklist:
- Day 1: Batter will look mostly unchanged.
- Day 2: You might start to see tiny bubbles forming on the surface, and a slight sour smell might develop. Give it a gentle stir.
- Day 3: The batter should be visibly bubbly, foamy on top, and have a distinct, pleasant sour aroma (like sourdough or kombucha). A thin layer of clear liquid (fermented water) might separate on top – this is normal!
- Checkpoints: You should see visible bubbles, smell a tangy sourness, and the batter might have slightly thickened.
- Final Batter Adjustment (Cook Day):
- On your cook day (usually Day 3, but can be Day 4 if cooler), gently stir the fermented batter.
- If there's a separated clear liquid, stir it back in.
- Add the optional 1/2 teaspoon of salt now, if using, and stir well.
- Gradually add an extra 1/4 to 1/2 cup of filtered water, stirring until the batter reaches the consistency of thin crepe batter – it should coat the back of a spoon lightly and flow easily.
- How thin is “right”: It needs to be thin enough to spread easily but not so watery that it won't hold its shape or tears easily.
- Cook the Injera:
- Heat your nonstick or well-seasoned skillet over medium-high heat. It's ready when a drop of water sizzles and evaporates quickly. Do not oil the pan unless it's a new nonstick pan and the manufacturer recommends it for the first use.
- Pour + Swirl: Using your ladle, pour about 1/3 to 1/2 cup of batter (depending on your pan size) into the center of the hot skillet. Immediately tilt and swirl the pan to evenly coat the bottom with a thin layer of batter. Work quickly!
- Cover/Steam: Once the surface is mostly covered, immediately place the lid on the skillet.
- When it’s Done: Cook for 1-2 minutes. You'll see the "eyes" forming on the surface, and the edges will start to curl up slightly, becoming firm. The top should look set, not wet.
- How to Lift: Carefully remove the lid. Using your thin spatula, gently lift the injera from the edges and transfer it to a clean plate or cutting board. No need to flip it!
- Cool + Stack:
- Lay the injera flat on a clean surface or wire rack to cool completely. Do not stack them while warm, as they will stick together.
- Once cool, you can gently stack them on top of each other.
- "What success looks like" mini-callouts:
- Eyes: A porous, bubbly surface is the hallmark of good injera.
- Flexibility: It should be soft, pliable, and easy to tear without crumbling.
- Tang: A distinct, pleasant sour taste is essential.
- Thickness: Thin, but not paper-thin, with a nice spongy texture.
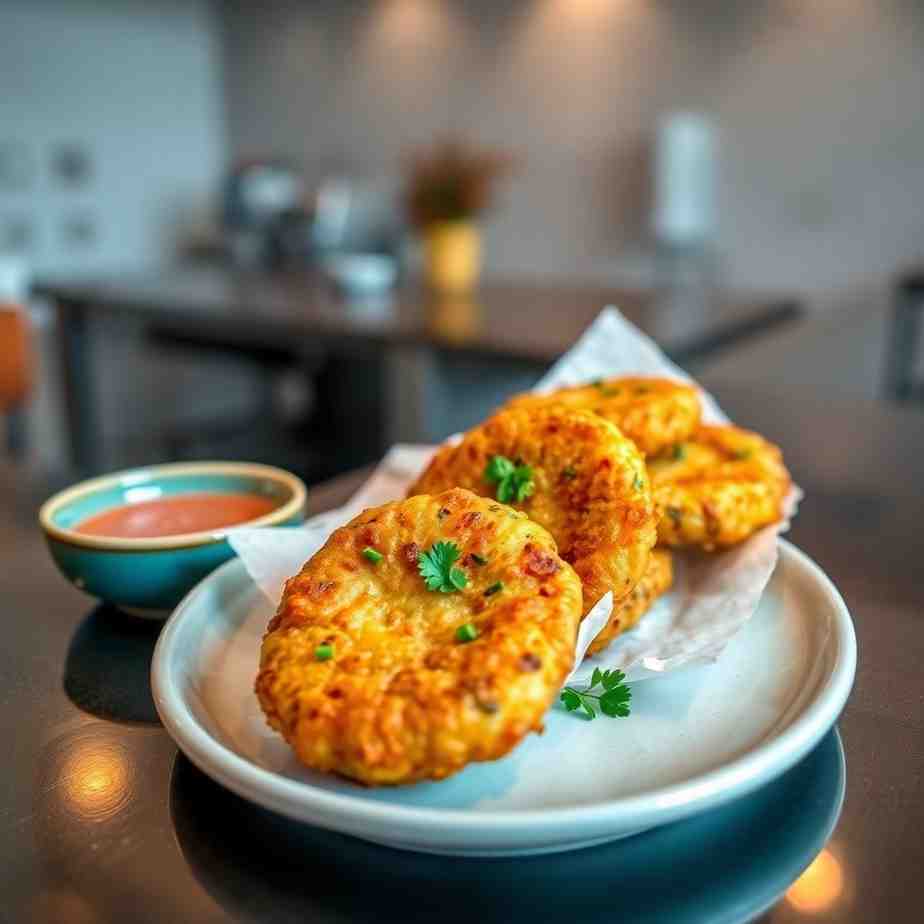
You may also like


Hey there! I’m just someone who seriously loves good food and believes that cooking doesn’t have to be complicated to be amazing. Whether it’s a quick weeknight dinner or a cozy weekend meal, I’m all about sharing easy, tasty recipes that actually work.


