
Homemade Roucou - Natural Red Food Colouring
Homemade Roucou - Natural Red Food Colouring
- Serves: 1 People
- Prepare Time: 20 minutes
- Cooking Time: 10 minutes
- Calories: -
- Difficulty: Easy
Ever wanted to add a gorgeous, natural red colouring for food without reaching for artificial dyes? Meet roucou! Also known as annatto or achiote, this incredible ingredient is your secret weapon for vibrant, earthy hues in your cooking. Hailing from the rich culinary traditions of French Guiana and the wider Caribbean, roucou isn't just about color—it offers a subtle, mild seasoning base that elevates your dishes. In just 20-30 minutes of active time, you'll be able to create your own homemade roucou liquid, ready to transform everything from rice to stews. Get ready to explore the heritage and flavor of this natural red dye for food, making your kitchen a hub of authentic, easy-to-make recipes!
Ingredients
Directions
- Soak the Seeds: In a medium bowl, combine the annatto (achiote) seeds, warm water, and kosher salt. Give it a quick stir. Let the seeds soak for at least 20-30 minutes, or until the water takes on a deep orange-red hue. The warmer the water, the faster the color will release.
- Rub & Extract the Pigment: This is where the magic happens! Using your fingers, gently rub the annatto seeds together in the water. You'll feel the outer coating of the seeds releasing their vibrant pigment into the liquid. Continue rubbing and squeezing the seeds for several minutes until most of them look noticeably lighter in color, indicating they've released their dye.
- Strain for Smoothness: First, pour the liquid through a fine-mesh strainer into a saucepan to remove the bulk of the seeds. For an even smoother, grit-free liquid, line the strainer with a piece of cheesecloth (or a coffee filter) and strain the liquid a second time. Gently squeeze the cheesecloth to extract every last drop of the precious liquid.
- Quick Simmer to Stabilize: Place the saucepan with the strained roucou liquid over medium-low heat. Bring it to a very gentle simmer for about 5-10 minutes. This quick simmer helps to stabilize the natural red colouring for food, ensuring it holds its color better over time. Be careful not to let it boil vigorously or brown; you just want a gentle warmth.
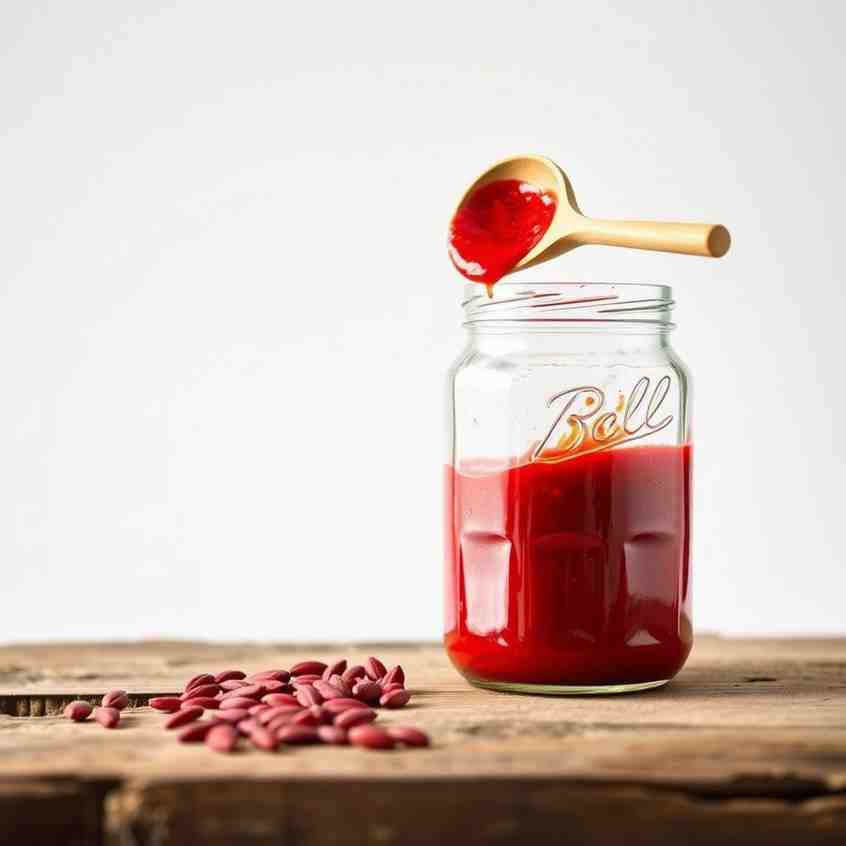
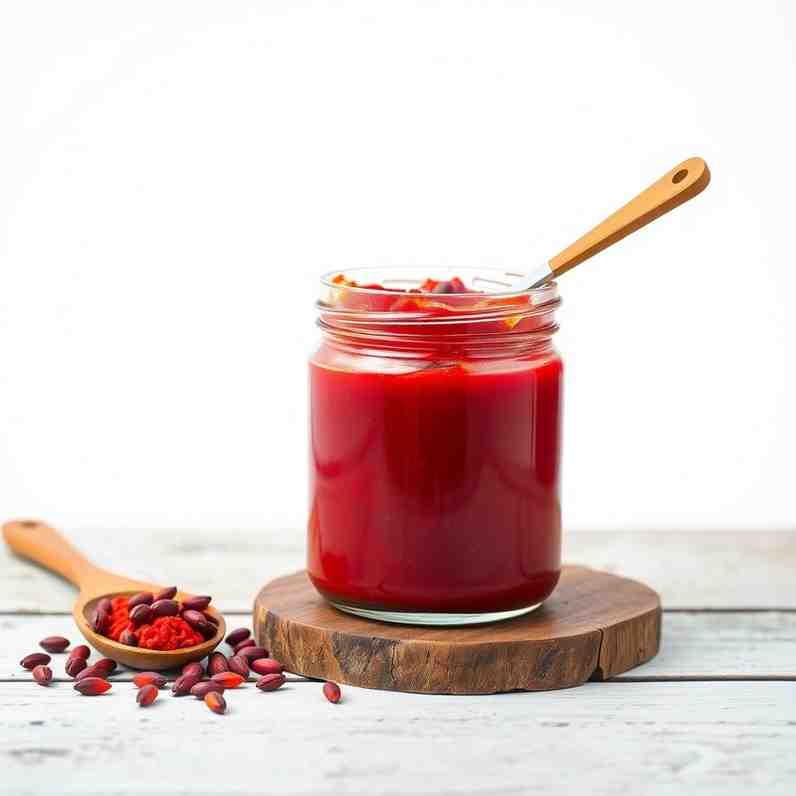
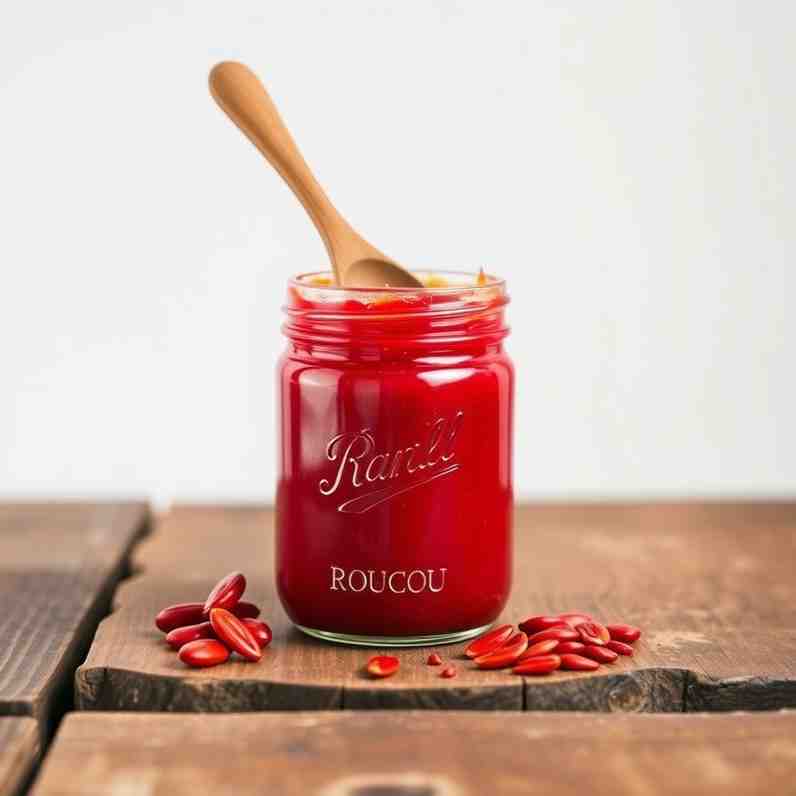
- Cool & Bottle: Remove the saucepan from the heat and let the roucou liquid cool completely to room temperature. Once cool, use a funnel to transfer the liquid into a clean, airtight glass bottle or jar.
- Quick checkpoints (so readers don’t guess)
- Color Target: Your finished roucou liquid should be a deep, vibrant red-orange, like a sunset. If it looks pale, you might need to rub the seeds more vigorously or soak them a bit longer.
- Texture Target: It should be smooth and free of any gritty bits. If you feel grit, strain it again through a finer mesh or cheesecloth.
- Don't Do This Warnings:
- Don't overheat: A hard boil or prolonged high heat can dull the color and potentially introduce a bitter taste. Keep it gentle.
- Don't leave it gritty: Gritty roucou will affect the texture of your dishes. Ensure thorough straining.
- Don't store warm: Always cool completely before bottling and refrigerating to prevent spoilage.
Homemade Roucou - Natural Red Food Colouring
- Serves: 1 People
- Prepare Time: 20 minutes
- Cooking Time: 10 minutes
- Calories: -
- Difficulty: Easy
Ever wanted to add a gorgeous, natural red colouring for food without reaching for artificial dyes? Meet roucou! Also known as annatto or achiote, this incredible ingredient is your secret weapon for vibrant, earthy hues in your cooking. Hailing from the rich culinary traditions of French Guiana and the wider Caribbean, roucou isn't just about color—it offers a subtle, mild seasoning base that elevates your dishes. In just 20-30 minutes of active time, you'll be able to create your own homemade roucou liquid, ready to transform everything from rice to stews. Get ready to explore the heritage and flavor of this natural red dye for food, making your kitchen a hub of authentic, easy-to-make recipes!
Ingredients
Directions
- Soak the Seeds: In a medium bowl, combine the annatto (achiote) seeds, warm water, and kosher salt. Give it a quick stir. Let the seeds soak for at least 20-30 minutes, or until the water takes on a deep orange-red hue. The warmer the water, the faster the color will release.
- Rub & Extract the Pigment: This is where the magic happens! Using your fingers, gently rub the annatto seeds together in the water. You'll feel the outer coating of the seeds releasing their vibrant pigment into the liquid. Continue rubbing and squeezing the seeds for several minutes until most of them look noticeably lighter in color, indicating they've released their dye.
- Strain for Smoothness: First, pour the liquid through a fine-mesh strainer into a saucepan to remove the bulk of the seeds. For an even smoother, grit-free liquid, line the strainer with a piece of cheesecloth (or a coffee filter) and strain the liquid a second time. Gently squeeze the cheesecloth to extract every last drop of the precious liquid.
- Quick Simmer to Stabilize: Place the saucepan with the strained roucou liquid over medium-low heat. Bring it to a very gentle simmer for about 5-10 minutes. This quick simmer helps to stabilize the natural red colouring for food, ensuring it holds its color better over time. Be careful not to let it boil vigorously or brown; you just want a gentle warmth.
- Cool & Bottle: Remove the saucepan from the heat and let the roucou liquid cool completely to room temperature. Once cool, use a funnel to transfer the liquid into a clean, airtight glass bottle or jar.
- Quick checkpoints (so readers don’t guess)
- Color Target: Your finished roucou liquid should be a deep, vibrant red-orange, like a sunset. If it looks pale, you might need to rub the seeds more vigorously or soak them a bit longer.
- Texture Target: It should be smooth and free of any gritty bits. If you feel grit, strain it again through a finer mesh or cheesecloth.
- Don't Do This Warnings:
- Don't overheat: A hard boil or prolonged high heat can dull the color and potentially introduce a bitter taste. Keep it gentle.
- Don't leave it gritty: Gritty roucou will affect the texture of your dishes. Ensure thorough straining.
- Don't store warm: Always cool completely before bottling and refrigerating to prevent spoilage.
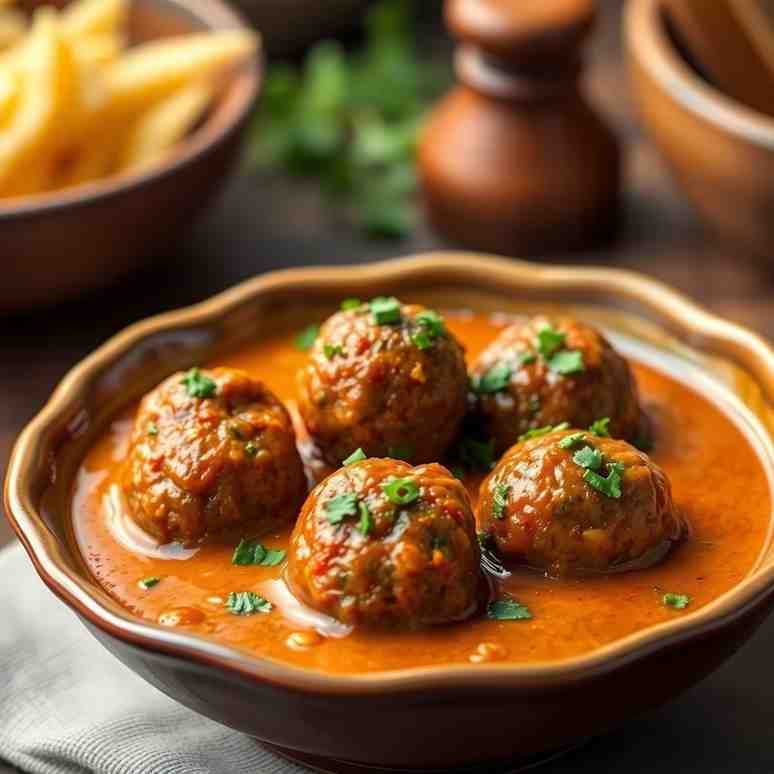
You may also like


Hey there! I’m just someone who seriously loves good food and believes that cooking doesn’t have to be complicated to be amazing. Whether it’s a quick weeknight dinner or a cozy weekend meal, I’m all about sharing easy, tasty recipes that actually work.


